This post contains affiliate links.
Cleaning your RV refrigerator is one of those task we all dread. But the interior needs to be cleaned to keep things from growing inside. The outside areas of your RV’s refrigerator also need to be cleaned so your fridge runs at optimal efficiency.
Cleaning the interior of your RV refrigerator will involve scrubbing all surfaces with soapy water. Mold and mildew will need extra care and attention. Cleaning the exterior of your RV fridge will include washing and blowing out the side and roofs vents, cavity, gas burner, and possibly the flue.

The bouncing and jostling of even the best road can get your RV’s refrigerator contents shifting, and sometimes for the messier. Knowing the fastest and best way to clean your fridge and how often will help you keep the interior clean. Plus learning what parts on the exterior need to be cleaned and maintained will keep your fridge running better in the long run.
Table of Contents
Cleaning the Inside of Your RV Refrigerator
It doesn’t matter if you have a Dometic, a Midea, a Koolatron, a Norcold, or any other brand of refrigerator, you’re going to want to clean the inside of it every three months. The last thing you want is for mold to start growing where you keep your food, so regular, thorough cleaning is going to be your first line of defense.
Like I said before – RV travel can get messy. I once had an entire helping of macaroni and cheese explode in my refrigerator. It started out in a container on the top shelf and ended up all the way down the sidewall and under everything else on the top shelf. No matter your brand of refrigerator, cleaning up a mess like this (or a three month maintenance cleaning) is going to follow the same steps.
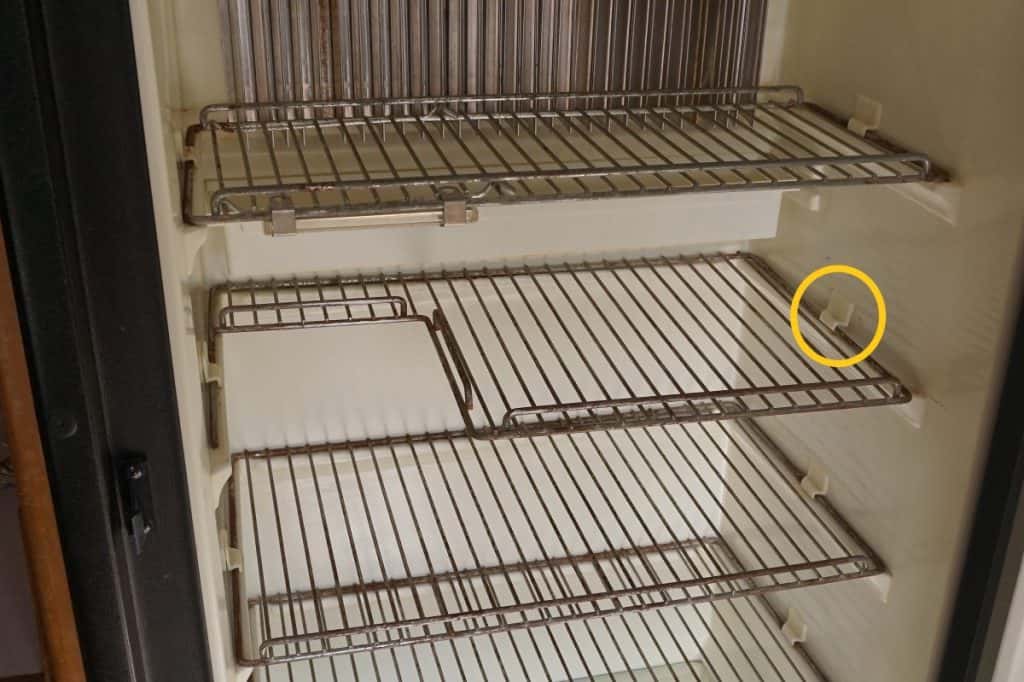
Removing Shelves and Gathering Supplies
First, you’re going to want to shut off your fridge. It doesn’t make sense to have it running with the door wide open. Even if you’re going to be using the fridge again right away it’s better to save on energy, besides the temperature of the fridge will likely be the same whether it’s running or not.
Next, take everything out and throw out any food that is at or past its expiration date. Then you’re going to need to remove any drawers and shelves. Most RV fridges have a set of grooves that the shelves slide into, so simply pulling out and up will usually do the trick.
The drawers can either run on tracks or may sit in grooves of their own, and they should be removed as well. Don’t forget your removable door shelves too.
Some RV fridge brands are a bit trickier. Our older Dometic refrigerator has tabs on the sidewall that need to be gently popped out before the shelves can be removed. Check if your RV fridge has any tabs or clips holding your shelves in place before you try to remove them. You don’t want to break these clips trying to forcefully remove the shelves from the fridge
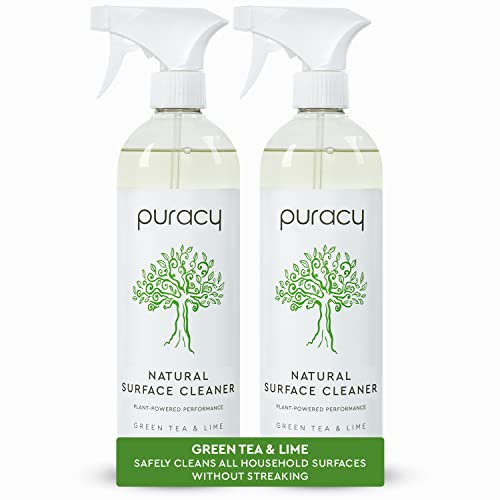
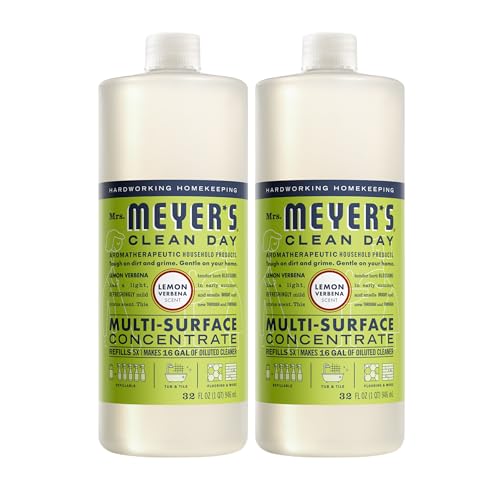
Once your fridge is completely empty then it’s time to get your cleaning supplies. Some peoples’ go-to is a diluted bleach solution which will kill almost any microbe it comes in contact with, and others balk at the idea of putting bleach anywhere near their food. They’re more likely to reach for a vinegar solution, a brand-name cleaning product, or a natural cleaner.
Once you have your cleaner and a bucket to put it in you can pick your weapon(s) of choice to do the heavy scrubbing – I like to use a non-scratch Scotch-Brite pad but you can also use a sponge, a brush, a rag, or even an old toothbrush if you’ve got lots of tight places to reach.
If you’re using bleach or if the thought of touching old, crusty mystery food with your bare hands makes your stomach do a flip, you’re definitely going to want gloves as well.


How to Remove Mold from your RV Fridge
Mold is not something you want near your food but it’s something we all have to be careful of in our fridges. I would personally avoid using heavy antimicrobial products just because of the location, even though they are extremely effective at getting rid of mold. There are many other safer, less harsh alternatives that will get the job done too.
Bleach is a great choice for removing mold – but only on non-porous surfaces. So while it won’t do much for your ceiling water spot it’s a great choice for your refrigerator. Just pour one cup of bleach into one gallon of water, pour it into a spray bottle, and give that mold a good spritzing. You’re not going to want to immediately wipe it off, instead, let it sit for at least 10 minutes before wiping down the area with a rag.
If you’re in the anti-bleach-near-food crowd, I have good news: you can use vinegar or baking soda and it will work just as well. Vinegar doesn’t need to be diluted before you spray it on, but the downside is you may need to do a lot more scrubbing to get the mold completely off.
Baking soda also requires scrubbing, and potentially multiple rounds of it. You’ll want to add a little water to baking soda to make a paste, then slather it on the mold and let it dry. Once dried you can scrub it off with a brush and repeat the process as many times as needed to get the job done.
Don’t forget to decontaminate the door seal on your fridge as well. Vinegar is probably your best choice paired with a rag or a toothbrush that can get in the grooves of the seal.
Basic RV Refrigerator Cleaning
If you don’t have any mold to contend with, cleaning is as easy as spray, scrub, repeat. Using your preferred cleaner and scrubber, make sure you give every nook and cranny some attention as you go so that no surface is left untouched.
I prefer to use a simple hot water and dishsoap solution with a green scrubby to scrub down all the interior surfaces of the fridge. Then I like to use a clean cloth and plain hot water to remove any soap residue.
Once the inside surfaces are cleaned, you can wash the shelves and drawers in the sink with dish soap, or you can use the same cleaner you used inside the fridge.

Cleaning the Exterior of Your RV Fridge
The inside is spotless, but you’re not done yet. Cleaning the outside and exterior parts of the refrigerator is as important if not more so than the interior, as this critical maintenance step will help to extend the life of the fridge.
You’re going to need some extra tools including a screwdriver, a hammer, a bottle of compressed air, a vacuum with a small attachment. It also couldn’t hurt to have safety glasses to keep any flying debris from getting into your eyes.
For the exterior surface of the refrigerator, I’m talking about inside the RV, you can use a stainless steel cleaner if it’s stainless, or glass cleaner for any other surface. Clean off any dust and grime from the top of the refrigerator or on any ledges and trim.
Your fridge should already be off if you are cleaning the outside parts after you’ve done the inside. Otherwise, turn off your fridge. Then you’ll need to close the propane valve. Now you’re ready to clean the working parts.
Cleaning the Vents of the RV Refrigerator
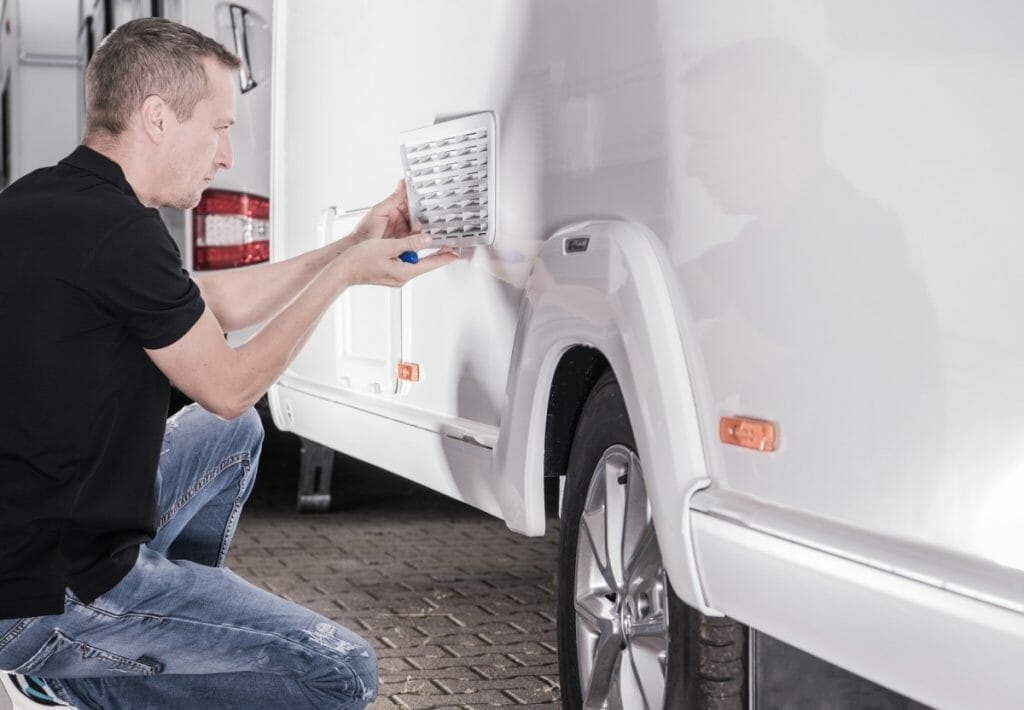
Every RV fridge will have a lower and an upper or roof vent. If you fridge is in a slide out you should see two vents on the side of the slide out where you fridge is. If your fridge is on a solid wall you will have a roof vent on top of your RV.
To clean the vents, simply remove the vent cover and make sure that the space immediately around the backside of the fridge (or top, if it’s a roof vent) is clear of cobwebs, dirt, and other debris like – and I kid you not – birds nests.
Use your compressed air to clean out the cavity at the lower fridge vent taking care to not dislodge any electronics, wire or pipes. Safety glasses are an excellent idea here since debris will go flying.
While your vents are removed it’s a good idea to give them a quick scrub with soap and water. You can also inspect the clips that secure your vent in place for any damage so you can repair or replace your vent. We lost a our side fridge vent to a passing semi’s air turbulence on a crosscountry trip. Not ideal.
We also have lost our fridge roof vent, so double check those attachment points too. And make sure you properly reinstall it. It’s harder to notice a missing fridge roof vent until water starts coming in your RV during a heavy rain fall since you have a gapping hole in your roof.
Cleaning the Flue of the RV Refrigerator
Surprisingly the Flue of your RV’s fridge doesn’t usually need to be cleaned. Most RVers never bother and the ones who have checked are surprised at how clean the flue actually is. So unless you have a misadjusted burner you should need to bother.
But there are a few things you can do to clean out some of the debris. The easiest way to clean your flue though is from the bottom. Using a vacuum with a small attachment vacuum out the flue. Tapping on the sides of the flue will help dislodge any debris as well.
This cleaning should be sufficient for your flue especially if you are doing it as part of your on going maintenance.
Cleaning the Gas Burner of your RV Fridge
I’ll admit it, I had no idea how to clean the gas burner in a fridge when we first got our RV, or even where it was located. But due to issues we had with our RV fridge when we first bought it, we quickly got familiar with the burner and found it pretty simple to clean it.
You’ll be working in the lower vent area of your fridge so if it’s not already removed your need to open the lower vent. Then, using a screwdriver, remove the metal casing around the gas burner, this is the wind deflector that prevents your fridge flame from being blown out by high winds or while driving down the road.
Next, you’ll use compressed air to clean the burner of debris. Place the nozzle of the compressed air bottle into the burner and give it a couple of blasts to shake everything loose. Just be careful of your eyes while doing this since debris can go flying.
Once done, replace the casing or wind deflector and reinstall the vent cover. Be sure to double check your RV’s user manual prior to cleaning the burner in case they have any tips or guides for your specific model.

Closing Thoughts
Cleaning your RV refrigerator both on the exterior and interior is an important bit of maintenance that can extend the life of your appliance, ward off malfunctions, and help prevent mold and mildew buildups. With the proper tools and products your fridge will look brand new both inside and out.