This post contains affiliate links.
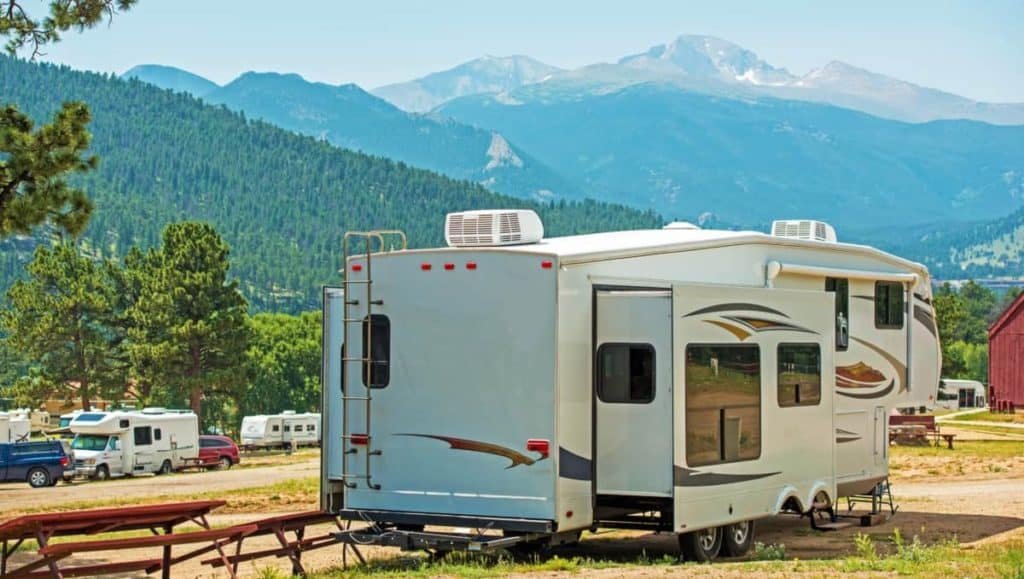
RV slide outs have become an industry standard because they offer additional living space to your camper. Since 1999, nearly every RV produced has at least 1 and sometimes as many as 5 slide outs. Some slide outs even have slide outs built into them to increase the livable square footage of the RV even more.
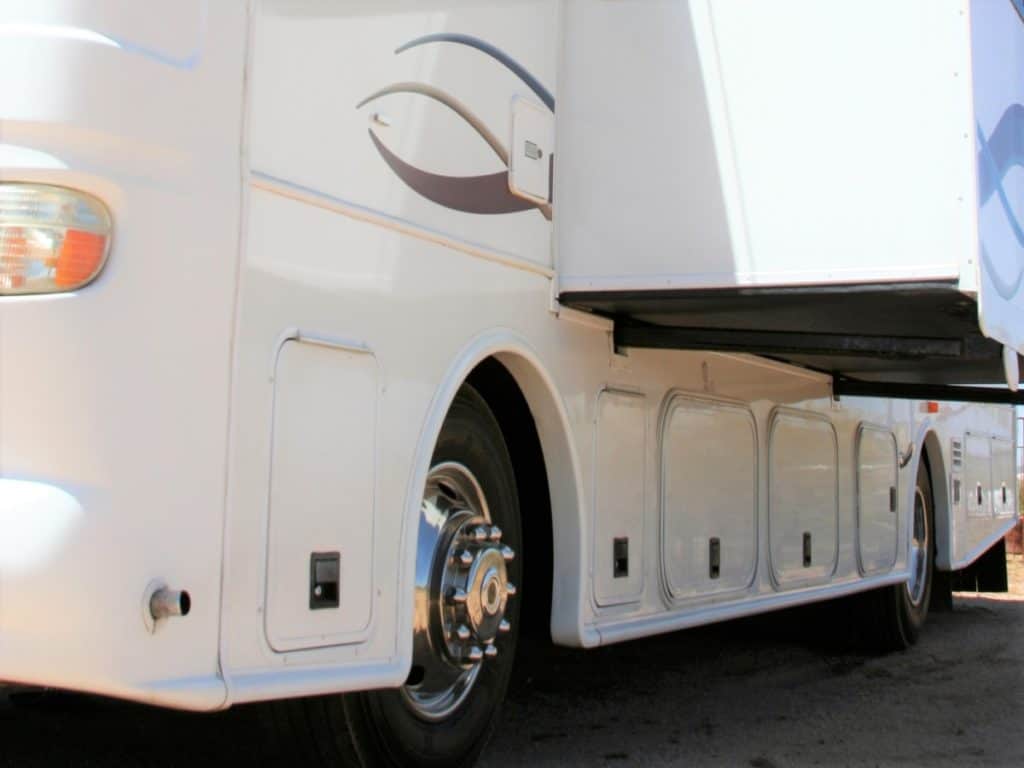
An RV slide out or slide is a cut-out portion of your RV that extends and retracts to increase the living space available. The slide out is moved between the extended and retracted positions via hydraulic, electrical, or manual mechanical systems.
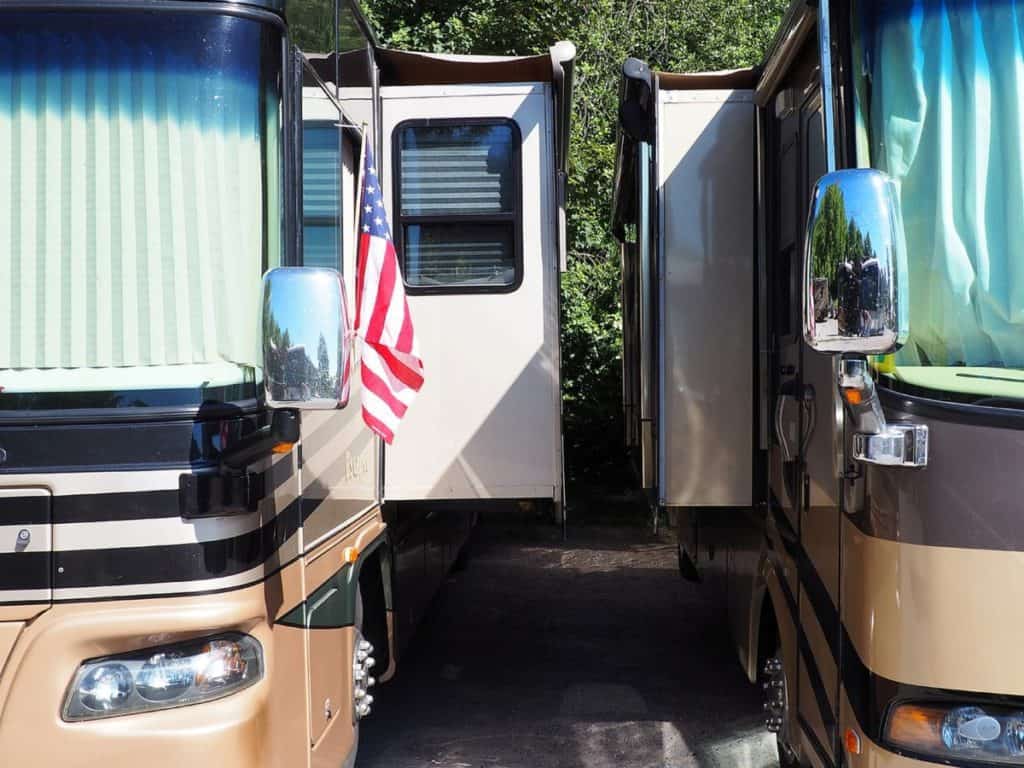
The benefits of an RV slide out are obvious, RVs are only 8 feet wide so adding an extra foot or two in width is HUGE in terms of bonus square footage. Slides are also frequently added to the bedroom to allow for a larger bed.
What is less obvious are the potential downsides of slide outs. To make an informed decision about if slide outs are worth the investment, it’s necessary to understand how they work.

Table of Contents
Types of RV Slide Outs
There are several different types of RV slide outs, and they each work in slightly different ways. Many use electric motors to operate, while some use hydraulics. The most common slide out mechanism is the rack and pinion system. Other systems that exist are pulley and cable, Schwintek, and hydraulic.
Knowing how the slide outs in your RV work is important so that you know how to best maintain it, and how to troubleshoot the problem if they get stuck in either position.
Electrically Driven Slide Out Systems
Whether the system that moves the RV slide out between the extended or retracted position is a rack and pinion, or a pulley and cable system, it is most often powered by an electric motor. Electric motors spin a shaft or pinion that can be used to move the slide out in one direction. Adding a gear between the motor and the pinion causes the pinion to spin in the opposite direction, causing the RV slide out to move in the opposite direction.
These electrical motors run off of 12 volt DC power directly from the house battery. The motor is designed to run on DC battery power, so the slide outs can be moved when you are dry camping and not plugged into shore power. The motor does require a lot of energy, though, so it draws it directly from the battery instead of running through the RV’s 12 volt electrical system.
Rack and Pinion Slide Out System
This is the most common type of RV slide out system. In this setup, the pinion, a small, circular gear with teeth spins and the teeth catch in corresponding gear teeth or holes in the rack, thereby moving the rack in one direction or the other, perpendicular to the pinion. The racks are installed along the bottom of the slide out
If you’re having trouble picturing the system, imagine a river with a water mill. The water mill is the circular gear and the river is the rack. Unlike the river example, however, it is the pinion spinning that makes the rack move (whereas the river flowing is what makes the water mill turn), and if you spin the pinion in the opposite direction, the rack will also go in the opposite direction (although spinning the water mill in the opposite direction will not reverse the flow of the river).

Courtesy of OSHA Directorate of Technical Support and Emergency Management / Public domain
Rack and pinion systems are the most common because they don’t require a lot of force, don’t take up a lot of space, and there are few moving parts that could break or require maintenance.
They allow for flush floors between the slide out and the main living area and the frame only protrudes a small amount inside. They are fairly inexpensive in terms of slide out systems but they are also quite heavy.
One downfall is they are more difficult to run manually if you have an issue with a motor failure since you need to go under the RV but this is extremely uncommon.


Pulley and Cable Slide Outs
Though less common, some RV slide outs are moved by a system of pulleys and cables. A pulley and cable slide out system is the most expensive system. But that’s not without good reason. A cable pulley system is very lightweight but allows for larger heavier slide outs compared to other electrically driven systems
But how does the pulley and cable system work? It uses 8 cables, 4 to pull the slide out and 4 to pull the slide in, which are attached the all the inner and outer corners of the slide. The cables are run through a series of pulleys and are connected to a chain (think bicycle chain). The chains are connected to a shaft coming out of the gearbox which is run by an electric motor.
Pulley and cable systems are probably the most reliable of the slide out systems. They need basically no maintenance aside from a yearly visual inspection to ensure the cables are all in good shape.
Aside from being the most expensive, the biggest drawback to this system is the amount the slide frame protrudes into the main part of the RV by several inches. This is because a lot of the mechanism is housed above the slide on the inside of the RV. This also means that the ceiling in the slideout will be a little bit lower too. On a plus side if you ever have to manually retract the slide it is extremely easy to access.
The video below does a thorough job of showing the mechanism inside a cable and pulley slide out. It may be more in depth than you need but it has some great visuals!
Schwintek slides
Schwintek slides have a very bad name in the RV world but it’s not the mechanism’s fault. Issues occur when large heavy slides utilize this type of slide system. They are designed for lightweight, shallow slides, like a closet or small bedroom extension.
They are very affordable and inexpensive systems but are only designed to be used with slides that aren’t too long or too deep and don’t contain a lot of weight when in motion.
Schwintek slides have rails mounted on the top and bottom of the side of the slide and use a worm gear system to roll in and out. Two electric motors turn the gears, one on either side, and the track runs along the gear to move the slide.
With two separate motors on one slide, there are obviously concerns about the motors getting out of sync. Fortunately, this is a self-adjusting slide system. When the slide is fully extended you’ll hear a ratcheting type noise (think race car tire changing sound) and the slide will adjust itself if it was bumped out of alignment during travel.
Now these are more difficult to manually retract if you have motor issues. You will actually have to disengage the motor on both sides, which the manufacturer makes look easy, then physically push it in. Once pushed in you will need to “travel lock” your slide since the motors are disengaged. You’ll wedge a two by four or sturdy stick between the body of the coach and the slide.
Power Gear Slide Out System
These systems are very uncommon so I will only touch on them briefly. They are used in situations with much heavier slide outs than the Schwintek can support.
It’s very lightweight and close to wall flush. It’s a more expensive system ut is also the fastest moving electric slide system. The motor mechanism are hidden in the floor of the slide out so you don’t see any of it on the outside or the inside of the slide but there will be a step up into the slide
This video does a fabulous job of going over the pros and cons of the different RV slide systems.
Hydraulically Driven Slide Out Systems
Hydraulics are usually used for bigger, heavier RV slide out because though they are more complex, they can generate much more pushing (or pulling) power. It is mechanically similar to a rack and pinion slide system.
In a hydraulic system, a pump pushes hydraulic fluid into tubes, increasing the pressure and pushing a piston (and it’s attached RV slide out) to the extended end of its chamber. By pumping the hydraulic fluid in the opposite direction, the pressure is reversed, and the piston (and RV slide out) moves back to the retracted position.
Hydraulic systems move your slide very quickly so you’ll be set up in no time. Also if your RV has 2 or more slides it becomes less expensive than having multiple electric slides since the slides will all share the same hydraulic system and motor.
Typically the lightest weight slide will move first then the heavier weight slide. You will also have individual hydraulic flow valves so you can control your slides individually.
Best Practices When Using RV Slide Outs
To keep your slide outs in the best condition, you will need follow some guidelines when using them, and you will need to provide regular maintenance.
Slide Outs Can Only Be Extended When Parked
Slide outs are designed to increase living area when parked, but it’s crucial that they are back in the fully retracted position any time the RV is in motion. The extended slide outs significantly change the weight distribution and aerodynamics of the RV. Driving with them out would quickly cause extensive damage to the slide outs and the RV itself.
Park Away from Objects
Slide outs can extend as much as 3 feet out from the main frame of the RV, so you must make sure there is room for the extensions when you park. Some older RV parks were built before RV slide outs became common and were therefore designed without allowing space for them. It’s best to have someone watching while the slide out is being extended, so it doesn’t run into anything.
Another tip commonly used by RVers is to have pool noodles cut to the slide width (the amount the slide extends) and do a quick measurement once you’ve parked but before you have gotten all set up. Then you pool noodles can double as protectors for the corners of the slides. This is for your protection so you have some cushion when you bump your head into them (trust me it WILL happen).
Level the RV Before Extending the Slide Outs
This “best practice” will actually depend on your RV model. But in general, you will want to level your RV with the slides retracted.
This is because slide outs can weigh up to 1000 pounds. When the slide outs are extended, the weight of the slide out is outside of the RV’s main frame, making it more difficult to level, which can result in damage to the leveling equipment.
Now the caveat is CHECK YOUR OWNERS MANUAL! Some RV’s are equipped with self leveling systems and want you to extend your slides BEFORE you level the RV.
If you need some help leveling your RV check out my article Why RV’s Need to Be Level.
Make Sure Top of Slide Out is Free of Debris Before Retracting
Anything that collects on top of the slide out while it is in the extended position, such as leaves, branches, or snow, must be swept off before retracting the slide out. If not, it will prevent the slide out from retracting fully and sealing properly, leading to additional damage in the long run. Some manufacturers make toppers that keep the slide out free of debris.
Keep Aisles Clear
Just as you need to make sure there is room outside the RV while the slide out is extending, you need to make sure there is room inside the RV while the slide out is retracting. The design is such that the slide out, when in the traveling position, retracts and stows in the aisle space inside the RV.
If this pathway isn’t clear, the slide out won’t be able to retract all the way. Continuing to try to operate the mechanism against the resistance could result in damage to the rails or the burning out of the motor.
You should also watch out for stray flip flops. These are notorious for getting caught under the floor of the slide out causing misalignment and damage to your slide out system.
Store RV with Slide Outs Retracted
When storing your RV for an extended amount of time, especially over the winter, you should retract the slide outs. The walls of the slide out are thinner and more vulnerable to damage than the outer wall of the RV. Debris and snow can accumulate on top of the slide out, adding weight, and the weather seals could freeze and crack.
Only Use Slide Out When Fully Extended
When using your slide out you should always have it all the way out. This is because the seals are not fully engaged when the slide is not fully extended or fully retracted. The seals actually use the weight of the slide itself to apply pressure and become watertight.
RV manufacturers recommend you don’t walk on the floor of your slide out when it is retracted either. This is because on flush-floor slides the floor is not properly supported when retracted since the slide needs to lift up to retract. The slide’s floor can end up cracking or splintering if walked when unsupported. Walking on retracted slide outs can also lead to separation of the wall from the floor and a host of other issues.

Slide Out Maintenace
There are a few maintenance tasks you should perform on your RV slide outs to keep them in tip top shape. You should do this maintenance twice a year once a couple of weeks before your first camping trip and once midseason. The maintenance required will depend on the slide system you have for what you need to do.
Slide Out Inspection
Part of your yearly maintenance is an inspection of your slide out’s mechanisms. This is a general check for abnormal wear or damage to the parts of your RV. You’ll be checking for nicks in the rails, scratches or dents in the racks and wear on your pulleys.
Lubricate RV Slide Out Seals
Over time, the rubber seals can dry out and you want to keep these in top shape since they are keeping the rain out from inside your RV! You’ll lubricate both the seals on the inside and the outside of the RV. This is needed for ALL styles of slide outs. A product like Slide Out Rubber seal conditioner is recommended by most RV centers.
On the outside simply spray the conditioner on to the seal wiping off any overspray. On the inside spray the conditioner on to a rag then wipe down the seals, this is to prevent overspray staining the interior of the RV. This is generally what you do but of course, you’ll read the directions on your conditioner.

- [VERSATILITY]: Thetford's Premium RV Slide Out Rubber Seal Conditioner works in RVs, cars, boats, or even at home
- [FUNCTIONALITY]: Formulated to prevent fading, cracking and deterioration, Premium RV Slide Out Rubber Seal Conditioner improves slide out...
- [UTILITY]: Premium RV Slide Out Rubber Seal Conditioner works on RV Slide Outs, window and door seals, and tires
Lubricate RV Slide Out Mechanism
Rack and Pinion slides need to be lubricated using a specific lubricant like CRC Power Lube or “Slide Out Lube And Protection” which can both be found on Amazon. You’ll take a dry rag and wipe down the rack to remove any dirt and debris. Then you’ll spray the lubricant on to the rack.
Schwintek or cable and pulley systems do not need to be lubricated. Just wipe them down with a clean dry rag.
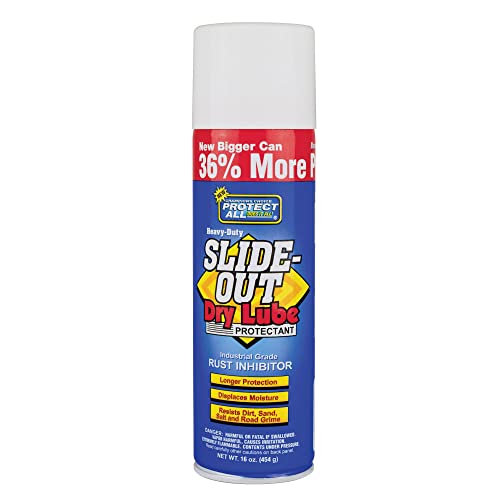
- [VERSATILITY]: Protect All Slide-Out Dry Lube Protectant works in RVs, cars, boats, or even at home
- [FUNCTIONALITY]: Formulated to prevent rust, Protect All Slide-Out Dry Lube Protectant prevents rust and corrosion for up to one year
- [UTILITY]: Premium RV Slide Out works on metal parts, gears, rollers, door hinges, and more
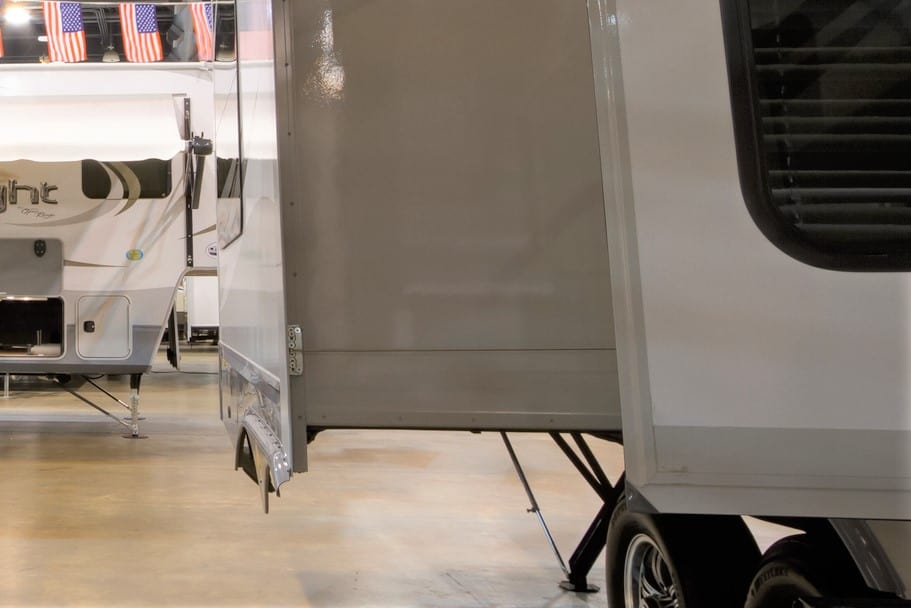
Should You Use Slide Out Jacks or Supports?
You do not need to use jacks or supports on your RV’s slide outs. These can actually do more harm than good. RV’s that have slides have been designed to have slides. The frame and body of the RV were manufactured with the weight of the slide in mind so you don’t need to worry about structural damage due to your slide being out for an extended period of time.
The seals on the slide out are actually meant to have pressure on them from the weight of the slide when it’s fully extended. If you were to use support under your slide you will be taking some of the pressure off the seal inviting water make its way into your RV.

- Premium Slide-Out Supports: Camco’s camper slide-out support jacks offer enhanced stabilization for your slide-out room, preventing...
- Complete Support System: This package includes (2) Eaz-Lift Slide-Out Supports, providing a comprehensive solution for protecting your...
- Height Adjustable: With a height range of 19″ (collapsed) to 47″ (extended) & incremental locked positions, this product can be easily...
Another thing to consider, your RV will settle overnight and shift slightly as you move around inside. With a slide support in place, your slide will not be able to move naturally with your RV. Your slide can actually get out of alignment by using these supports.
Now, of course, there is a caveat, it’s possible if you have an old RV with a slide and it’s going to be out for an extended period of time then a slide stand might not be a bad idea.
If you insist on spending the extra money on slide supports, then make sure the support is only barely touching the slide without any extra weight in the slide, i.e. people.
How To Manually Close an RV Slide Out
Because you cannot drive your RV with the slide outs in the extended position, you must retract them before traveling. If you are out of power or the motor has broken you may find yourself in a tough spot. Luckily there is a way to override your slide out’s hydraulic pumps and/or electric motors and close it manually.
- Block the tires to prevent the RV from moving.
- If you have a hydraulic pump system:
- Locate the slide out hydraulic pump. It will be in one of the front storage compartments or under the floor behind the front cross member.
- Override the hydraulic pump by attaching a quarter inch hex fitting at the end of the pump motor and turn it with a ratchet or electric drill.
- If you have a rack and pinion system.
- Locate the slide out actuator underneath the slide out. One end will have a gold color stop can, and a hex head crank extension on the rear of the motor, located on the end of the slide out actuator. Some slide outs have an enclosed underbelly, in which case you will need to find the access panel, or cut a hole to gain access to the motor.
- Use a ratchet with a ⅝th hex socket to turn the hex head clockwise to retract (or counter clockwise to extend) the slide out. There is no need to disengage the motor first as the actuator is designed to be cranked manually as well.
- If you have a cable and pulley system
- On the inside of the RV above the slide, locate a remove the access panel in front of the motor.
- Find the manual override attachment (similar to a flexible drill attachment) that came with RV and connect to the motor.
- Connect the other end of the attachment to a drill and retract the slide
- If you have a Schwintek system
- Locate the motors of either side of the slide by pulling back the seal on the outside
- Disconnect the screw and slide the motor up to disconnect about 1/2 inch
- Repeat with all other motors
- Physically push the slide in until fully retracted
- Lock for travel with a two by four wedge between the RV and slide to prevent it from moving
Negatives of RV Slide Outs
Slide outs offer the luxury of additional much-needed space in an RV, but it can come at a cost. There are many potential downsides to having a slide out in your RV.
Slide Outs have Thinner Walls
RV’s have extremely thin walls. Usually, they are nothing more than a thin slab of insulation with a thin metal plate on one side and a piece of paneling on the other. The walls of the slide out are often even thinner.
Because they are only exposed when the RV is parked, they are designed with less protective shielding. This increase in surface area (particularly with additional walls less insulated than that of the rest of the RV) results in a greater transfer of heat, making it harder to keep your RV cool when it’s hot outside or warm when it’s cold outside.
To combat this, some RV manufacturers sell thermal slides, which are essentially blankets that cover the thin, exposed walls of the slide out. They are designed to leave room for a few inches of insulation for increased effectiveness. You can also park your RV strategically according to the season to control which parts of your RV receive the heat of direct sunlight at different times of the day.
Compromised Structural Integrity
The basic structure of an RV is relatively solid because it is a solid rectangle. The more holes that are cut into the walls of this basic structure, however, the less structurally sound the RV becomes. Slide outs are heavy, often weighing around 1000 pounds, which is a lot of weight to hang on the side of a compromised RV wall.
In the case that, heaven forbid, you crash your RV, the slide outs add an additional element of danger. When you crash, your RV comes to a sudden stop, but anything loose in the RV continues its momentum forward.
Because they are less secure than the rest of the RV’s structure, this could include the 1000 pound slide outs. They, like the other loose items in the RV, will fly toward the front of the RV, which is where you’re sitting.
Weight Distribution
The weight of the slide out (which can be over 1000 pounds, depending on what is in the slide out) is, by nature, less secure by virtue of the fact that it is in a slide out. When driving this weight can shift, affecting your steering. The movement also increases the vibration and wear and tear of components during travel.
When parked, it’s important to ensure that your RV is on a level surface before extending your slide outs because the further the weight is outside of the RV’s main frame, the greater its effect on the RV’s balance.
Leaking
I wish I could say RV slide outs are more likely to leak, but in actuality, it’s more accurate to say that every slide out leaks, whether you see it or not.
The rubber that is intended to create a seal around the seams of the slide out are susceptible to wear and tear, and dry out over time, becoming more rigid and less effective at sealing. Water eventually works its way between the gaps.
In extreme cases you might notice a dripping, but more likely the water will collect out of sight where it will rot the wood or rust the metal that is structurally integral to the slide out.
More Moving Parts that Could Break
As Murphy’s Law states, anything that can go wrong will go wrong. So the more moving parts your RV has, the more things there are to malfunction. An RV wall without a slide out is a relatively safe, solid construction of metal and insulation. When you add a slide out, however, you add rails that can bend or misalign, motors that can burn out, hydraulic hoses that can burst, rubber seams that can leak, and many more potential problems.
Fortunately, slide outs actually have pretty good track records in terms of maintenance issues and repairs.
Recommended Products For RV Slides

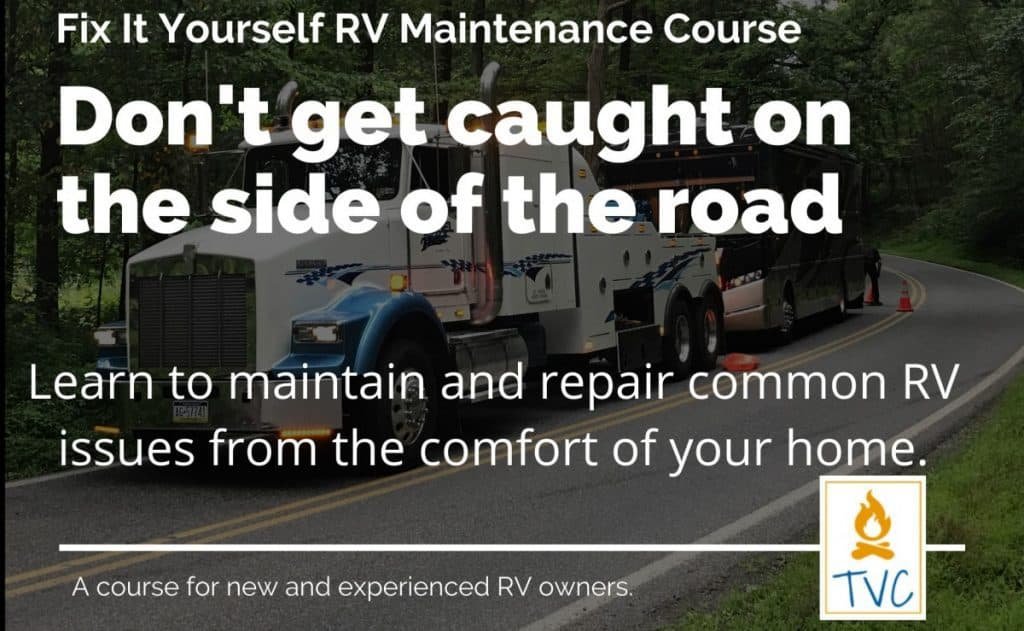
Fix It Yourself RV Maintenance Course
The most costly parts of RV ownership are repairs and maintenance. That’s why I recommend learning to do your own RV repair and maintenance.
The Fix It Yourself RV Maintenance Course is the perfect way to learn how to do the most common repairs and maintenance on your RV. A Certified RV Technician wrote and filmed the course so you know the information is actually correct.
Plus it’s downloadable so you can access it from anywhere, even when boondocking in the middle of nowhere with no service.
Find out more about the best RV Maintenance and Repair Course available!