This post contains affiliate links.
Is your RV furnace rattling, banging, creaking, roaring, or sound like an old man snoring? A loud furnace can be caused by failing blower fan bearings, loose or broken hardware or even a buildup of dirt. Let’s assess your issue at hand so you can live in peace and quiet.
How to quiet down a loud RV furnace in six steps. Silencing a noisy RV furnace is simple if you follow these six steps:
- Clean air filters, vents, ducts, exhaust and around the furnace
- Tighten loose hardware and repair broken braces
- Ductwork inspection and repair
- Do a fan cleaning and lube
- Check ignitor and gas lines
- Blower motor repair/replacement
Of course, you could just turn it off and avoid the loud noise – and the root cause of the problem. But I know you want to fix your gas furnace and enjoy the warm air it provides We’ll cover handy maintenance and sound deadening tips to help you enjoy a noise-free furnace.

Table of Contents
Why is Your RV Furnace so Loud?
As a motorhome owner, you know right away when your home starts making noises that are out of the ordinary. If your older furnace starts putting off as much sound as it does heat, it is trying to tell you that something is not right.
Though there are a handful of things that could cause a furnace to start sounding off, if you can discern between the type of noise that you are hearing, you may be able to narrow it down even closer to the cause.
Ranging from tightening hardware to greasing squeaky parts, to simply cleaning debris from the furnace elements. Nail down the source of the nasty loud noise!
The following is a guide compiled by expert technician standard procedures that most RV owners would feel comfortable performing themselves. Get out your gloves, flashlight, and toolbox!

Fix It Yourself is a self-guided online course where certified RV tech Ed Wilcox walks you through all the steps you need to know to properly maintain your rig and fix problems when they come up. Check it out HERE!
Getting Started With an RV Furnace Repair
Safety first! Closing the gas valve that feeds propane to the furnace and pulling the fuse to the furnace will ensure your safety as you are working on it. FYI: Your furnace is run on your 12V electrical system so it can be used while you are unplugged.
1) Cleaning All Parts of the Furnace
Step one should be a part of your seasonal motorhome maintenance routine; sometimes things like this get overlooked when it’s hot out or until problems arise. We can prevent some of these major issues by staying on top of standard maintenance.
Cleaning your furnace is very simple and is recommended at the end of every summer and every winter. Clean it before you begin to use your furnace, and after you’ve used your furnace all winter long.
Allowing this chore to get away from you can let layers of dust and debris pile up and get into places it shouldn’t be. Believe it or not, a tiny bit of dirt can cause a great big problem. Cleaning in and around the furnace elements are possibly the easiest way we can keep the system running smoothly and expensive repairs at bay.
Use a wire brush to gently get into hard to reach places or an aerosol can of dust blower normally used on computer keyboards. For more easily accessible areas, an old rag and degreaser cleaner should do the trick.

- Great for home use
- Ozone safe, recycle when empty.
- works on silk flower arrangements, repair benches, figurines, blinds and more
You should also check your furnace filter if your RV has one. Many do not since they can restrict the return airflow to the furnace reducing its efficiency. If you do have one or have installed one aftermarket either clean or replace it to reduce furnace noise and improve your indoor air quality.
Vacuuming out your ducts may not change the level of noise your furnace is making but its a good idea to do it at least once a season, especially before you use the furnace for the first time that year. Everyday dirt and dust can get in your ducts through normal use of your RV. Then, when the furnace comes on it’ll blow all that gross stuff around in the warm air. You should also check the air outlet vents are clean for this same reason.
If possible, gain access to the fan blades and wipe them down with a small brush. After wiping down the fan blades, be sure to vacuum them thoroughly. Dusty blades can weigh down the fan blades and result in a noisy furnace. By cleaning them, you’re removing that additional weight and helping your fan run smoothly.
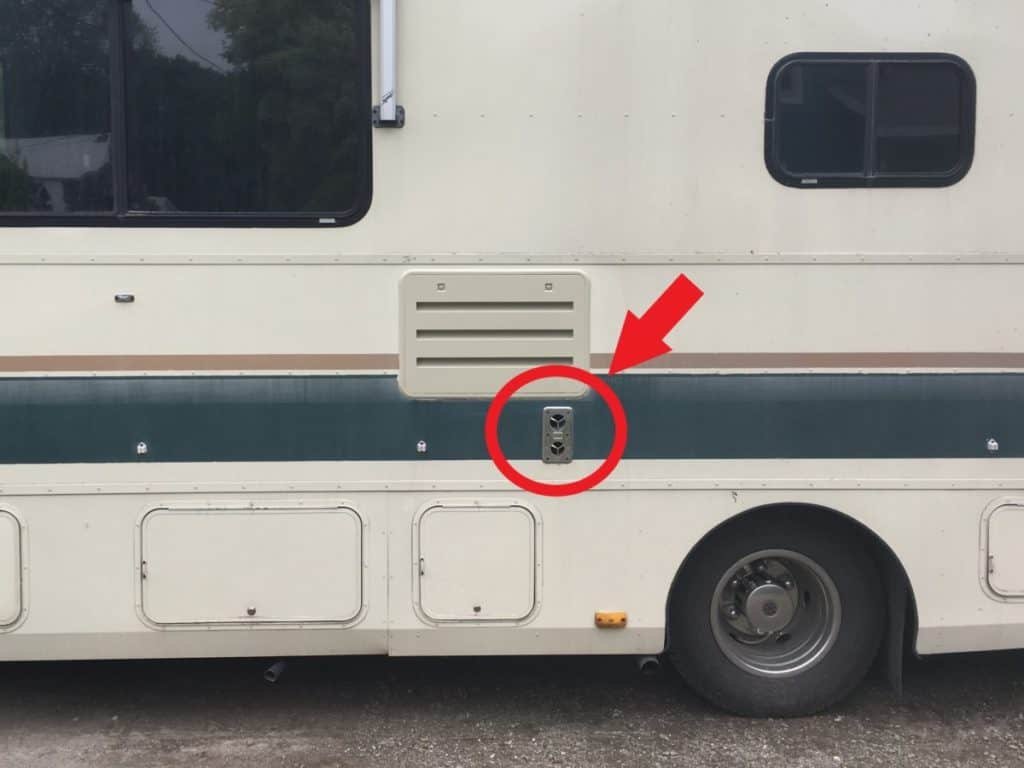
You should also inspect and clean the exhaust pipe on your gas furnace. If your exhaust is blocked, this could cause noise. RV furnaces can be notorious for having blocked exhaust pipes since it’s a warm spot for critters, so be sure to check that your exhaust pipe is clear.
2) Tighten Loose Hardware and Repair Broken Braces
Giving your older furnace system a once over to make sure all the nuts and bolts are tightened could cure the rattle you have been hearing. If there is loose hardware, you could have parts vibrating together, or rattling around.
Get out your toolbox, as you may find that not all of the hardware will be your standard Phillips head screw. In addition to tightening screws, nuts, and bolts, take a look around for braces that may have come loose, which could cause rattling and other annoying unnecessary noises.
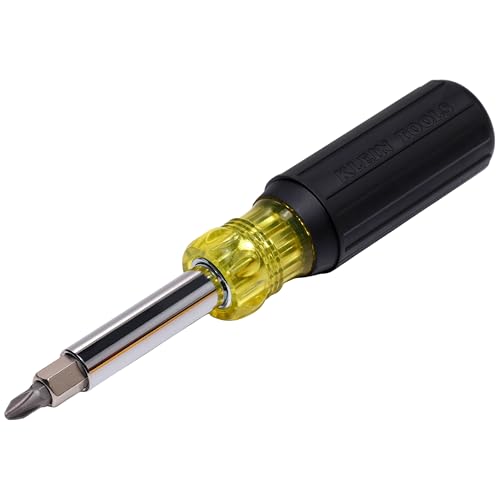
- VERSATILE 11-IN-1 TOOL: Includes 7 tips and converts to 4 nut driver sizes for a wide range of applications
- INTERCHANGEABLE COMPONENTS: Fast and easy switch outs with interchangeable bits and nut drivers
- COMFORTABLE CUSHION-GRIP HANDLE: Provides a comfortable grip for enhanced control and torque
Some RVers have had badly squealing fans and have found that the fan wheel was actually rubbing on the metal housing plate found next the burner. Simply securing the metal housing plate away from the fan using a screw stopped the two parts from rubbing and stopped the terrible noise.
Some high pitched vibration noises have been caused by broken metal retaining clips. Without the retaining clip, the exhaust wheel can migrate inward and begin to make contact with the plastic housing causing a terrible squealing noise.
3) Duct Inspection and Repair
Checking your ductwork could prove to be the pinpoint of your banging noise. Now the location of your ductwork will depend on the model of RV you have. If you have floor mounted vents your ducts will be located on the underside of the RV.
Grab your flashlight and scooch yourself under your RV. Give the ducts a gentle jiggle to see if there are any obvious spots that noise could be coming from or anything that looks out of the ordinary.
Over time the simple braces that are used to keep duct tubes in place can come loose and cause the tube to have room to move around, especially when the heat is being forced through it. Changing these braces is a simple task.
To replace a duct brace, pick up a roll of perforated metal strapping, measure to the correct length (circumference of your duct tube plus a few extra inches to secure it), find an appropriate spot to secure the duct, screw a screw through one of the holes in the strapping, stretch the strapping along the underside of the duct so it is tightly held, screw another screw to secure the strapping, snip any excess strapping.
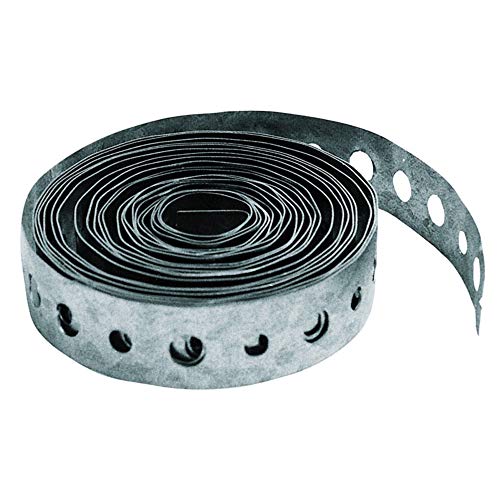
- Hanger strap
- Alternating 1/4 inch and 3/16 inch holes
- Galvanized Steel
Examine the condition of your duct collars, as well. These are the round metal fittings from the duct tubing to the vent covers. Not only will loose-fitting collars make noise, they also lose efficiency by allowing heat to escape before it reaches your rig’s coach.
If you hear a high-pitched whistle-like sound, you could have a leak somewhere in your ductwork. Replacing damaged tubing is a fairly easy job, or you may choose to patch the leak with some HVAC aluminum tape.
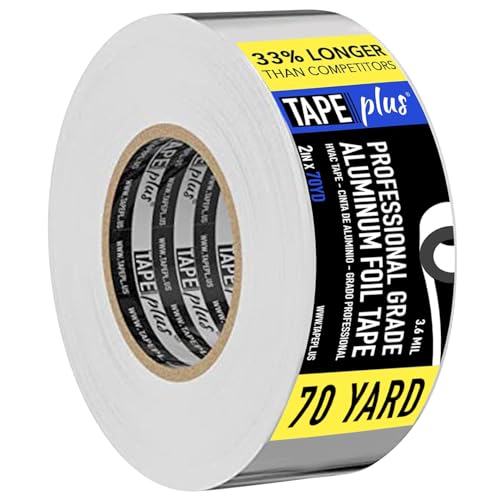
- TapePlus Excellence: Discover TapePlus Aluminum Tape, a premium choice for HVAC professionals and home improvement enthusiasts. This...
- Exceptional Environmental Resistance: This aluminum HVAC foil tape stands up to moisture, UV rays, and chemicals, ensuring long-lasting...
- Superior Versatility: This metal tape for ductwork provides excellent adhesion for HVAC systems, sealing air ducts or patching dryer vents...
4) Fan Cleaning and Lubrication
Loud noises such as squeaking, squealing, grinding, or banging can come from the furnace’s fan. In the easiest cases, cleaning debris from the fan or giving it a shot of grease could quiet the obnoxious sound. Or, we may end up diving deeper into the troubleshooting process.
Another possibility is the fan cage could have loosened up over time. This usually requires an Allen wrench to tighten it back into place.
Have a close look in the fan cage and around the blower wheel motor that no critters have made their way into the heater. As much as the fan cage should prevent an issue like this, these things, unfortunately, do happen and the critter never comes out as the winner.
Another culprit of fan noise can be a wasp or mud dauber nests. If you hear a clunking noise when you manually rotate the fan check there isn’t anything in the fan housing getting tossed around when the fan is running.
Now greasing the bearings on the fan may ease some squealing or screeching due to friction but this is only a short term fix. Basically, the bearings have worn enough that there is movement between the bearing (as known as a bushing) and the fan motor shaft.
To lubricate the bearing you can put a few drops of light viscosity oil, like sewing machine oil, on the shaft right near the motor. Manually turn the shaft with your hand and the oil should “wick in”. You can repeat this a few times.

- Manufacturer model # M098 G84-620
- Genuine Replacement Part
- Supco Item
If lubricating the bearings did fix your noisy furnace issue, just know your furnace’s days are likely numbered and you will have to replace the motor in the near future.
5) Check Ignitor and Fuel Lines
All RV furnaces are fuelled by propane and require an ignition system to start the combustion process. The ignitor will make a clicking sound when it sparks but should stop once the gas is pushed through the pipes. Should you hear a clicking sound for a prolonged amount of time, you may be having an issue with the ignitor not sparking or a more serious problem within the gas lines.
If your furnace is not working (i.e. providing heat) and your ignition system is clicking away but not succeeding in lighting the furnace start by checking the obvious, the propane supply. Check that you have fuel and the valve is actually open. Here are some tips for lighting your RV furnace.
Assuming the gas valve is open and you have fuel then perform a visual inspection of your lines. If they all seem intact and you don’t smell that pungent rotten egg or dead animal smell of propane then your lines are likely good. Here’s how to check if your RV thermostat is working correctly.
At this point, you probably have a bad ignitor which is something you can change your self or take your rig into an RV dealer to get it replaced.
If your furnace is actually working you should not continue to hear the ignition system clicking since there is a flame sensor built in so your furnace knows if the flame has actually been lit or not. Changing the ignitor may solve the problem but it’s a deeper issue like the control board you might be due for a new furnace.
6) Blower Motor Repair or Replacement

As I mentioned above, if your furnace is squealing then there’s a good chance your blower motor (also referred to as fan or fan motor) is dying a slow and noisy death.
Hopefully, you’ve already performed step one and four and checked that there is no debris, critters or dirt gumming up the motor
There are two possible culprits to this squealing sound that are difficult to diagnose from the outside
- Bad bearings within the motor
- A blown motor wheel
A motor wheel, when it goes bad, will give off metal to metal scraping sound, but if it is simply off-balance or loose can sound like a flat tire or a washing machine on the final rinse cycle.
Bad bearings can possibly be temporarily treated with a shot of grease as mentioned in step four. Apply some oil, like sewing machine oil, to the fan shaft and rotate the fan a few times so the oil can migrate down the shaft into the bearings. Do this a couple of times and it should reduce the noise for a short time while you source a replacement blower wheel.
Now, just because your blower fan is dying doesn’t mean you need to replace your entire furnace. Fortunately, on many RV’s, it is a fairly easy part to swap but it will depend on the make and model of your furnace and your RV.
If you are comfortable with most jobs around your RV then you should be able to do this job no problem. Blower motors can cost you $50-100 and can be found on Amazon or your local RV store. If you prefer you can also hire out this task but it’ll cost quite a bit extra in dough.
No products found.
This video shows you how you can remove your furnace in order to replace the motor. The video has very good information and you should be able to adapt the process for your specific model.
If you have access to your furnace from the outside your life is a whole lot easier! Check out the video below on changing your blower motor without having to remove the entire furnace.
How Much Propane Do You Need to Heat an RV?
In general, a 30′ RV will use about 1/3 of a gallon (roughly 1.4 lbs) of propane in 1 hour, if the furnace is continually running. But in reality there is no exact answer to this question since it depends on a bunch of different factors.
Now your furnace does not normally run constantly unless it is very cold or you are trying to make your RV as hot as Hawaii. Like your furnace at home, your RV’s furnace will cycle on and off as it reaches the preset temperature.
To know how much propane your RV furnace uses, check the BTU rating on the furnace itself. If you don’t have that handy, a quick and dirty method is to assume 1,000 BTUs per linear foot of RV.
Now, one gallon of propane produces about 90,000 BTUs of energy. So if your furnace is 20,000 BTU it’ll use about 1/4 of a gallon per hour of continuous use. Again, this is continuous use.
It’s also good to remember that most propane tanks are rated in pounds, just to keep us confused. 1 gallon of propane weighs about 4.2 lbs. So your standard 20lb BBQ tank (if filled correctly) should contain about 4.72 gallons of propane.
Other factors that come into play include: how well your RV is insulated, what you set your temperature to, what the outside temperature is, where you are parked (i.e. shaded and windy vs sunny and calm), if you are using any auxiliary heating system.
You should also remember that your propane is used for more than just your furnace. The stove, hot water heater, fridge, and generator will also consume propane when they are in use which will affect how long you can go before filling up your propane tank.
Fix It Yourself RV Maintenance Course
The most costly parts of RV ownership are repairs and maintenance. That’s why I recommend learning to do your own RV repair and maintenance.
The Fix It Yourself RV Maintenance Course is the perfect way to learn how to do the most common repairs and maintenance on your RV. A Certified RV Technician wrote and filmed the course so you know the information is actually correct.
Plus it’s downloadable so you can access it from anywhere, even when boondocking in the middle of nowhere with no service.
Find out more about the best RV Maintenance and Repair Course available!
Safety Tips for RV Furnaces
Modern-day furnaces are very safe and incorporate safety features. Even if you have a newer furnace installed in your RV, it is still essential to follow the recommended safety guidelines.
Install a Carbon Monoxide Detector
A Carbon Monoxide detector, or a CO2 detector, is vital in any house or RV that is using fossil fuels. Carbon monoxide is a gas that is the result of fuels, like propane, not burning completely. The issue with carbon monoxide is that it is odorless, tasteless, and colorless – making it almost impossible for a human to detect. And it can be deadly.
Installing a carbon monoxide detector in your RV is incredibly simple and can save your life. These detectors can be purchased at any home store and be placed anywhere in your RV. Many are battery-powered, just like a smoke detector or for RV specific models can be directly wired into your 12V system. Anytime you have fuel, like propane, in an enclosed space is an excellent time to install a carbon monoxide detector.
No products found.
Maintain Proper Air Flow
When you have an enclosed space like an RV with a fuel source inside of it, it is essential to maintain airflow. Airflow is especially necessary while your furnace is running. That is why it is crucial to keep the vent directly to the furnace open and clear of any debris.
Routinely check your furnace vent to make sure there are no blockages. Any back-up from your furnace can be potentially dangerous.
Turn It Off if You Smell Gas
Any time that you smell gas, you should turn off your propane furnace. If you smell rotten eggs, which is an additive to make propane detectable to humans, there could be a back-up of propane in your furnace. Immediately turn it off and be sure to open up doors and windows to clear out the air. It might be cold, but it is more important to be safe.
Always be sure to be aware while using a propane furnace. If you notice any smells out of the ordinary, it’s best to turn things off and let everything cool down before you begin trouble-shooting. Here are the steps to detect and repair an RV propane leak.
Fix It Yourself RV Maintenance Course
The most costly parts of RV ownership are repairs and maintenance. That’s why I recommend learning to do your own RV repair and maintenance.
The Fix It Yourself RV Maintenance Course is the perfect way to learn how to do the most common repairs and maintenance on your RV. A Certified RV Technician wrote and filmed the course so you know the information is actually correct.
Plus it’s downloadable so you can access it from anywhere, even when boondocking in the middle of nowhere with no service.
Find out more about the best RV Maintenance and Repair Course available!
