This post contains affiliate links.
Starting a fire in the snow and cold weather can be challenging but for survival or warmth on a winter camping trip it’s an essential skill. Finding dry materials to burn and getting the flames and heat you need is what it’s all about.
To start a fire in the snow you need to identify the right location, prepare the area for burning, gather different sizes of tinder, structure the fire and maintain the burn.
All these topics and many others are detailed below to help you create the fire and warmth you want when you need it most. This is a skill that every camper, hiker and outdoor enthusiast needs to know and practice to stay safe in the wilderness.
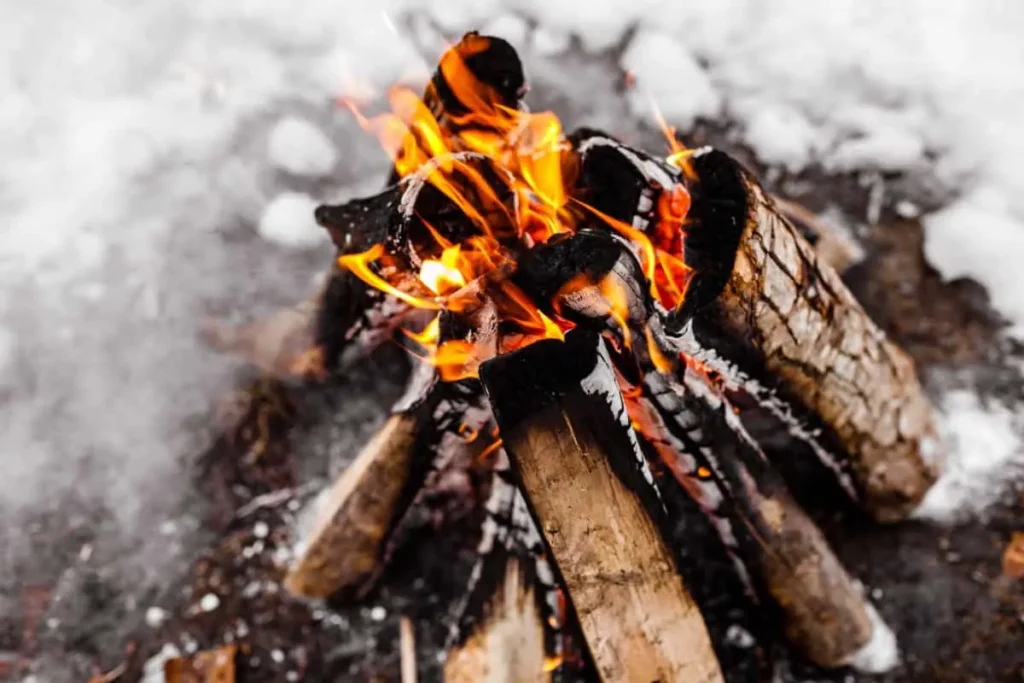
Table of Contents
Choosing a Location
Location is a huge factor in how well you’re going to be able to start and maintain your campfire. Your location should not only provide space for your fire but also kindling, logs and shelter.
If possible you’ll want to camp in a dry spot. If there was only light snow you can find some dry patches under trees and overhangs, but for a deeper base your options will be limited.
If there are dead grasses poking out of the snow these will be an indication that the snow isn’t too deep, they will also make great for kindling. Try to set up camp near dead standing trees to give you a good source of dry firewood. You won’t want to be trekking all over to find firewood once you set up your camp.
Find Shelter From The Wind
Choose a location that is not in an exposed area open to the wind. Too much wind is going to make it a lot harder to get a fire started and high winds can cause a dangerous situation by throwing sparks at you and your gear. High winds will also offset the heat from your fire reducing the warmth you’re trying to create.
You can look at the snow to see what areas get the most wind. Brittle and frosty areas of snow are a telltale sign of wind, so look for soft and undisturbed patches. Also, open rock faces are very windy and so are the banks of large bodies of water, so try to camp in the forest or up against a protected cliffside.
Finding shelter from the wind is one of the most important things to look for when selecting a location. The wind will make a winter camping trip much colder than you might expect. To ensure you’re fully prepared for your upcoming adventure be sure to read over our post on How to Stay Warm in a Tent. Being cold and sleep deprived on a camping trip is a recipe for disaster.
Use Nature To Your Advantage
Camping against a rocky cliffside won’t just deflect wind, it will also reflect the heat from your fire back at you. This will help keep you warm and dry and will also create the optimal environment for your fire.
You can use the geography of the cliffside to your advantage by building a snow wall around your camp. Another thing you can try is to stack logs or rocks around your actual fire pit. These tricks will cut down on wind and help keep heat trapped inside – both of which will benefit your fire.
Preparing the Area
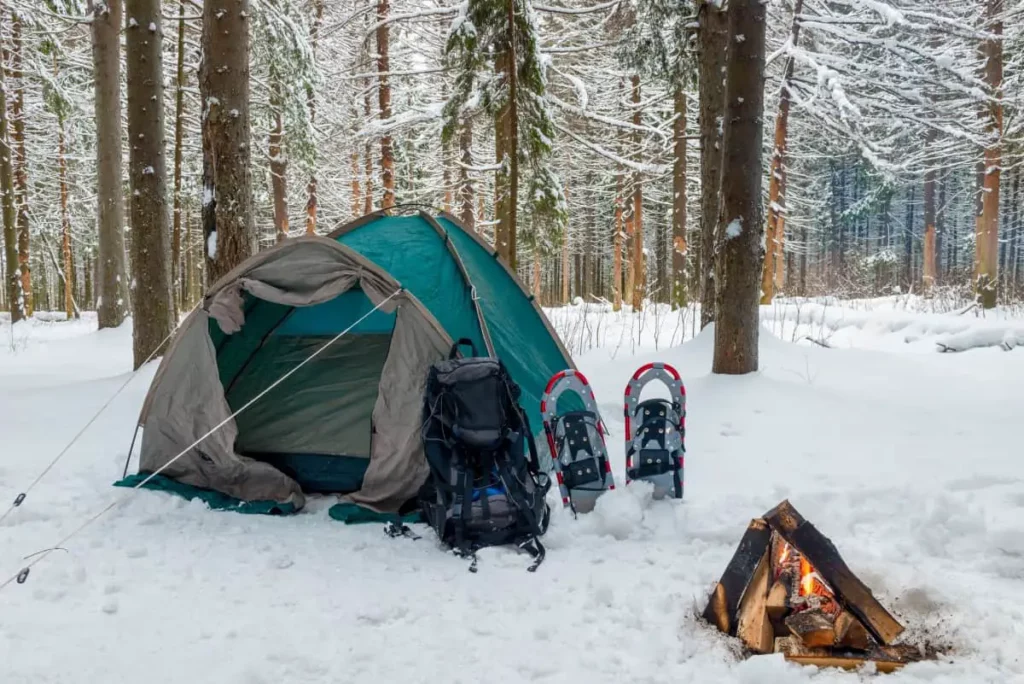
So you’ve found the perfect place for your winter camping adventure – a sheltered location with plenty of firewood around. Now it’s time to get your fire pit ready.
If you can dig through the snow, you’ll want to get to the ground and clear out a circular area for your fire. This might be especially helpful if it’s still windy at your camp since the fire will be protected by the surrounding snow banks.
If the snow is too thick to dig then you can either compact it or build on top of it. To compact the snow, take your snowshoes or your regular boots and stomp the snow down until it is flat and compressed. Then let the packed snow harden and it should be able to support both your tent and your fire.
Another option is to find a large, flat rock that you can use as the base for your fire. Just be sure to avoid uneven surfaces because your flaming logs can shift and send your fire crashing down.
Building A platform
To build on top of the snow, you can use logs and rocks to build an elevated platform that your fire will sit on. It’s best if you can find a round and mostly flat stone to put in the center in order to keep your fire from burning through your platform, but if that’s not an option then you can cut up some logs using your saw or axe.
Create a base at least 3-4 inches above the snow, heat rises so there will be minimal melt below the flames if your base is thick enough. The key is to provide enough protection so that the coals can remain above the ground level rather than falling through. Creating a platform with layered wood works best if rocks or stones aren’t available.
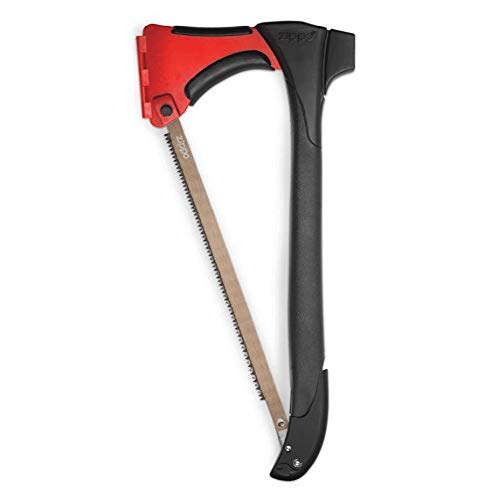
- 5" full tang 420 stainless steel axe head & durable polymer handle with saw blade storage
- 15" hardened stainless steel saw blade
- Heavy tent stake mallet
Prepare For Melting Snow
No matter how you prepare your fire in the snow, you’ll have to plan on some of that snow melting from the heat. The last thing you want is for that melting slush to make a beeline for your tent, so carve out a drainage path in advance for the water to follow.
Gathering Wood
Finding dry tinder may seem impossible when everything is covered in white, fluffy precipitation, but there are some hiding spots that can harbor dry wood even in the dampest of snow days.
Sources of Dry Wood
You can look at the bases of trees after a light snow, the branches above will keep the snow off of the ground level. Large rock formations may also help shield trees from getting snowed on, and their wood is going to be much drier.
Standing dead trees are a great source of dry wood no matter how much it has snowed, but regardless of how you find your wood you want to make sure you’re not going to run out as you’re trying to get your fire going.
Finding and Making Kindling
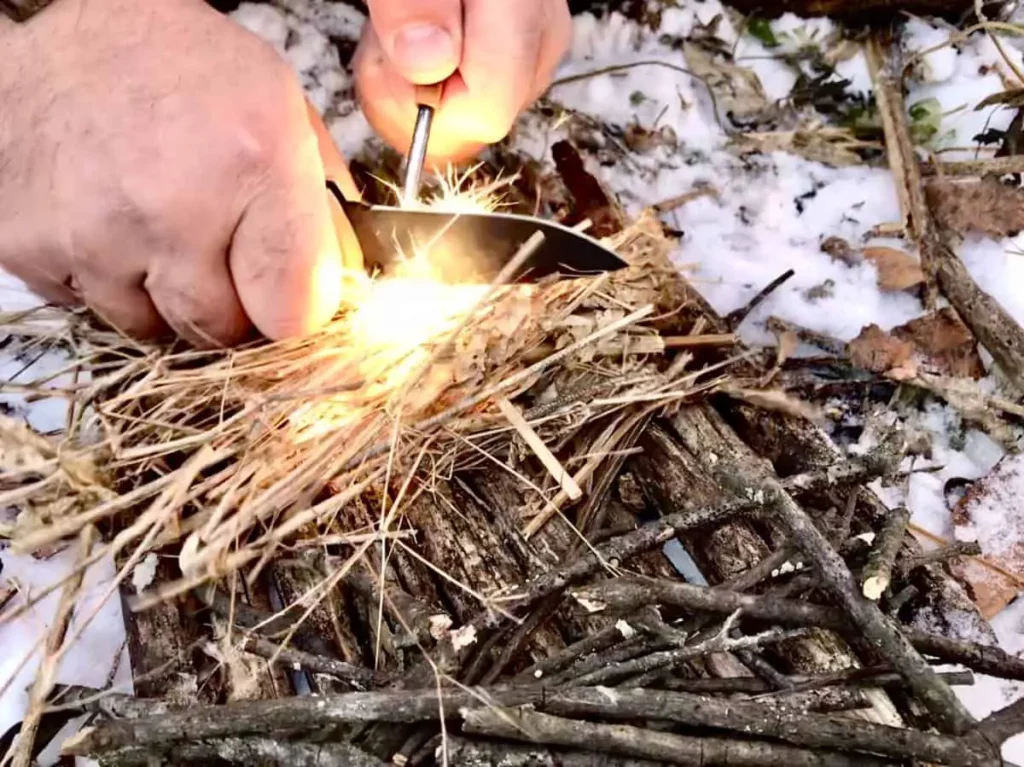
If there’s not a lot of dry grass, moss, or leaves around, you can make your own kindling by using a high quality knife to scrape off small shavings from larger branches and logs. Some tree barks including birch and cedar are especially flammable, and cutting that bark into strips makes for excellent kindling.
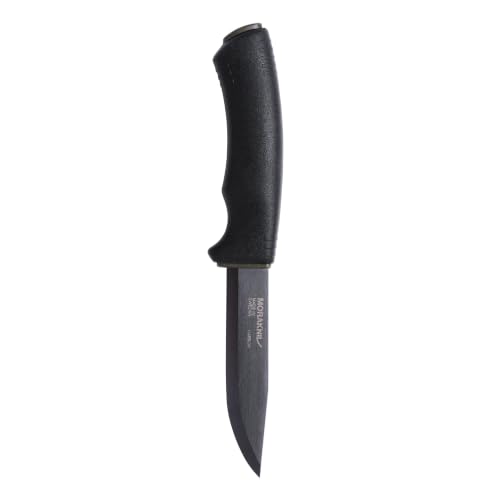
- FIXED-BLADE KNIFE: Strong and reliable; ideal for bushcraft, camping, backpacking, fishing, hiking, or survival
- PREMIUM BLADE: 1/8-inch carbon steel blade; Black DLC blade coating provides protection against rust and prevents reflections
- HIGH-FRICTION HANDLE: Ergonomic polymer handle with soft friction grip and finger guard; safe and efficient for use in all weather...
Gather a Large Supply
Even if you can’t camp close to dry wood, you’ll want to make sure you have a good supply of it within reach of your fire as well as your kindling to start. You can organize your wood into piles based on size, cut larger pieces with a sturdy hand saw to make it easier, The key is to start with as dry of wood as possible.
Scrape off any wet bark, leaves, and snow from the outside of the wood before adding it to your pile, larger pieces should be split using a hatchet to help them dry. Don’t add wet pieces to your stacks – let them dry on the side first.
Creating a Teepee
Not for your tent but for your fire. The teepee is one of the most tried and true methods of fire starting out there because flames naturally want to climb, and it’s relatively easy to do. First, gather your tinder (bark, moss, grass, shavings, etc) in a pile at the bottom. You don’t want to compress the material too much or your fire won’t have the air flow it needs to survive and grow.
Next, prop up a bunch of small sticks around the tinder pile in a teepee formation without smothering the kindling. You’ll want to leave tails of tinder sticking out to light first, and you’ll also want to leave a slight space in between sticks for air and so that you can add more kindling if need be.
Once your small teepee is set, build a larger teepee around it with your larger fuel wood. Make sure that you turn the split sides of the wood in towards the smaller teepee so that the wood dries out from that fire. This will help those logs catch faster.
At the start you’ll be focused on feeding the inner fire until it is providing consistent flames. Leave an access hole for feeding in small sticks and kindling while the larger wood dries and warms above it.
Eventually your teepee will collapse, and that’s ok as long as the fuel logs are lit and you’re able to quickly arrange them before adding more wood. If your teepee collapses before the fuel logs are lit you may need to rebuild it and try again.
Lighting the Fire
Before you get started, check your setup and make sure that you have everything you need and that you’re good to go. You don’t want to light your teepee just to lose your flame because you didn’t have enough kindling to keep it going.
You can use a homemade or a commercial fire starter if you have one to help get your fire lit such as cotton balls soaked with petroleum jelly. If you do decide to use one you should place it in the middle of your kindling while being careful to still allow airflow.
Being prepared for starting a fire in the cold weather is a necessity, have a look at our post on The Best Fire Starters To Bring Camping for more info. We cover all the best options of home made, natural and store bought fire starting materials. If you’re in a hurry you can also check out our top pick – Pyro Putty. We’ve tested them all and nothing is as dependable, long burning, or as easy to light.

- UNLIMITED SHELF LIFE: Pyro Putty’s innovative formula ensures it’s always ready. It's a reliable fire starter survival tool for all your...
- FULLY WATERPROOF: These fire starters for campfires work in any weather—rain, wind, or snow—even while floating in water. A must-have...
- ULTIMATE PERFORMANCE: A quarter-sized piece burns for up to 15 minutes. Lightweight and portable, it’s the ideal fire starter kit for...
You can use an open flame like a match or lighter to ignite the tinder, or you can use fire steel or flint to throw sparks. Start your fire at the bottom of the kindling, then gently blow on the flames to help them build. A little air here will aid your fire but this is where wind will be the most detrimental.
As your fire grows you can add more wood to the teepee. You’ll want to stack the larger pieces of wood in the downwind direction since that’s where the flames and heat will be blown toward and your wood is more likely to catch. You can add as much kindling and small sticks as you need to get a strong base to your fire, just make sure you don’t smother the flames.
Maintaining the Fire
Once your fire gets big enough, your teepee is going to get very unstable. You can let the teepee fall on its own, or you can help the process along by guiding it into a lean-to.
To make your lean-to, put the largest log you have against one side of the teepee, then carefully knock it over. Drape another two or three logs over top of the collapsed teepee, resting one end on the large log and one end on the ground. The exposed coals and burning wood from the teepee should ignite those logs as long as you leave some space between them for air.
Try and push your coals into a large pocket in the center to maintain your fire’s heat, and you can even cut up a large, dry log into chips that will create more coals.
Damp logs will smoke more than dry ones, and the largest logs will burn the longest. If you do have damp logs, you can dry them out by propping them around the edges of your fire pit or even suspending them over top of the fire.