This post contains affiliate links.
Whether you already have an RV or are thinking of getting one, you have probably already considered where and how to store your RV. Most RV owners store their RV outside since indoor storage options are few and far between. However, improper RV storage could lead to major damage to your vehicle that could potentially cost you thousands of dollars. This is especially true if you live in a state with intense winters and summers.
So, how do you store an RV outside? These are the basic steps needed to safely store your RV outside
- Choose the right location
- Wash the exterior
- Clean the inside
- Maintain proper ventilation and humidity
- Shut off propane tanks
- Add fuel stabilizer
- Rodent, pest, and critter proofing
- Take care of tires
- Consider your batteries
- Drain the fluids in your RV
- Cover up
Read on to get the full details on each step and make sure you are all set to store your RV outside.
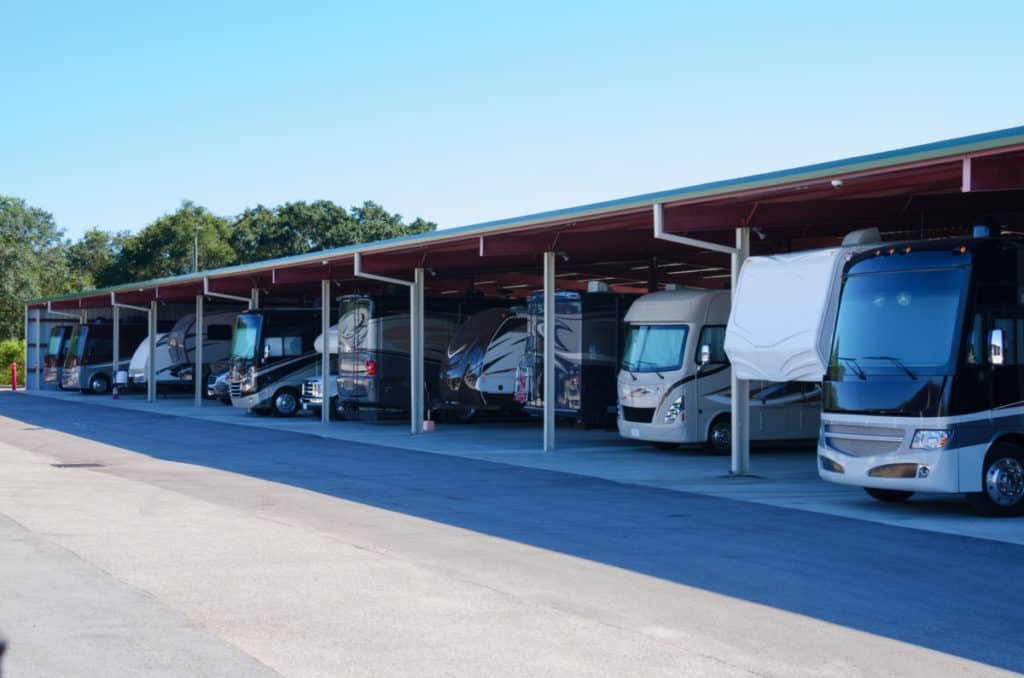
Table of Contents
Storing Your RV Outside
RV storage is very climate-specific. In other words, outdoor winter storage and summer storage require different and sometimes overlapping methods of care. Also, the climate you live in will affect how you store your RV too. This article will focus on important points that are useful for both seasons and all environments.
When it comes to leaving your RV outside, there are a few essentials you need to take into consideration before you get into the nitty-gritty. Read below to find out all the preparations for storing your RV outside.
Choose the Right Location
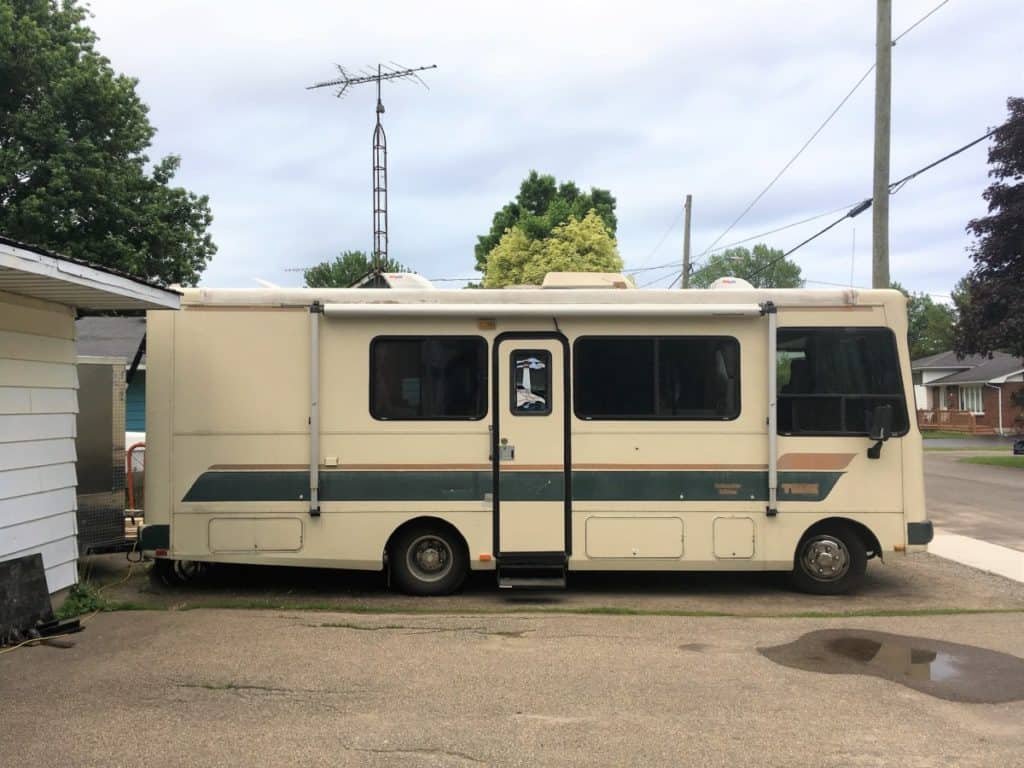
Step 0 is deciding where you will store your RV. It’s best to figure this out early on since there can be limitations of how long you can park it for at your house or if you have an HOA if you are even allowed to. You don’t want to be all set up to leave your RV for the winter only to find out you can’t park it there. When it comes to storing your RV outside, you can either park it near your home or at a designated outdoor storage area.
At Home
If you’re going to park your RV near your home consider the following:
- Trees drop sap, twigs, and leaves. You already know this from camping trips. So imagine that over several months. It’s a real pain in the neck to get rid of tree sap off your RV cover so avoid parking under trees despite the shade they provide.
- Nesting birds will get your RV dirty. Avoid areas where birds could easily create nests. You’ll thank me later.
- Keep it accessible. Park your RV where you can still have access to it so that you can make sure it is okay and even take it out for a drive from time to time.
- Take advantage of overhangs. If you have an extended cover on your front lawn or garage, then store your vehicle under that. It will provide extra shielding from the sun.
- Avoid parking your RV on grass, sand, or dirt. Even if you jack-up your vehicle, which you definitely should, you are still at risk of sliding when it rains or gets a little damp. The RV could also sink into the ground, so stick to asphalt and concrete.
- Choose smooth, dry blocks to store your RV on. Blocks will help protect your tires and keep your RV off the ground.
Pro Tip: Unfortunately, just because it’s your property doesn’t necessarily mean your RV can hang around in storage mode forever. There may be local laws or regulations that determine how long an RV can remain on your property.
If you can’t store it on your own property, whether it’s due to lack of space or HOA rules, ask your friends if they would be willing to let you store it on their property. This is the next best thing to having it at your house. Don’t forget to show your buddy your appreciation for parking your rig at his house with a gift card or dinner out.
Outside Storage Area
Storing your RV outside doesn’t just mean storing it in front of your house or garage, you could also park it in a large outdoor RV storage facility.
If you do decide to go down that route out of choice or necessity keep a few things in mind.
- These places aren’t always the most secure. Ideally, you will get a nice storage zone with security, fences, and cameras but that’s not always the case.
- Even if you don’t have anything inside, thieves don’t know that. Your fixtures or anything that can be sold for scrap metal is valuable.
- You also need to consider the fact that, if your vehicle is far away, you may not have the time or capability to plug in the battery, start it up every now and then, and check the cover for any rips or holes.
So storing your RV off site should be left as a last resort. Instead, keep your precious vehicle where you have access to it all the time.
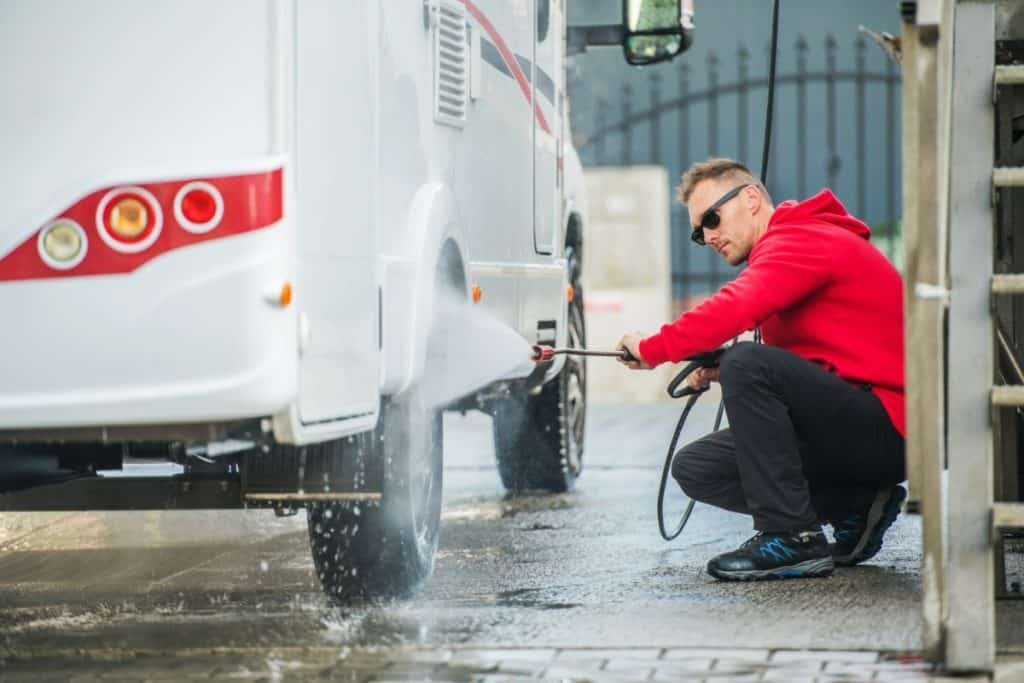
Start With a Wash
Before putting your RV into storage for the season, you should give it a thorough washing. This will prevent damage caused by dirty and grime build up and also keep your RV looking good.
The basics of washing an RV:
- Start from the top and move down as you go with a quick prewash. Make sure your vents and windows are all sealed, so you don’t leak into your RV.
- Scrub the roof down with a non-abrasive cleaner; otherwise, you risk chipping the paint. Use a soft-bristled brush and go in circles with both hands giving a bit of pressure. Don’t miss any spots, and get rid of all the dirt and grime.
- Hose down and then use a carwash cleaner or soap safe for automotive use. If you have a foam gun, go for it!
- Use Windex for the windows and clean both the inside and outside of your windshield. Use a microfiber towel for windows and to dry off all areas after you hose down the RV and let it dry a bit.
- Use a soft-bristled brush for any corners that could hold rust or grime.
- Finally, use a spray tire cleaner for your tires and a high-gloss polish for your rims but don’t overdo it.
Make sure the RV is completely dry before you store it. It also won’t hurt to wax the exterior of the vehicle to protect the paint from chipping and cracking under the heat of the sun, essentially aging your RV. A clean RV is the first line of defense against corrosive sand and dirt, and waxing the vehicle is the last step to seal everything before you cover it.
Consult with your dealer to see what sort of washing material is optimal for your specific brand and model. Also, don’t skimp on the wax, seriously… go with something high quality or you are going to regret it when its time to drive again.
Finally, you should wash the cover or any tent material you intend to cover your RV with and make sure it’s dry before you shield the vehicle.
Clean the Inside
It’s kind of a no brainer. I mean, if you have to clean the exterior, you can’t really leave the interior dirty.
This is where it gets a bit tricky. Sure, you have a lot of seams and windows to take care of on the outside but there are so many little details to clean, dust, and wash on the interior of your RV.
Not to sugar-coat it or anything, this is going to take some time and elbow grease.
Get rid of everything! By the time you’re ready to store your RV outside, there should be no food, valuables, or other perishable items in the vehicle.
- Start by removing all food items, and yes, that includes things in cans and packages you haven’t opened. Check your refrigerators, freezers, and cupboards.
- While you’re at it, remove all valuables. Stored RVs, even if they are on your property, are prime targets for thieves, so take your expensive items with you. Anything from pictures to tools should be taken out.
- Defrost your fridge and freezer and leave some small baking soda containers behind to prevent any smells from accumulating in your RV. You’ll also want to keep the fridge and freezer ajar while stored.
- Dust off everything from top to bottom and pay particular attention to cupboards, shelves, and ventilation. You are going to want to leave your rooftop vents slightly open, so dust is going to accumulate no matter what. It’s good to get in there every month or so to do a quick check and dust around a bit.
- Wipe down hard surfaces with soap and water, or disinfecting wipes. Pay particular attention to tables and counters. If you or your kids have spilled drinks in the past especially sugary drinks like juice or alcohol that can leave a stain or a sticky spot, you need to wipe these off.
- Clean your window sills on both sides using a brush and detergent like dish soap. If you didn’t clean the inside of your windows earlier grab the Windex or a vinegar and water mixture and use a lint-free cloth or newsprint to clean them.
- Bleach or disinfect the cupboards and corners inside your RV especially areas prone to moisture like the bathroom and under the sink. This will prevent mold and fungus from forming, which we will go over more in the humidity and ventilation section below. Use Clorox wipes if you are allergic to bleach.
- Finally, vacuum and mop away! Don’t leave any traces of dust, crumbs, or any sand or dirt. By the time you are done, the RV should look like it did when you first got it… that is unless you bought it off a friend or someone you found online.
Before you leave and lock up, take one final look for any valuables. Also, this one is obvious, but like food, you shouldn’t leave anything that could perish or freeze like shampoo, deodorant, toothpaste, or medicine.

Ventilation and Humidity
This is where weather conditions play a huge role. Where you live and store your RV is the number one thing you need to consider when you store your vehicle outside. Depending on where you live, humidity can work in your favor or completely destroy the RV.
People in humid states like Florida and Alabama should decrease humidity in their vehicles to prevent the formation of mold, fungus, and bacteria. Ventilation plays a huge role when it comes to maintaining the proper amount of humidity in your RV. Leaving your rooftop vents completely open could make the RV too humid, and shutting them off completely could make it too dry.
Tips for Reducing Humidity in Your RV
- Besides the fact that you should clean the interior of your vehicle, you can also place charcoal throughout the interior to absorb moisture from the air. You can pick up charcoal bags from Amazon that will help reduce moisture and smell in a neat little package.
- Open all cabinets and closed off shelves to prevent air from accumulating in one place and promoting molding.
- Only slightly leave your vents open to provide some air-flow. It’s a good idea to have vent covers as well to protect your interior for water. As long as you have charcoal in place and a proper RV cover, you should be safe from fungus and bacteria.
On the other hand, if you are in a dry state like Arizona, your main concern might be wood chipping and cracking.
Tips for Increasing Humidity in Your RV
- To increase humidity, you can place a few large buckets of water in the RV.
- Again open all cabinets and shelves.
- If you are in a dry state, you should almost entirely shut off your ventilation, leaving just enough of an opening to allow for some airflow to help circulate moisture and keep your RV from cracking.
Airflow is paramount, but like humidity, it’s a double-edged sword. Too much ventilation leaves the interior highly exposed to leakage caused by rain or melting snow. Not enough ventilation doesn’t allow for proper airflow. Slightly open the ventilation sliders on the top of your RV, not too much but just enough. As I mentioned, having covers on your vents will help keep the weather out.
Disconnect Propane Tank
To start off, you should shut off your propane tank. This is a great way to prevent certain odors that are especially attractive to rodents and insects, and more importantly, shutting off your propane tanks is an important safety practice that should be at the top of your outdoor RV storage checklist.
If your propane tank is not built in you can remove your tank altogether to be extra safe. If you do so, make sure to cap off the propane lines to keep insects and sand out. You can pick some caps up at your nearest hardware store. If you remove the tanks, store them in a dry and well-ventilated spot to prevent damages or rust.
Add Fuel Stabilizer
Now, if you have a motorized RV, you should change the oil and oil filter before storing it since acid accumulation can take place, which will corrode your engine. It is also very important that you add a fuel stabilizer to prevent deposits from forming throughout the fuel tank.
To add stabilizer simply:
- Add the stabilize, be sure to pick one that is correct for your vehicles fuel type
- Fill the fuel tank
- Take your RV for a drive to ensure the stabilizers makes its way through the entire tank and fuel lines. If your generator runs off the same fuel tank as your engine you should run it for a little bit too.
Pro Tip: When you store your RV, try to run the generator at least once every month for 15-30 minutes to keep everything in tip-top shape.
Rodent, Pest, and Critter Proofing
Think about it, if you were a small creature, where would you rather be during the cold winter? In the snow or inside a nice safe, and secluded vehicle. Yeah, I’m picking the latter as well.

Here are some tips for keeping your RV pest free:
- Check for cracks. When cleaning the interior, make sure there are no cracks, crevices, or holes in the corners, bottom, or on the walls of the vehicle, no matter how small! You can do this by looking for any places where you see daylight creeping through.
- Seal the cracks. Seal off these imperfections with expanding foam or silicon. Don’t just place tape it off. This is not an effective way to prevent pests from getting into your RV.
- Consider a repellant. As a final precaution, you may consider getting a deterrent or repellent. Unfortunately, some of the heavy-duty stuff isn’t necessarily organic or natural, but it gets the job done. So figure out for yourself if cleaning and covering is enough for you then don’t get deterrents.
Otherwise, here is a list of some great repellants for every specific problem.
- For mice and other rodents: Fresh Cab lasts up to 90 days
- For roaches: Combat Max 12 Month Roach Killing Bait
- For most insects: bugs hate peppermint. You could get a highly condensed extract and place a few drops on curtains and beds inside the RV.
- For ant: Diatomaceous Earth, sprinkle around the wheels of the RV, kills ants and other insects but safe for humans and pets.
- Also for insects and other pests: Ultrasonic pest repellers
Pro Tip: Leave some baking soda in specific places like cupboards, in corners, and in the fridge. This will prevent funky odors from accumulating and inviting nasty pests.
Take Care of Your Tires
RV’s are heavy, and you don’t need me to tell you that. So having a large load resting on the same spot for months on end is extremely damaging to the tires.
Flat spots and other complications can occur from improper tire care, including low tire pressure and expansion. In winter months the asphalt could get frozen and cause the RV to skid. Whereas in hot weather, your tires could expand, and they are at the full mercy of the sun.
Take proper care of your tires with the following tips:
- Jack up your RV. A slab of wood is ideal for separation between the hot or frozen asphalt or concrete. Make sure it’s wide enough so that there are no parts of the tire hanging off the sides.
- Get tire covers and protectors because the sun’s rays can be very deteriorating, especially for black surfaces. Learn more about Why You Should Cover Your RV Tires in my article
- You should also drive your RV every month or so, which will release pressure off the tires. However, just keep an eye on the weather and pick a fair weather day for your little jaunt.
If your tires get damaged you will need to replace them, which is costly, so take that extra step and make sure you’re all set for the winter or whenever you decide to store your vehicle outside.
Pro Tip: Make sure to check your tire pressure and inflate as necessary before getting back on the road.

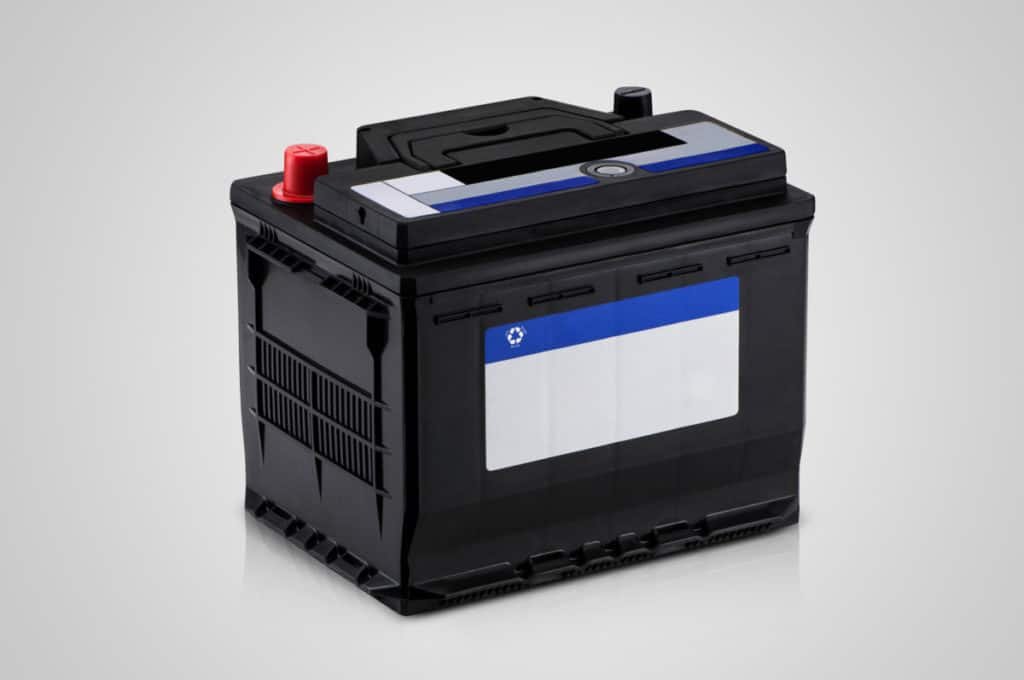
Consider Your Batteries
This part is especially important for the cold winter months, but RV owners in warm climates should also take note. In instances where you will not have your vehicle attached to an independent power source, remove your RV battery before storing it outside. This is especially true for RVs that have much larger and more expensive batteries
If you don’t want to remove your battery, then you need to keep it fully charged while in storage outside. Ideally, you should have electricity available so you can keep your batteries constantly charged.
A trickle charger is the best way to keep your batteries constantly charged. We have a solar panel on the roof of our RV that trickle charges our batteries even when our battery switch is shut off. If you do this and you cover your RV, make sure your solar panel still has access to the sun. Learn more in our article How to Store an RV Battery for Winter.
Pro Tip: This isn’t the battery we talked about above, but while we are on the subject of batteries, make sure you remove dry cell batteries from your smoke alarm, clocks, and other devices when you store your vehicle, so they don’t corrode. Do NOT drive or use your RV without the batteries placed back in the smoke alarms.
Drain the Water from Your Water System
This one may seem obvious, but a lot of people miss it. You need to drain all of the water tanks, holding systems, and plug your sinks and shower drain.
In colder climates, water is obviously going to freeze, causing damage to your pipes, fittings, and lines. This kind of destruction is going to be extremely costly to repair and not to mention time-consuming.
In warmer climates, you will find that freshwater that is standing still for days, weeks, and often months is an ideal breeding ground for all sorts of bacteria, algae, fungus, and mold. These gross things will set off a chain of events from bad odor to decay and rot to an all-out infestation.
Warmer climates will also damage your pumps, tubes, and tanks because they will essentially heat up the water inside, causing expansion and moisture accumulation, which will not only reek but could destroy your RV in the long run.
How to Drain Your Holding Tanks
You’ll need to drain down all of your tanks, which means the black, gray and freshwater tanks.
To drain your gray and black water tanks follow your normal process but be sure to rinse your tanks. You should have a spot to hook up a hose (DO NOT use your drinking water hose) that will give your tanks a nice rinse. If you are still new to the process follow the steps below.
- Put on gloves and go to your nearest RV dumping site.
- Start with the black tank first. Attach the dumping hose that should come with your RV to the dumping hole in the ground first! Do NOT attach it to the RV first.
- Once you have clamped to the dumping site, attach the other end of the hose to your drain outlet by removing the lid and clamping tight. Make sure all elements click before draining.
- Pull open the black holding tank valve FIRST and attach a hose with clean water to the rinse system to allow for everything to fully clear out of the RV.
- Then empty the grey tank. You could repeat this process a few times to be safe.
- Make sure you don’t hear any more water draining out before you disconnect from the RV first then holding the hose up high detach from the dumpsite.
- Rinse your hose, pack it up, throw those gloves away, washup, and you’re all set!
But you still aren’t done yet, the freshwater tank is the most important one to drain! It’ll take ages to empty your freshwater tank if you just let the pump run plus you will never get all the fluid out of the system.
Your RV should have a drain on the freshwater tank. Simply unplug the drain or open the valve and let the water out. Just make sure there is somewhere for all that water to drain into, you don’t want it pooling next to your house or under your RV.
Make sure your water pump is turned off, you don’t want to run it dry! After all the water is out, open all the faucets inside and flush the toilet to help let out any leftover water pressure.
Don’t forget about your hotwater tank! This is a commonly overlooked part of your water system that would be a pain to replace. There should be a drain plug on your hot water tank. Open that up and let all the water out.
At this point, you still have to get the rest of the residual water out of the system or you end up with a burst pipe. Two common methods are using Anti-Freeze or compressed air to flush your system.
Pro Tip: Water draining is something you can do yourself even if you have never done it before but if you want to be extra cautious and have the budget there are many trained professionals that would be happy to help.
Anti-Freeze for Your Water System
After you have drained all the water out, it’s recommended that you pump some RV antifreeze throughout the water system. Many RV will have a specific port for this, check your owners manual on how to do this. Make sure you get something that is non-toxic because you will pump the antifreeze throughout your freshwater supply tank as well as the tubes that feed into your faucets.
So unless you want to end up in the emergency room, consult your RV dealer for the best non-toxic antifreeze. Your vehicle manual should have a storage checklist, which will likely highlight the water draining steps you need to take before storing it for the winter.
Compressed Air to Blow Out Your Water System
This is our preferred method of winterizing our RV’s water system. We use a small compressor and a little adapter found at your local hardware store. Follow these simple steps to blow the residual water out of your system.
- Disconnect the water line between the pump and the rest of the RV, i.e. the pump outlet
- Open all faucets and taps in the RV, if you don’t water will spew back out at you from the open line in front of your face.
- Put the compressor adapter in the waterline and apply air pressure
- Continue until no water sprays out of the taps. Have a buddy hold open the toilet valve as well, you should be able to only partially depress it so you are letting water in but not opening black water valve.
At this point, there should be no water left in the system and your RV should be safe no matter how cold it gets.
Cover Up Your RV
Arguably the single most important accessory, that should ideally come with your RV, is the cover! You need to cover up your RV for a number of reasons especially if you are going to store it outside.
No matter how well you follow all the steps above, clean the inside and outside of your vehicle, apply wax, and hoist your RV up, nothing can prepare it for the environment it’s in except a nice quality cover.
Why You Need an RV Cover
There are many positives to owning an RV cover and protecting your rig:
- Extreme weather conditions like snow, hail, and blazing heat from the sun will slowly but surely damage your vehicle.
- You can expect anything from paint chipping and cracking, to tires losing pressure, your dashboard changing color, and overall decay.
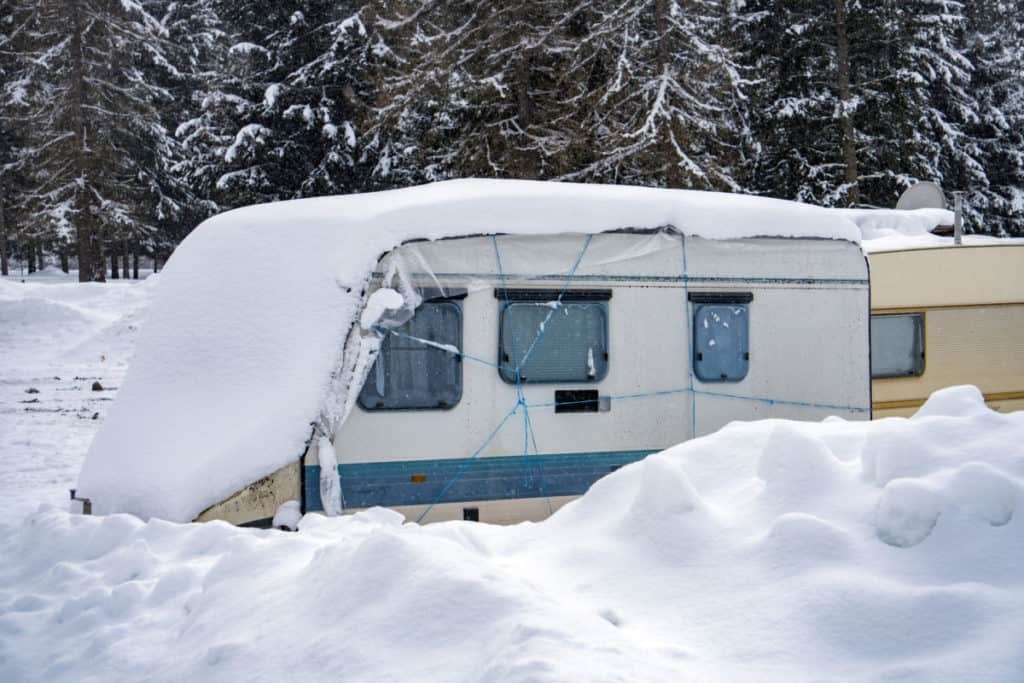
- During the winter months, a lot of snow is likely going to accumulate on the roof of your RV. With a cover on it will be easy to clean.
- They are great against damage from wind, bird droppings which can corrode into the paint and stay there forever, and tree sap which is another nightmare altogether.
- Covers are excellent ways to shield your RV from UV rays and water from seeping through. Especially since you should keep your roof ventilation slightly open to allow for air-flow, you need a heavy-duty waterproof and UV reflecting or at least blocking cover.
There are a few downside to RV covers though too:
- Can be awkward and difficult to put in place
- Expensive
- A poorly fitting cover can scratch up your RV
How to Maintain Your RV Cover
Your cover and your covered RV will require some maintenance throughout the off season.
- Like you would shovel snow off the front of your garage, you should also jump up on top of that vehicle you love so much and get shoveling! Of course, make sure you are safe up there. High quality covers will be less likely to freeze and cause a slippery situation.
- If the temperature doesn’t go below freezing, you can hose down your cover while it’s still strapped on the vehicle to get rid of any droppings and sand.
- Remember to wash and dry your cover before placing it on your RV and before storing it when not in use.
What if You Don’t Have a Cover?
Unfortunately, most RV’s do not come with a cover. You can find them easily enough at Camping World or Amazon but they do get expensive. But it is a good investment to protect your big investment in an RV.
Avoid using standard tents or tarps. These are ineffective and will often do more bad than good. Plastic tarps will trap moisture in-between your RV and the cover, causing leakage and decay.
If you don’t have a cover and you live in a dry, warm area, then the least you can do is cover your tires after you hoist the RV up and get special windshield covers to protect your dashboard. As I mentioned above I have an article dedicated to Why You Should Cover Your RV Tires.
Pro Tip: When shopping for covers, look for something with tight straps that will keep your RV in place and something that is breathable.
I hope this guide has helped you navigate the best practices for storing your RV outside. Each step in the process is crucial to maintaining your vehicle in good shape. So, avoid costly repairs, clean up jobs, and easily avoidable maintenance jobs by creating a storage checklist and following it to a T.
