This post contains affiliate links.
Is your RV refrigerator acting up? Is your food going bad due to insufficient cooling power in the freezer and the fridge? Or has the refrigerator stopped working? Perhaps the fridge compartment is icing up, or the refrigerator only performs properly immediately after defrosting. RV refrigerators are complex, and they do often fail. This troubleshooting guide will help you get your RV refrigerator back to health.
To troubleshoot an RV refrigerator, follow a process of elimination to determine 120V, 12V, cooling unit, and propane system functionality. Diagnose voltages and resistances using a digital multimeter. Conduct visual, and audible inspections to determine the status of various components.
When referring to an RV refrigerator, we’re talking about a propane/electric refrigerator, also known as a 2-way or 3-way absorption refrigerator rather than a 120V residential compressor refrigerator. An absorption refrigerator is powered by electricity and propane. Its cooling power is generated by chemical reactions induced by heat generated in a boiler. Yes, it’s highly technical, but stick with us while we break down the process of troubleshooting your RV refrigerator.

Table of Contents
Why do RV Refrigerators Fail?
An RV refrigerator has two primary systems governing its operation:
- A heating system that cools the refrigerator compartments using a piped coolant (a heated mixture of ammonia, hydrogen, water, and sodium chromate).
- An electrical control system that governs the 120V, 12V, and propane power systems.
The 12V circuit powers the RV refrigerator’s control system including temperature controls, fans, and lighting.
Many factors cause RV refrigerator failures including:
- unlevel operation
- electrical system faults
- propane line leaks
- burner clogging
- cooling system blockages and leaks
- component corrosion
- poor ventilation
- door gasket leaks
- thermostat failures
- heating element burnout
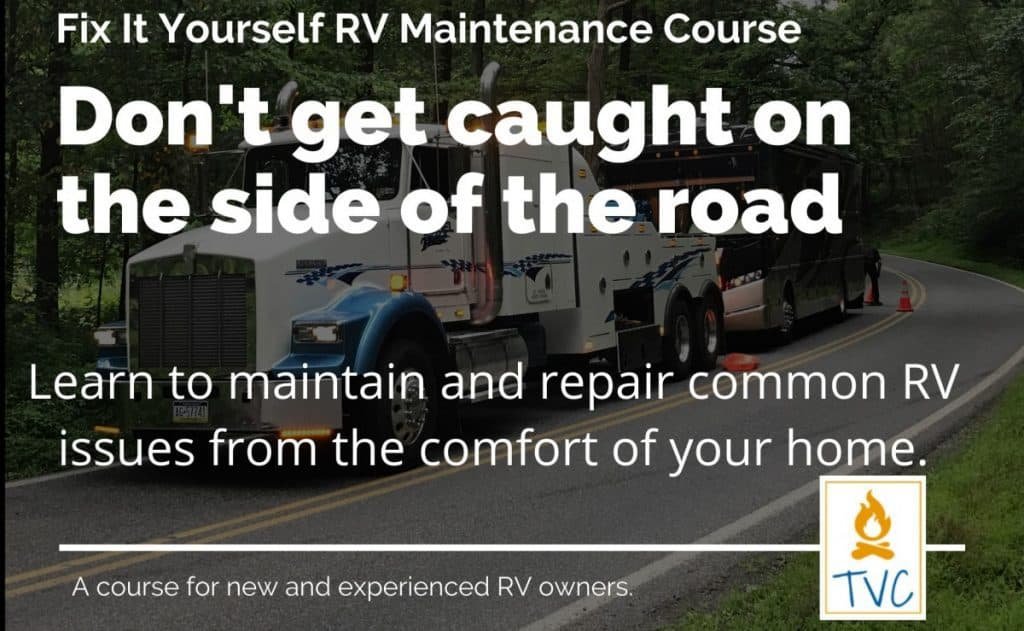
If you’re not technically inclined, the scope of possible faults with a crippled RV refrigerator will have you calling the professionals immediately. And you’d be forgiven for doing so. However, if you want to save some big bucks and learn how to fix all you’re RV problems when you get stranded on the road, consider the Fix It Yourself RV Repair Course.
The task of getting to know how your RV refrigerator works and how to diagnose its various components and systems will empower you. Armed with, at minimum, a basic idea of where the fault in your refrigerator lies, you’ll be able to make an informed decision on its repair or replacement.
Accurately diagnosing what’s wrong with your RV refrigerator will save you money on part replacement and professional repair costs.
Find out how an RV absorption refrigerator works in my recent article.
Common RV Refrigerator Problems
- The RV Refrigerator won’t work on 120V AC, 12V DC, or propane.
- The RV Refrigerator won’t work on 120V AC.
- The RV Refrigerator won’t work on 12V DC.
- The RV Refrigerator won’t work on propane.
- The RV Refrigerator Freezer frosts up.
- The RV Refrigerator cabinet won’t cool sufficiently.
- The RV Refrigerator Freezer won’t freeze.
- The RV Refrigerator cools and freezes, and then progressively loses cooling/freezing power.
These problems may be caused by a single faulty component or any number of defective electrical or mechanical parts.
Sometimes the problem can be as simple as your RV fridge needs to be level, find out more in my latest post
How to Start Troubleshooting Your RV Refrigerator
The first thing to do is get your hands on your RV refrigerator’s service manual. You will find diagrams and data sheets of the refrigerator’s operating systems and components in it. RV refrigerator service manuals will often include a troubleshooting guide.
If you don’t have a service manual for your RV refrigerator, contact the refrigerator manufacturer or dealer and order one, or go online.
Try these sites:
- www.norcold.com
- www.dometic.com
- www.myrvworks.com/manuals
- https://rvrefrigeratorrepair.com/wp-content/uploads
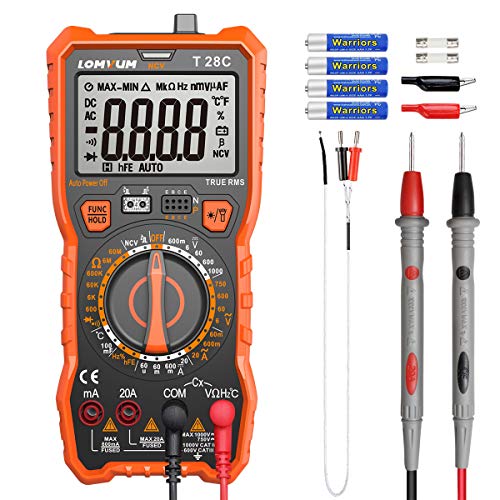
Your next step is to get some diagnostic gear. Apart from keen eyes, ears and nose, you’ll need a digital multimeter (DMM) to test various components. You can find one at your local hardware store or online retailers. This is the model I purchased from Amazon
To safely remove component covers, unscrew wire connectors, and pull out fuses from circuit boards, get your hands on a pair of needle-nose pliers, a flat-head screwdriver, and a Phillips screwdriver.
- Wear a pair of rubberized safety work gloves and rubber-soled shoes.
Warning: You’ll be working with electricity, propane, heat, and flame. Be careful! Don’t take any unnecessary risks.
Follow This RV Refrigerator Diagnostic Methodology
A good diagnostic process of elimination begins with the most common and easily fixed possible causes of the failure/problem. Follow these guidelines to make the procedure as smooth and beneficial as possible.
Start Inside Your RV
Prepare your RV refrigerator for diagnosis by ensuring you are parked on level ground. Remove all food items from the refrigerator and freezer (if you haven’t already) and place them in a cooler with ice.
Check for any fault codes on the control panel. Use your service manual to decode the fault, should any be indicated.
Find the location of your 120V AC circuit breaker panel and the CB for the refrigerator. Locate the 12V DC fuse panel and the refrigerator fuse. These locations should be identified in your RV owners manual or look for the diagrams for your RV model online.
Check The 12V DC Power
Examine the upper control panel, the ‘eyebrow’, on the fridge. Are the lights working? If they are, you know your 12V system is working, move on to checking the 120V AC power. If the lights don’t work, either your 12V system is faulty and needs to be diagnosed at the lower control panel, or your batteries need checking.
Check the 12V ‘Reefer’ fuse on the DC distribution panel. Use a voltmeter to measure the voltage at the 2 small terminals on either end. If you read 12V DC the fuse is likely blown. If it is, turn off the house batteries and remove and replace the fuse before turning power back on.
A faulty component or damaged wire could have caused the fuse to blow. The reason it blew will be determined after further diagnosis at the lower circuit board/control panel behind the refrigerator.
Check The 120V AC Power
Select AC mode on your refrigerator’s control panel. Your refrigerator’s 120V boiler heating element is working if the indicator light turns on. If the lights don’t come on, check the circuit breaker, otherwise your control panel may need to be replaced.
Check your interior distribution panel to see if the 120v refrigerator circuit breaker is tripped. If yes, reset it and continue your diagnosis to the lower control panel behind the refrigerator. (more details in section B below)
Check The Propane Supply Pressure
Check that the propane shutoff valve is in the “OPEN” or “ON” position to provide gas to the refrigerator.
Turn on all the propane stove burners. If they all burn as expected, your propane pressure is acceptable. If propane pressure is weak, your gas cylinder regulator needs attention or replacing.
- Inside the refrigerator cabinet, attached to or near the cooling fins, is the thermistor (a type of thermostat that regulates the operation of the boiler in the cooling unit). Mark its position in the fridge with a felt tip pen (we’ll return to the thermistor a little later).
Checks From The Exterior
Open the refrigerator’s rear access hatch from the RV exterior. The rear of the refrigerator is where the main control systems reside. The lower control panel (circuit board) manages the distribution of 120V AC and 12V DC power to the refrigerator cooling unit (boiler element/s), propane activator (burner igniter), fans, thermostat and thermistor, and the upper control board (eyebrow).
If your refrigerator showed no signs of power loss inside the RV (120V AC, 12V DC and propane pressure were all flowing normally to other appliances) and no problems were visible on the interior AC/DC distribution panel, the fault has to reside behind the fridge.
With the side vent open, your manuals, datasheets, multimeter, and tools in hand, remove the lower control Panel cover.
Now let’s focus on our list of common RV refrigerator problems and applicable diagnostic methods for each:
A. The Refrigerator Won’t Work on 120V AC, 12V DC, or Propane.
- Turn off your propane tanks.
- Check the Voltage of the 120V receptacle.
- Check the Voltage of the 12V fuse on the control board.
- Check the 120V and 12V (if applicable) boiler element connectors.
- Detach the boiler element connector at the boiler and check the resistance (Ohms) of the boiler heating element/s.
- Check the Voltage of the heating element relay switch.
- Check the boiler trip switch (located on the boiler).
- Check the 12V burner igniter fuse.
- Check the Voltage of the thermistor connector.
- Unplug the 120V power supply and turn on the propane.
- Remove the propane burner cover and check the integrity of the flame. It should burn hot and blue with a soft roar, with no sputtering or yellow flame.
These components are critical to the functioning of the refrigerator in either (or both) propane and electric modes of operation.
If any of these components shows insufficient or zero Voltage, or an ‘open’ Ohms reading, REPLACE.
If the propane flame is weak, or the burner is clogged. REPAIR – clean with compressed air and alcohol.
| Preview | Product | |
|---|---|---|

| Wholesale Sensors Replacement Norcold 636658 Thermistor Assembly 24 Month Warranty & USA Support | Check Latest Deals |

| Norcold Inc. Refrigerators 619153 Spark Electrode | Check Latest Deals |
Most Likely Problem: If all the lights, boiler heating element/s, and the propane burner are working to spec, the fault lies in the cooling system.
- Check for any signs of coolant leakage (look for a yellow, powdery residue and the smell of ammonia). If you see and smell a coolant leak, your cooling unit has ruptured – REPLACE.
- Important Note: The cooling unit on an absorption refrigerator is a sealed unit and CANNOT BE RECHARGED!
B. The RV Refrigerator Won’t Work on 120V AC.
- Check the Voltage of the AC receptacle.
- Check Voltage of AC fuse.
- Check Voltage of heating element connector.
- Check Resistance (Ohms) of 120V boiler heating element.
Should any one of these components be faulty – REPLACE.
C. The RV Refrigerator Won’t Work on 12V DC.
- Check Voltage of 12V DC line from battery.
- Check Voltage of 12V DC fuse on the control board.
- Check Voltage of 12V connector to the boiler heater element.
- Check Voltage of Relay switch to the boiler heating element.
- Check Resistance (Ohms) of the 12V heating element (if applicable).
- Check Voltage of line to propane burner igniter.
Should any one of these components be faulty – REPLACE.
D. The RV Refrigerator Won’t Work on Propane.
Assuming gas pressure is fine:
- Check for leaks on the propane pipe and valve connector.
- Ensure the 12V burner igniter is working.
- Check boiler overheat trip switch.
- Ensure the flame is burning clean and strong.
- Ensure the gap between the igniter electrode and the burner is to spec.
Should any of these components be faulty – REPAIR, CLEAN, or REPLACE.
E. Freezer is Frosting Up
- Check the integrity of the freezer gasket. Place a strip of paper between the gasket and the freezer doorway. If it offers no resistance as you pull it out, the gasket seal is weak and allows humidity to enter the freezer – REPLACE.
- Check the rear ‘cat box’ seal. If there are any gaps between the cat box cover and the body of the refrigerator, you will see streak marks on the rear of the fridge. All gaps around the perimeter of the cat box need to be sealed to prevent humidity and warm air from entering the cat box, causing ice to form an insulating barrier between the freezer evaporator and the cooling unit – REPAIR.
F. The RV Refrigerator cabinet won’t cool sufficiently.
- Repeat steps E1 and E2 – REPLACE/REPAIR
- Check Thermistor Resistance (Ohms) and setting – ADJUST or REPLACE.
- The refrigerator chimney isn’t ventilating sufficiently. Insert baffles and insulate the chimney area to ensure smooth and direct airflow from the lower vent, up across the cooling unit, and out the upper vent – REPAIR.
Important: Correct ventilation of an absorption refrigerator is critical to its efficient functioning. Neither fridge nor freezer will operate optimally without a strong flow of cool air passing directly over the cooling unit.
Watch this video to learn how to achieve proper airflow behind your RV refrigerator: https://youtu.be/ZHgOVrjibZ4?list=PLk44vSl27TRBtE1CmMkPb02ayS5H1sKbB
- Ensure the refrigerator chimney is insulated with the rear of the refrigerator no more than an inch from the sidewall of the RV. There should be no gaps between the sides and top of the fridge and the RV wooden cabinet.
- Check 12V-cooling fans are working. If none exist, install a set of refrigerator fans – REPAIR.
To learn more about a THERMISTOR and how to diagnose and fix, watch this:
G. The RV Refrigerator freezer won’t freeze.
- See and repeat steps E2 and F3 – REPAIR.
H. The RV Refrigerator cools and freezes after defrosting but then progressively loses cooling/freezing power.
- See and repeat step E2 – REPAIR.
Watch this video to learn about RV refrigerator ICE DAMS:
Final Takeaway
Yes, it’s somewhat intimidating, getting your head and hands around the workings of an RV refrigerator. If yours fails, remember, you can’t recharge it with coolant like you can a residential compressor refrigerator.
But, you can troubleshoot it effectively with the necessary service manual and technical datasheets. Stick to this methodology, and you’ll succeed in isolating your refrigeration problem. If you feel you’re out of your depth, call a professional. They’re out there, and they’ll come to you!