This post contains affiliate links.
Water damage is a serious concern whether you’re seeing the signs in your own RV or in an RV you’re considering purchasing. Pervasive water damage that has happened over a period of months or years can cause issues with mold and structural damage.
How do you inspect an RV for water damage? By paying close attention to the places where most water damage in RVs occurs including the roof, ceiling, walls, and floor. Water damage also tends to accumulate around areas where the RV has been compromised by breaks in the exterior, such as holes, seams, and seals.
Water damage is a common issue with owning a vehicle designed for the outdoors, but as long as you catch it early, you may have a chance to reduce and reverse the damage.
Read on to find out more about where you should inspect your RV for water damage and what you can potentially do to repair it.
Table of Contents
Water Damage Checklist
Here is the checklist for everything to look at when inspecting your RV for water damage
- Window Seals
- Door Jambs
- Slideout Seams
- Windshield Seals and Weatherstripping
- Exterior and Interior
- Roof Seals
- Soft Spots
- Holes
- Body Seams
- Staining Discoloration
- Mold
- Rust on Exterior Screws
- Condition of Caulking
- Storage Compartments
- Electrical Components
- Musty or Damp Smells
Inspect Every Window Seal
Window seals are installed in the area where the windows fit into the frame of the vehicle. These areas are fitted with seals to prevent moisture and wind from entering at that point.
Window seals are notorious for degrading and allowing moisture to enter the RV. Rain can come from all angles in a moving vehicle and as the water drips or is blown into the areas where the windows meet the RV body, a compromised seal can allow water to enter and cause serious damage over time.
Leaks through the window seals between the frame and the vehicle body are usually the result of dry-rot or aged window seals. This can usually be remedied by removing any old sealant, cleaning the area thoroughly and adding new sealant around the window in a single continuous bead. Doing this will typically be all that is necessary to prevent further damage.
When checking window seals on your RV, be sure to check the following windows:
- Driver’s side door window
- Passenger side door window
- Window in door to RV living quarters
- Any windows in RV living quarters
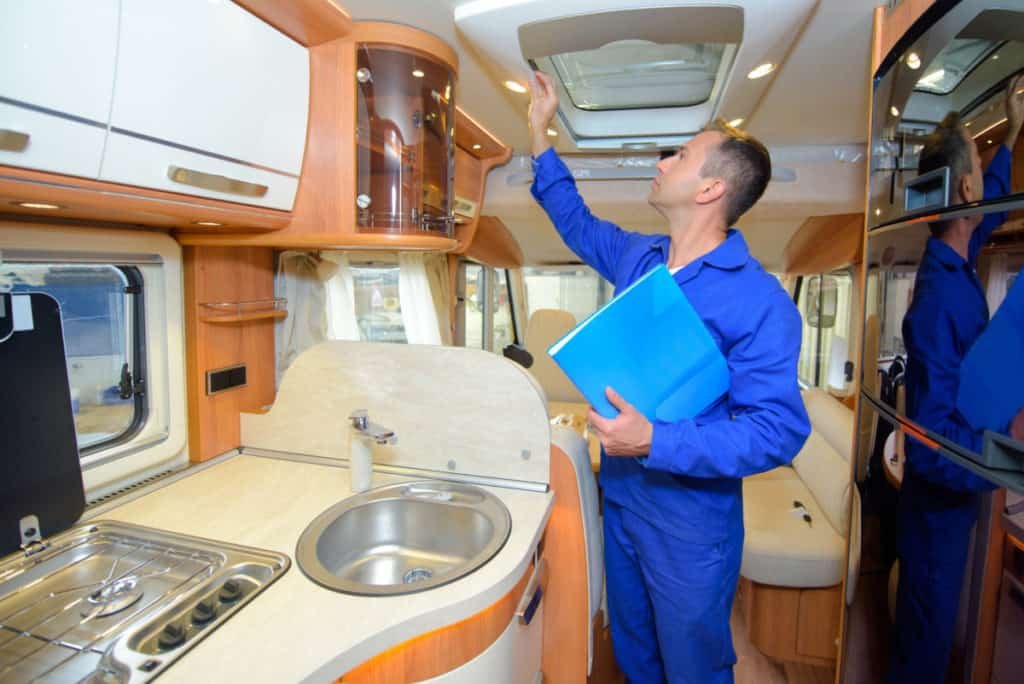
- Roof skylights
If you find damage to any of the interior seals around the glass panes of the windows, it is best to completely replace the seals. Many RV windows are manufactured in a way that makes replacing the window seals an easy task
With older models, the window glass may have to be taken out to remove the old seals. Once the glass is out the frames need to be cleaned around the edges before new seals can be installed in the window frame.
In some instances, the entire window frame may need to be removed to be repaired which is not an ideal situation. This can be an intensive job, and it is usually best to have two people available to help with removing the glass windows.
If you find water damage during your inspection of the window seals you’ll need to reseal the window as soon as possible to prevent further damage.
Inspect Every Door Jamb
The door jamb is the structure that surrounds the door that the hinges get mounted to. The connection between the jam and the door is kept waterproof and weatherproof by a seal when it is closed. If it is operating properly, a door jamb prevents moisture from penetrating the RV and also prevents drafts from entering from outside.
Like window seals, door jambs can become a chink in the armor of an RV. If the seals around the door jambs break down it can allow moisture to leak into the RV and rot or rust the supporting frame and floor.
If the seal is compromised around the window weather stripping on the door, water can drip into the bottom of the door and leak out through the door jamb. If water runs from the top of the door into the bottom of the door it may escape through the lower corners.
So if you see what appears to be water damage at the door jambs of the RV, you should check the adjacent windows for leaks as well. It may be that the window needs to be resealed in order to keep water from leaking down into the door and finally dripping out at the door jamb.
When inspecting the door jambs of your RV for water damage, check the following areas:
- Door jamb lower corners
- Around the latches and hinges
If water damage is discovered at a door jamb, investigate the area to determine the source of the water leak and repair it immediately. You’ll also want to check if the water has affected the entry step and if it opens properly or not.
Once any leaks are identified and repaired verify that no more water will leak around the door by spraying the closed door with a hose. Finally, seal the bottom of the door jamb with a sealant such as Proflex to make sure it does not continue to let water into the interior of the RV cabin.
Inspect Every Slide-out Seam
RV slide-outs can add a convenient amount of space to an RV cabin without adding bulk, but these mechanisms leave the RV cabin vulnerable to water damage when the seams become degraded with age or neglect.
In the case of electric slide-outs, water damage can cause even worse damage than cosmetic deterioration. It can actually short out the electric components of the slide-out and keep it from functioning properly.
One common issue with water damage in slide-outs is a soft floor, which is symptomatic of water having accumulated in the flooring for an extended period to decay it from the inside-out. Stepping on the flooring of a slide-out with this problem will feel squishy.
The cause of this water damage in RV slide-outs is usually a leak around one of the seams. Here is a checklist of the seams to check on the slide-out to inspect for water damage:
- Check seams along the roofline of the slide-out
- Check seams along the bottom of the slide-out
- Check seams between the slide and the RV body
- Check all interior seams
- Check all exterior seams
It is important when checking seams in an RV for damage that you remember to check the seam area both on the interior and the exterior of the vehicle.
Just because an RV is not showing interior damage doesn’t mean that degradation of the exterior seal isn’t letting water into the walls of the RV.
If degradation of the slide-out seams is found, the extent of the water damage should be addressed, and if possible, the seams should be resealed. If too much damage has already occurred, the slide-out itself may require replacement.
Inspect the Windshield Seal and Weatherstripping
Another seal you need to check to prevent water damage to your RV is the windshield and associated weatherstripping. If your windshield is not properly sealed, it can allow moisture into the front of the RV.
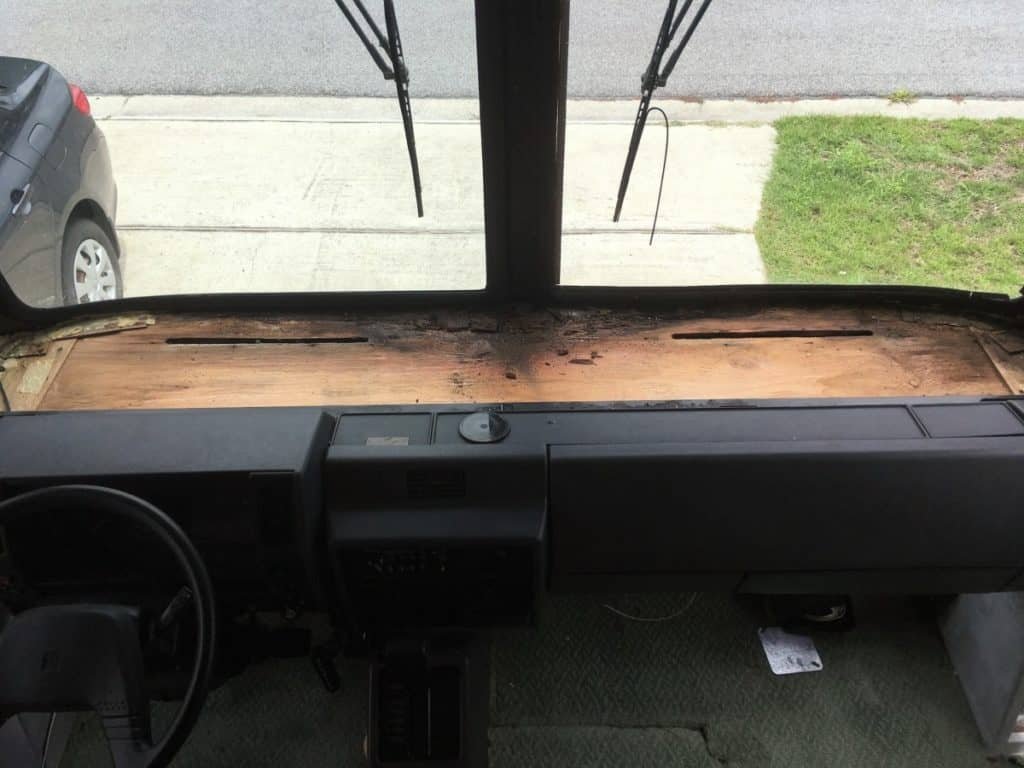
Excess moisture around the interior of the windshield can cause fog to form when it comes in contact with the cooler outside air. This can decrease the visibility through front windshield and become a driving hazard.
Water damage around the dashboard of the vehicle can become a serious issue for many of the RV’s electronics components. Water damage in the driver’s area of the RV can lead to electrical shorts of your instrument panel or navigational equipment.
To check your windshield area for potential water damage, inspect the following areas:
- Check for wetness or condensation on the interior of the windshield including around the edges
- Check for dry-rotting in weatherstripping and other trim around the exterior of the windshield that could allow moisture to seep into the cabin.
Inspecting The RV Exterior And Interior For Water Damage
It’s important when you’re inspecting for water damage in an RV that you inspect both the exterior and the interior of the vehicle. Both the interior and exterior of an RV are susceptible to water damage. Leaks in the exterior of the RV can often lead to damage to the interior.
Once you see water damage on the interior of the RV in the form of discoloration, soft flooring, or the appearance of mold or rot, water damage is usually extensive. This kind of water damage can be both expensive and tedious to repair
Sometimes if you find water damage on the exterior of the RV however, you can catch and repair it before it manages to cause damage to your RV’s interior. Interior materials are usually not waterproof like exterior materials so they tend to become damaged much quicker and more easily.
If water damage is discovered on the interior of the RV around the edges the location needs to be noted and expected from the outside as well. Depending where the water damage occurs, how extensive it is, and how complicated the repair would be, it may require attention from an RV service center.
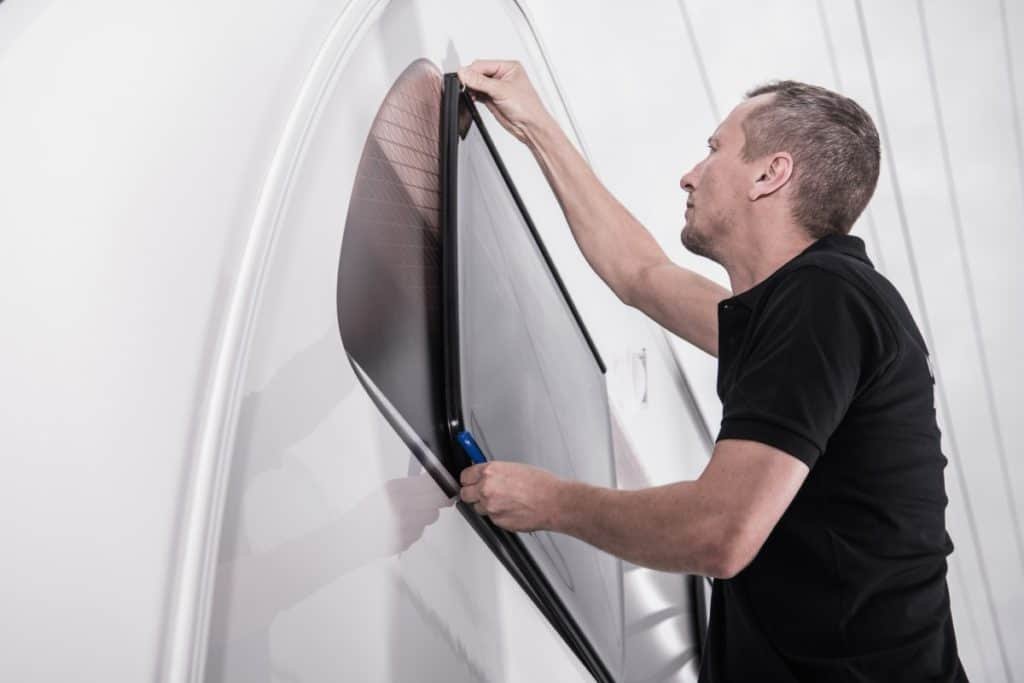
Inspect Seals Around the RV Roof
When inspecting your RV for water damage, you should pay extra attention to any seams and seals present in the roof area. The roof is one of the most vulnerable areas of an RV to water leakage since water tends to collect on the roof in the form of rain and snow.
Fluctuating temperatures and the sun’s UV rays will damage the roof sealant over time causing weaknesses. These weak points can allow water to leak down into the roof of the RV causing damage that is difficult to detect. If left unchecked, this kind of leak can cause severe water damage to the interior of the RV.
To inspect for water damage in the RV roof, climb up and check carefully for soft spots by tamping down with your foot or pressing down with your hands. Be sure that the RV can hold the weight of a person. You don’t want to end up falling through the ceiling.
If any seals in the RV roof are found to be defective, they need to be replaced in order to prevent water damage. If a point of water damage is found, further inspection should be done to see how extensive the water damage is on the RV’s interior at the same point.
Check the following RV roof seals to inspect for water damage:
- Front and Rear RV roof seals
- Seals where the roof joins the RV sidewalls
- Seals around skylights and vents
- Around rooftop air conditioners and antennas
If a leak is found along the roofline, the RV roof will need to be waterproofed immediately to prevent more water damage from occurring. Ideally, the RV should be stored in a garage or under an awning until the water damage has been contained and repaired.
Inspect for Soft Spots
One indication of water damage on the interior of an RV is a soft spot in a wall or (more commonly) the flooring. Soft spots are a worrisome symptom of water damage in RVs as they are indicative of long-term damage that may have compromised the structure of the RV.
In the case of soft spots, oftentimes, an RV’s floor will have to be completely ripped up and replaced, and the subflooring usually has to be replaced as well. This is both an expensive and time-consuming process.
Another area of the RV to check for soft spots is in the roof. A soft spot in the roof is usually an indicator that water has leaked into the roof at some point and damaged the internal structure.
Obviously, a structurally compromised floor or roof is not safe or roadworthy, so you’ll need to repair any soft spots you find. Soft spots in the floor of an RV are especially common in slide-outs or bathroom areas.
Inspect for water damage related soft spots in the following areas:
- Roof
- Flooring
- Bathroom and shower area
- Slide-outs
Inspect for Holes
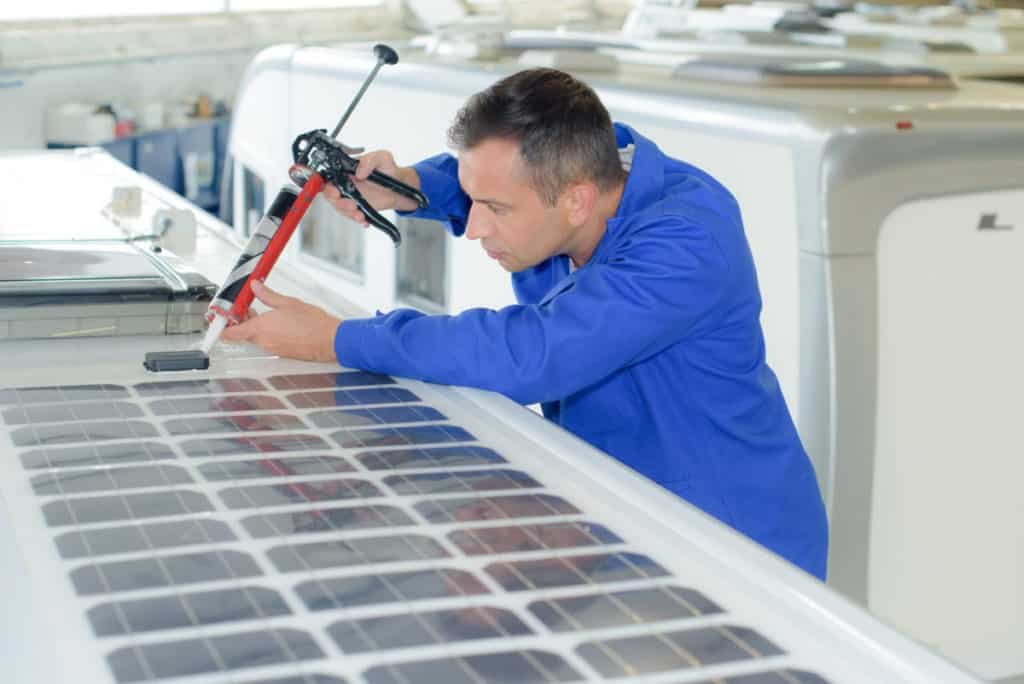
If an RV has been customized in any way by the addition of solar panels, a satellite, or other aftermarket accessories, holes may have been introduced to the exterior of the RV that can potentially allow water into the vehicle.
Another way holes can end up in an RV is through rusting. This is particularly an issue with older models from areas of the country that are prone to rust. RV’s that were purchased or primarily used up north tend to rust quicker due to the use of road salt. Likewise with those that have spent and extended amount of time near the ocean’s salty air.
When checking for rust and holes in an RV be sure to examine the exterior thoroughly using a small mirror to see up underneath it. Don’t be afraid to get down on your hands and knees and take your time—an RV is a big vehicle, and you need to check every inch of it.
Also check for holes left by old accessories that have been removed, especially from the roof. If holes were left unfilled they need to be sealed up immediately or used for new accessories that are bolted in their place.
Inspect Body Seams
To inspect for water damage, you need to look at every body seam on the RV. This might seem like a painstaking process, but it doesn’t have to be done regularly. Catching water damage early is the key to saving thousands of dollars in repairing your vehicle.
To make sure you’ve inspected each seam, break the RV down into the following categories:
- Front Passenger Side
- Front Driver’s Side
- Passenger Side Body
- Driver’s Side Body
- Rear (bottom, sides, top)
For each section of the RV, go over each seam, and check for potential weaknesses or evidence of water damage, such as corrosion or oxidation (rust). Keeping a checklist to ensure that you don’t miss any seams.
If you are inspecting the exterior of the RV to try and locate the source of interior water damage, be sure to check a wide area. Once water has entered from the exterior it can travel a long way before showing any signs of damage.
Inspect for Staining/Discoloration
While rust is a common sign of water damage when it comes to the exterior of the RV, interior RV water damage is more often seen in the form of discoloration, such as a stain on a ceiling or wall.
Another sign that there may be some moisture issues is the wrinkling of wallpaper along areas of the walls. Excess moisture will cause the glue to unstick and the wallpaper to ripple.
Staining can be the sign of the breakdown of the ceiling or wall materials as a result of being wet over a longer timeframe. Once the leak that is causing the discoloration is fixed, the cosmetic damage can be repaired.
Once an area of discoloration is found, it is vital to first fix the source of the water leak and seal it up before attending to any cosmetic repairs.
Inspect for Mold
While lighter stains might just be the result of water damage, darker discolorations and stains on walls and flooring in an RV can be a sign of mold infestation. Mold is the result of water damage over a period of several years.
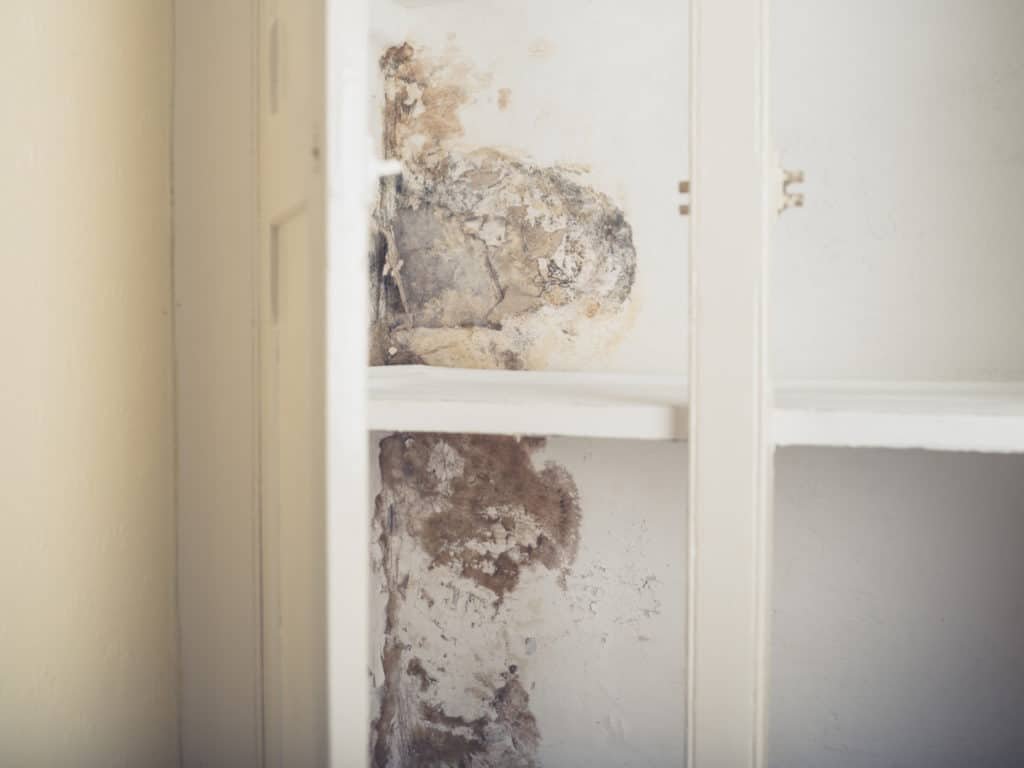
If you find what appears to be mold on the interior of an RV, you should have it professionally inspected. Mold spores can be very toxic to people and exposing yourself to them can be very dangerous. If you are attempting to address a mold issue yourself be sure to wear a full respirator, not just a simple paper mask.
The most dangerous kind of mold found in RVs relating to water damage is black mold. This mold releases toxin that can cause the following symptoms in people:
- Coughing/wheezing
- Sinus infections
- Allergic reactions
- Skin rashes
- Asthma and shortness of breath
Finding mold in an RV is worrying, as it indicates water damage that has gone unchecked for a long time period. If considering the purchase of an RV and mold is found during the inspection, it would generally be recommended to avoid that purchase.
Inspect Outer Screws for Rust
When doing an exterior inspection of an RV for water damage, one area to pay attention to is the outer screws. This might seem like a tedious task, but rusty screws are a sign of possible water penetration.
Ideally, these screws should be the same color as the rest of the RV. When exposed to pervasive moisture, the metal in these screws will oxidize causing the screws to rust and turn reddish or brown in color.
While it is not uncommon to see rusted outer screws on an older model RV, finding rusted screws is a sign that there may be other water damage present in the RV. This is a sign that further inspection is needed. Rusted screws should also be removed and replaced with new screws that are fitted with a rubber washer.
When fitted with a rubber washer, stainless steel screws will prevent any water from working its way past the screw hole and getting into the interior of the RV.
Inspect for Cracked or Peeling Caulk
When checking the seams and seals of an RV, one of the things you should be looking for is cracked or peeling caulk. After repeated exposure to standing water, fluctuating temperatures, or simply as a result of old age, the caulk that forms the seals in an RV will begin to break down.
After caulk breaks down, moisture can then enter the RV and wreak all kinds of havoc, cosmetic and otherwise. So it’s important to periodically inspect your RV caulk for weaknesses and repair it if any are found.
Repairing the caulk on your RV through seasonal inspection and maintenance may seem like a boring chore, but it’s worth it when it can mean the difference between having to spend thousands of dollars in repairs or not.
Inspect Bottom Compartments for Standing Water
One area to pay special attention to when inspecting an RV for water damage is to check the bottom storage compartments.
This is an area where standing water tends to accumulate, and without the chance to evaporate away, standing water is one of the biggest culprits for water damage.
If standing water is found in the bottom compartments, this means that the door seal or an area above the compartments is not waterproof. This leak should be tracked down and repaired before causing damage to the compartment’s structure and the items inside it.
Since bottom compartments in an RV are typically used for storage, you definitely want to make sure you don’t have water leaks in that area.
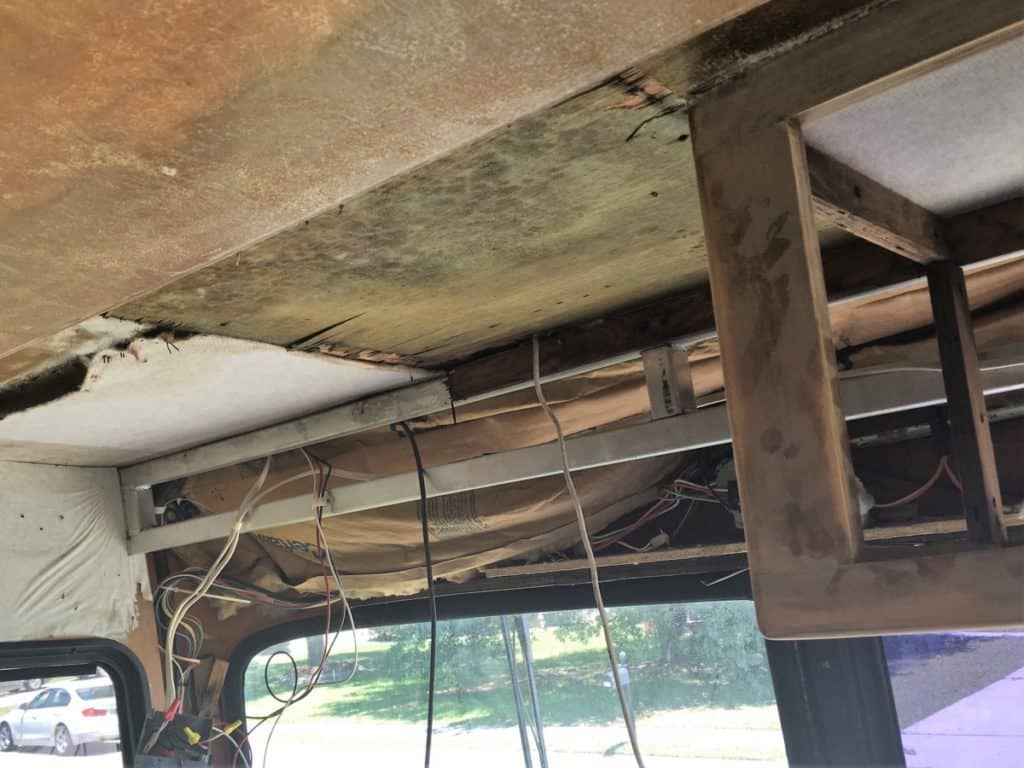
Inspect Electrical Components for Water Damage
Water damage to your RV’s electrical components can cause serious damage that may be difficult to troubleshoot. Because RV’s have both a chassis electrical system and a house electrical system, there are many more wires and components susceptible to damage.
Damage to a part of the RV electrical system can manifest itself in many different ways from flickering lights to blowing fuses and circuit breakers and even a burnt up surge protector and connectors. If you suspect water damage to the electrical components of your RV, you should schedule it for inspection with a mechanic.
Perform a thorough inspection of the undercarriage of your rig as a preventative measure. If you spot any exposed wiring be sure to cover it up with electrical tape, shrink tubing, or any other waterproof wrapping. If wiring or connectors are hanging down from the bottom of your RV, which is a common occurrence over time, be sure to secure them back up out of harm’s way.
Before purchasing an RV, make sure to get a mechanical inspection of the vehicle to ensure that no electrical damage has been done by previous water damage.
Inspect for Musty or Damp Smells
When inspecting the interior of the RV, one sign of water damage that you can sense but not see are the smells of mold and mildew. Mildew has a distinctive musty smell and is the result of water damage in fabrics or soft materials.
If you smell mildew in an RV’s living quarters, it is usually indicative of water damage in an RV’s carpet, furniture, or curtains. Smelling these items individually can lead you to the strongest source of the musty smell.
If you discover that your RV’s carpet has become mildewed, the best option is to try and clean the carpeting with a solution of white vinegar. The vinegar will kill the mildew and the musty smell that comes with it.
Once the carpeting has been thoroughly cleaned with vinegar, it can be shampooed or steam-cleaned normally and an air freshener added to remove any leftover odors.
An air purifier is another way to remove unwanted scents, check out my top picks for the Best Air Purifiers for an RV.
When inspecting for mildew or mold odors check the following areas:
- curtains
- furniture (especially if upholstered)
- carpeting
- Inside the fridge
- Inside the cabinets
Oftentimes a musty odor can be remedied by opening up all the doors and windows to air out the RV while performing some deep cleaning. But mildewed carpet and interior items should be inspected closely to ensure that the cause of any water damage from a nearby wall, floor, or ceiling is remedied.
When to Inspect Your RV for Water Damage
Before you purchase an RV, especially secondhand, you should do a thorough inspection to make sure there are no apparent signs of water damage. Used RVs and older RV models are especially prone to this issue, so make sure to inspect before you buy.
If you already own an RV that’s 5 years or older it is a good idea to start a seal inspection and caulking replacement schedule. After an initial full inspection focus on replacing the caulking around the windows the first year, resealing the roof in year 2 and the body panel joints in year 3. Inspecting all seals and caulking annually is a good idea but the best defense is a scheduled offense.
Do your inspection in the springtime to get the most out of your RV season. In the middle of a cross-country road trip is not when you want to find out that the roof of your RV has a leak. It’s important to check these things before hitting the road.
If water damage is found during an inspection, repairs should be completed as soon as possible. If a proper fix is not possible at the time of inspection any weak areas causing water damage should be protected temporarily with some caulking, a tarp or some other covering until the leak can be properly addressed.
Inspecting for Water Damage Prevents Water Damage
One of the most important aspects of an RV inspection is to not only identify potential problems and solve them, but it’s also to keep you conscious about the overall shape of your RV.
It is much easier to re-caulk a seal in your spare time after discovering it in a routine inspection than it is on the road. When you’re pressed for time your fix will likely be rushed and may not prevent more water damage from occurring.
After water damage is detected you may not only be taking on the cost of repairing or replacing the seal, but you may also take on the cost of the additional repairs too. So to prevent costly repairs, inspect your RV for water damage regularly.
")