This post contains affiliate links.
When your RV refrigerator dies it can spoil your camping trip along with all the food and drinks you brought along for the adventure. Replacing a 3 way refrigerator requires more than just unplugging the power cord. There’s propane gas lines, DC power and AC power, vents and exterior access panels to be aware of.
To remove and replace an RV refrigerator:
- Turn off the unit and empty the contents of the refrigerator.
- Turn off power at the 120V circuit breaker and remove the 12V fuse.
- Shut off the propane valve at the tank and bleed out the remaining gas in the lines.
- Disconnect the power wiring and propane line at the back of the fridge.
- Remove the screws holding the fridge in place.
- With help remove the fridge from the RV.
- Clean the area and install a new unit in the reverse order.
The process of removing and replacing your RV refrigerator is a lot easier with more clarification than these few easy steps and that’s why I’ve expanded on the whole procedure below.
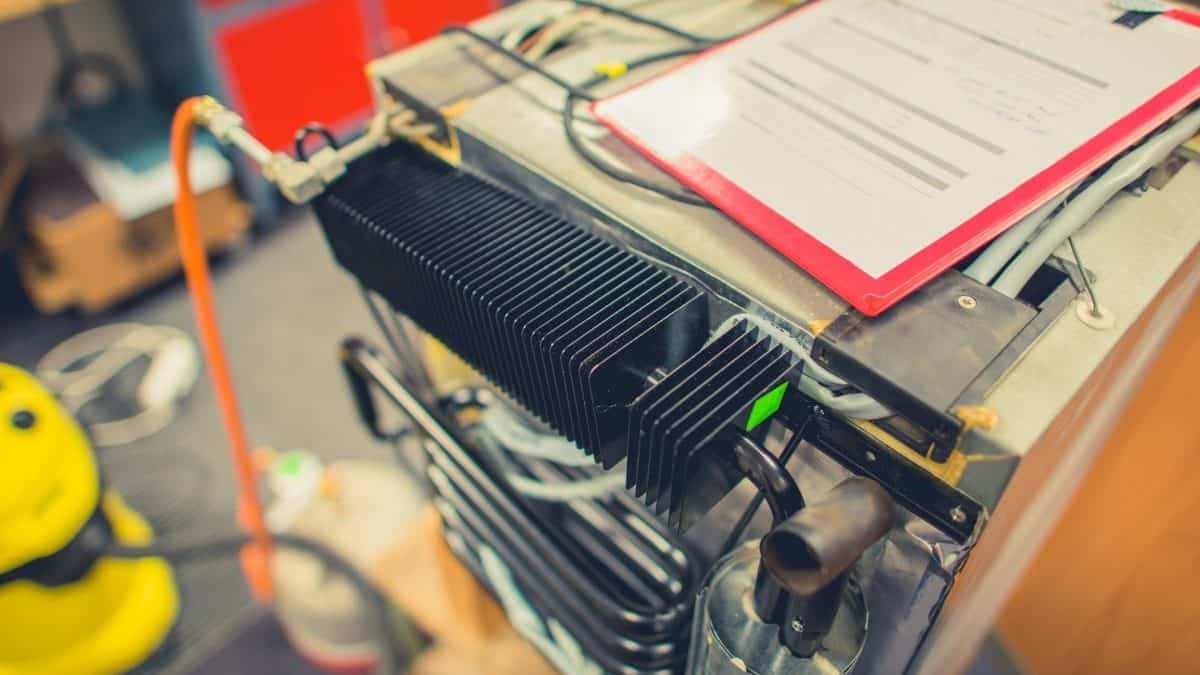
Table of Contents
Selecting Your Replacement Refrigerator Before Removal.
Before you begin removing your old fridge, source a replacement from a local dealer or from an online supplier. Measure the exact dimensions of your existing fridge so you can verify the new one will fit your space.
Your new refrigerator should fit tightly into the space occupied by the old fridge without you having to tinker with the woodwork of your RV. Your refrigerator user manual should have all the dimensions detailed in an easy to read diagram.
Measure the height, width, and depth of the existing fridge if you can’t find a detailed diagram in your manual or online from the manufacturer. Write down the dimensions, model, and model number to assist you when you go online or to your local dealer to look for a replacement unit.

Plan The Refrigerator Removal Path
Measure the dimensions of your RV’s door. Ideally, you will want to remove the old fridge via the RV’s door and bring in the new unit via the same route. Often, a large RV refrigerator with its doors removed can pass through the RV door.
A big issue with RV refrigerator replacement is the RV manufacturers often install the kitchen units, including the fridge, before installing the walls and roof of the vehicle simply because appliances like refrigerators and ovens are wider than the RV’s doorway.
Very often, fridge replacement is only possible by removing the windscreen of the RV (or half the windscreen, depending on the model of the RV).
If you’re unable to determine the exact dimensions of your existing refrigerator, contact the manufacturer or dealer for assistance.
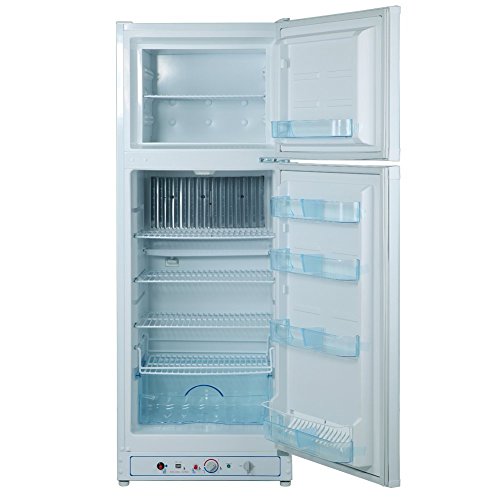
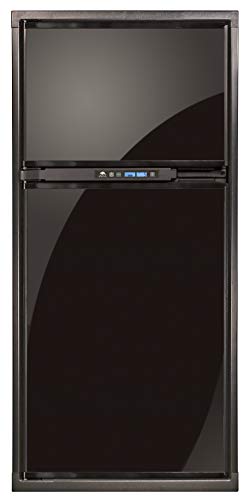
Once you’ve determined the exact dimensions of the fridge you need, you can begin your quest for a replacement unit. Decide whether you want a new three-way RV fridge or a residential fridge. The RV community has a growing trend to migrate their refrigeration needs from three-way units to residential refrigerators.
Read more about How An RV Propane Fridge Works
RV refrigerators are a lot less efficient than domestic fridges, and food spoilage is a common problem in hot weather. Also, running a fridge on propane with a naked pilot flame inside an RV will always pose a fire risk.
Residential fridges run strictly on 120 Volt AC power. RVing is thus limited to destinations that provide shore power (120V), unless, of course, the RV is equipped with a powerful solar system that can generate sufficient DC voltage (converted via an inverter to 120V AC power) to run the residential fridge.
Will an RV fridge run on 12V batteries? Get the answers in my recent article
Preparing For Removal of an RV Refrigerator
Being well prepared for your refrigerator swap out will help ease the process and save you a lot of time and money (you don’t want to be running to the hardware store more than is necessary). Follow these guidelines to simplify the process.
Have your RV owner’s manual at the ready for quick reference to wiring and propane plumbing diagrams.
Inspect The Existing Installation For Reference
- Examine the front of the old refrigerator to identify the type of screws or bolts used to secure the unit to the RV.
- Open the rear access vent on the exterior of the RV to determine what screws or bolts are used to hold the fridge in place and the type of screws used to connect the power wires to the fridge.
- locate the propane piping, shutoff valve and connector just so you know what you’re dealing with when the time comes to disconnect, reconnect, or cap the supply line (if you’re going strictly 120V).
Tools For Fridge Removal
- A socket set for hexagonal screw heads.
- A set of screwdrivers, including large and small flatheads, and a large and small star screwdriver.
- 2 adjustable wrenches or box wrenches of the correct size.
- A power drill and steel drill bit (if you need to drill out a stripped screw or bolt).
- A can of penetrating spray lubricant/rust remover.
- A copper pipe plug to seal off the propane pipe if necessary.
- Insulation tape.
- A small vacuum cleaner.
- Soapy water.
- A thick old blanket (furniture removal type).
- A willing assistant.
Step 1 – Clear a Path For Removal
- Remove everything from inside the refrigerator. store perishable products in an icebox or another fridge.
- Remove the refrigerator shelves, ice trays, etc.
- Remove the refrigerator doors if necessary.
- Remove cushions and other items from the area between the fridge and the RV door.
- Remove the refrigerator’s rear vent cover on the RV exterior.
- Unscrew the refrigerator control panel cover, located top-front of the unit.
- Remove the wood trim from the refrigerator door if it has such a finish.
Step 2 – Cut the Power
Be careful – you’re working with electricity and propane, both highly hazardous.
- Disconnect the RV from shore power.
- Close the gas valve to the propane tank.
- Light the propane stove to purge any remaining gas in the line.
- Remove the gas connection at the manifold, you can trace it back from the fridge.
- Pull out the 12V refrigerator fuse from the RV’s fuse box, check the wiring diagram in owners your manual.
Disconnect at the exterior access panel
- Detach the propane supply line using the adjustable wrench and the box wrench.
- Unplug the 120V AC plug.
- Disconnect the two DC wires.
- Cover the ends of the positive and negative 12V wires with insulation tape to prevent shorting.
Step 3 – Remove The Front Fasteners
Your fridge could have four to eight screws securing it to the frame/body of the RV. Use the predetermined screwdriver to loosen and remove all the screws.
- Unscrew and remove the refrigerator foot trim.
- Unscrew the top control panel.
The refrigerator’s securing screws will be located at the foot of the unit and at the top, generally behind silver-tape situated behind the control panel.
- Unscrew the foot screws.
- Unscrew the top screws.
Step 4 – Remove The Rear Fasteners
With the exterior vent cover removed, you can remove the screws holding the fridge in place.
- Unscrew the screws anchoring the refrigerator to the frame/body of the RV. Typically, two screws are used.
- If screws are rusty, apply a few spurts of penetrating lubricant.
- Use an electric drill-driver (if possible) for hexagonal and conventional screws.
The refrigerator is now totally unplugged, unscrewed and ready for extraction.
Step 5 – Remove Your Old Refrigerator
Organize some help for this step as the refrigerators are heavy and awkward to move.
If your fridge is positioned several inches above the RV floor, use a milk crate, footstool, or a shim to slide the fridge onto as you remove it. This will help prevent the fridge from dropping and damaging the RV floor.
- Position your assistant outside the RV, pushing the fridge into the RV from the exterior access hatch.
- You stand inside the RV, pulling the fridge onto the crate.
- With your assistant inside, lift the fridge off the crate, onto a blanket to protect the floor.
- Slide the fridge (on the blanket) along the floor towards the door.
- Lower the fridge carefully out of the RV door.
- Vacuum the refrigerator receptacle, removing all dust, rust, and grime.
What about the air vents?
Should you be replacing your old refrigeration unit with a 120V AC residential refrigerator, you may want to seal the side vent and modify the roof vent to prevent water, dust, and insects from entering the RV.
- Side vent – Use caulking silicone to fill in the louvers, enabling you to access the rear of the fridge via the vent easily.
- Roof vent – Invest in a roof vent cover and retain the fan for ventilation.
Note: Residential refrigerators use a compressor to cool the system and do not need as much ventilation as propane refrigerators, which use propane-heated chemicals to absorb and discharge heat from inside the refrigerator.
Step 6 – Installing Your New Refrigerator
With luck, your new refrigerator will pass through your RV doorway without a problem – no removal of doors.
- Slide the refrigerator on a blanket to the vacated cabinet.
- Lift the refrigerator onto the crate.
- Slide the refrigerator into the receptacle.
Access the rear of the refrigerator via the side vent.
Installing a new three-way RV refrigerator
When installing your new unit it’s important to keep it level with the floor of your RV. Evaporation fridges can get damaged if not operated out of level. Get more details in my article about leveling an RV refrigerator.
- Screw in the sub-frame of the refrigerator using two hexagonal anchor screws.
- Connect the propane line.
- Connect the 12V DC wires.
- Plug in the 120V AC plug.
- Insert the 12V refrigerator fuse.
Allow the refrigerator to sit 30-60 minutes before turning it on.
- Switch the refrigerator on to Auto setting.
- Open the propane tanks.
- Spray soapy water on the propane pipe fittings to check for leaks. If bubbles form, tighten the nut.
- Allow the 12V pilot flame to trigger.
- Wait 30 minutes to check if the refrigerator is cooling.
- If it is and all seems fine, close the side vent.
I share more specific details on RV fridge temperature and adjustment settings in this popular article.
Connecting a 120V AC compressor refrigerator
- Remove the propane pipe from the fridge receptacle and cap the connection to the main propane pipe.
- Remove the 12V DC wires from the receptacle. Make sure they’re well insulated and out of the way of the new fridge.
- Plug in the 120V connector.
- Turn on shore power.
- Open the propane tanks.
- Switch the new refrigerator on.
You’ll want to give the RV refrigerator a thorough cleaning before placing any food in it and travel the open road. These 12 tips to properly pack your RV fridge will help protect your food and drinks on the bumpy road ahead.
Refrigerator Installation Tips
- The chemicals inside the refrigeration unit get shaken up in transit and need to settle down. It’s best to let your new refrigerator rest for at least an hour before you turn it on.
- If your new refrigerator is smaller than the old unit, use polystyrene sheets to clad the cabinet until the new unit sits tightly in its berth.
- When you’re inspecting the rear of the old refrigerator before removing it, use your cell phone camera to get good photos of the screws in hard-to-see places.
- Use shoulder straps to help you move the old and new refrigerators to and from the RV.
Conclusion
Removing and replacing an RV fridge is a DIY task with help from a few strong friends. Follow the simple steps laid out in this article and your RV will be back in operation for the next weekend adventure.
There’s a buzz out in RV-land right now about ‘refrigeration trouble’, so your fridge replacement exercise is probably a huge stress reliever. Old three-way propane RV fridges with absorption units have had their day, but that need not mean you have to discard yours.
New high-efficiency compressor technology for 12V RV fridges can be retrofitted, making propane refrigeration a thing of the past but not DC. Solar power is getting more efficient and cheaper by the year, making DC RV refrigerators the best option for off-grid living.