This post contains affiliate links.
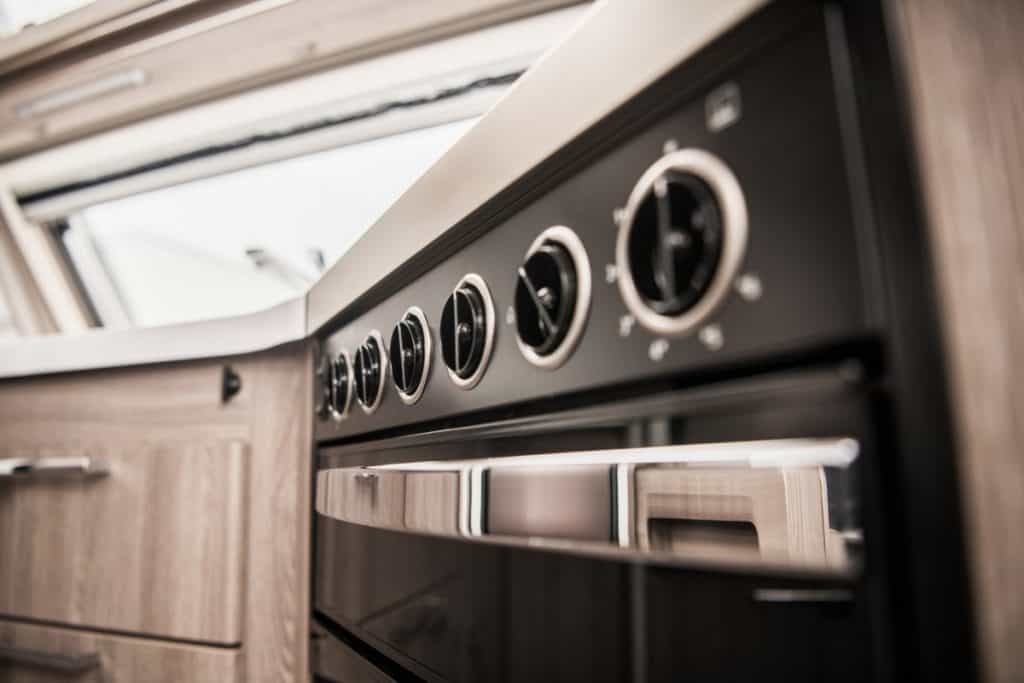
It doesn’t matter if you have a Dometic, Magic Chef, or Suburban, RV oven troubleshooting can be a real hassle if you don’t know where to start. Fortunately there are some simple things you can try that may just save you a trip to the mechanic – and your dinner.
The fix you’re looking for will depend on the issue you’re having – like the pilot flame going out on you or not lighting to begin with. You’ll find tips for those as well as other common RV oven issues.
The last thing on your mind is troubleshooting your RV oven when you’re getting ready for dinner, but when the time comes and something goes wrong that’s exactly what you end up having to do. I’ve saved you the headache of scrolling through RV forums to find the answers to your oven woes, so you can get back to cooking sooner.

Table of Contents
RV Oven Won’t Light
You press the pilot light button, you hear the clicking, and…nothing. If your RV doesn’t have an igniter, you may not even hear the clicking. When your oven staunchly refuses to light, there are a couple of different things you can try before you resort to ordering takeout.
No products found.
Hold The Igniter For 15 Seconds
First, for RVs with an igniter, make sure you press the control in for at least 15 seconds before calling it a bust. When I was having issues with my RV oven I was worried about letting too much propane into the oven, and it turns out I wasn’t giving it enough time to work.
If you have to manually light the pilot with a lighter, once again make sure that you are holding the control button for long enough and that you are holding the lighter over the pilot at the same time.
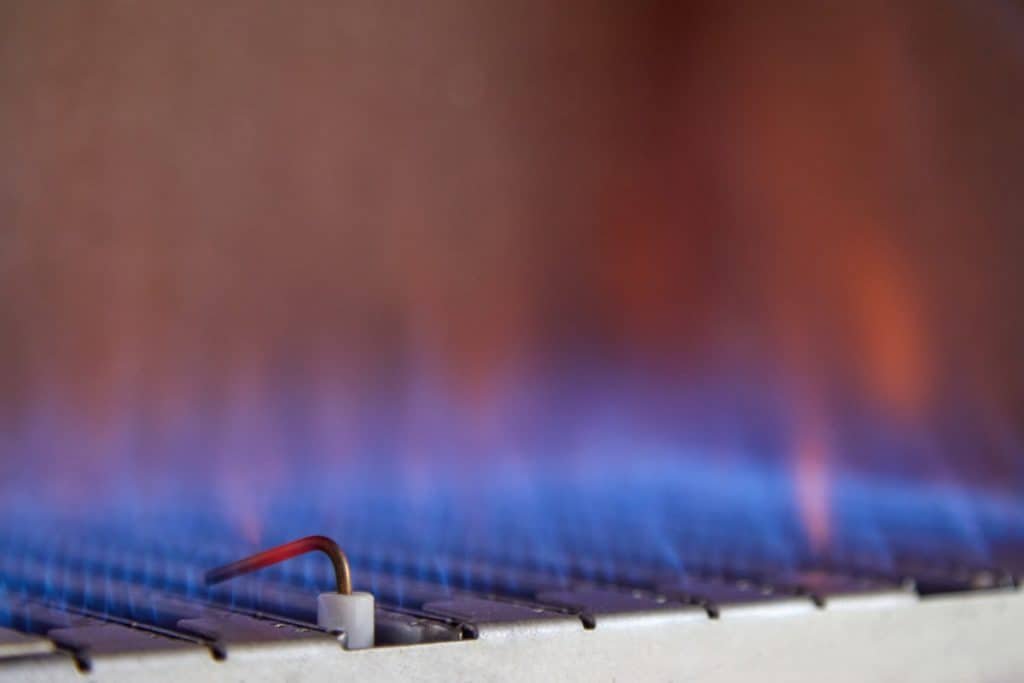
Dirty Pilot Flame Assembly
If your pilot lighting technique is so good it could be put in the manual, then one potential problem is that your pilot assembly is gunked up. In order to clean it out, unscrew the nut and make sure you don’t lose the small piece that will fall out with it.
Then take a rag or sponge and clear out any debris that has built up around the assembly. When you go to put it back together, you’ll want the nut to be nice and tight otherwise it could make your flame inconsistent. Try lighting the pilot again, and see if it worked.
Adjusting The Pilot Flame Size
If that didn’t do the trick, you can try adjusting the size of your pilot flame. Locate the pilot adjustment screw (this may be on the thermostat or the pilot apparatus itself, depending on the brand), and turn it counter-clockwise. This will allow more gas to flow to the pilot when you push the control and may help you get the oven lit.


The Fuel Supply
It may sound obvious but if it’s your first time using your oven for a while or if you’ve just arrived from a long road trip you wouldn’t be the first person to forget to turn the gas valve back on.
No products found.
Check The Propane Shut-off Valves
There may be a local gas shutoff at the oven location that you’ll need to open. Otherwise the main supply line coming from your propane tank may be turned off and simply needs to be turned back on.
Check Your Propane Level
Just because the valve is on doesn’t mean that everything will work. There are a lot of appliances that rely on the RV propane supply including your propane refrigerator, furnace, water heater and generator. The issue with your oven may be that the line pressure has dropped because the tank is getting empty.
Check to make sure your tank is at least 1/4 full and that your gauge is functioning correctly. You can try tapping on the gauge to see if it drops because it was stuck in an incorrect position.
When you turn the dial on and your oven doesn’t light you should get a faint propane odor around the oven, if not you may have a fuel supply problem.
Check For Kinked Fuel Hose
If all else fails, you can also pull the oven out enough that you can inspect the supply hose, then check it for bends and kinks that may be restricting the gas flow. Sometimes the lines can get kinked during installation, and that can certainly have an impact on whether your pilot lights or not.
Pilot Light won’t stay lit
Maybe your pilot will light beautifully, but 20 seconds later you check and your flame is out. There are several different things that can cause this issue, but the first fix is the easiest: hold the button.
I don’t read the troubleshooting guide – I mean, the user manual – for much of anything. It has certainly bit me in the behind before, and with my fifth wheel’s oven, it was no different. Once I got over my irrational fear of blowing up my camper and held the pilot light button long enough for it to ignite, I ran into the problem of the pilot going out seconds later.
Heat Up The Thermocouple
It would take two or three lights for the flame to stick, but it turns out there was an easy solution to get it to light and stay lit every time – one that was written right in the users manual: hold the pilot light button for 15-20 seconds after the flame is lit to give it gas and allow it to heat up the thermocouple before letting the thermocouple take over.
Malfunctioning Thermocouple
If you allow the thermocouple to heat up and the pilot light still goes out on you, there are a couple of other potential causes. One of which is that the thermocouple has gone bad. The thermocouple is the safety net and feedback loop of your oven – it tells the controller to stop the gas from flowing if your pilot light has gone out.
This is done by generating voltage along two wires from the heat of the pilot that keep the gas valve open. When there is no more heat on the wires, the voltage stops flowing and the electromagnet holding the gas valve open shuts cutting off the gas supply.
When your thermocouple is defective, it won’t sense that your pilot is still lit and it will shut off the gas, choking your flame. This could be because the thermocouple circuit has a broken wire. You could also have corrosion causing a faulty connection between the thermocouple and the gas valve, or a faulty electromagnet that holds the valve closed.
No products found.
Misaligned Thermocouple
The pilot light may not stay lit if the thermocouple wires are too far from the pilot flame, like if they accidentally got bent back when you were cleaning. Without being close enough to sense the heat from the flame the thermocouple will fail to send the right signal back to the controller. The wires should fall right in the middle of the pilot flame, a first step is to make sure they are positioned properly.
Another potential issue is that the wires are positioned right, but they fail to generate voltage like they’re supposed to. If your thermocouple probe is placed correctly in the pilot and it’s still not working you may want to replace the thermocouple to be safe, especially in an older oven.
RV Oven Burns The Food
RV ovens are notoriously finicky when it comes to cooking evenly, and more than one meal has died a black, charred death at the bottom of a baking pan.
Bake In A Level RV
Burning a portion or entire meal is often due to poor heat distribution in the oven, and the first thing you can do to combat it is to make sure your RV is perfectly level. This will especially affect how more liquid meals cook, as the thicker side will take longer and the thinner side will be more likely to burn.
Use Good Quality Cookware
You can also get burnt food if you’re using black pans instead of silver or glass ones. Black tends to attract heat more so using silver or glass will give you better heat distribution.
If your pans are too thin they will also suffer for poor heat distribution leading to hot spots and burnt areas. Having quality cookware, that actually fits well in your RV oven will save you a lot of time, heart ache and burned cookies.
No products found.
Rotate Food Often
To avoid burnt food, you’ll want to turn things much more often than you would in a regular oven. Having said that, turning the pan doesn’t keep the middle burning. Putting food on the highest rack possible will help
Even Out The Heat
Your best bet may be to try and redistribute the heat, you can try putting unglazed ceramic tiles in your RV oven. Lay the tiles flat on the metal plate that is already in there for heat distribution (and doesn’t do a very good job), you should see a dramatic improvement from this simple idea. You can also use a pizza stone that will act similarly, though some people have complained that it gets discolored after enough uses.
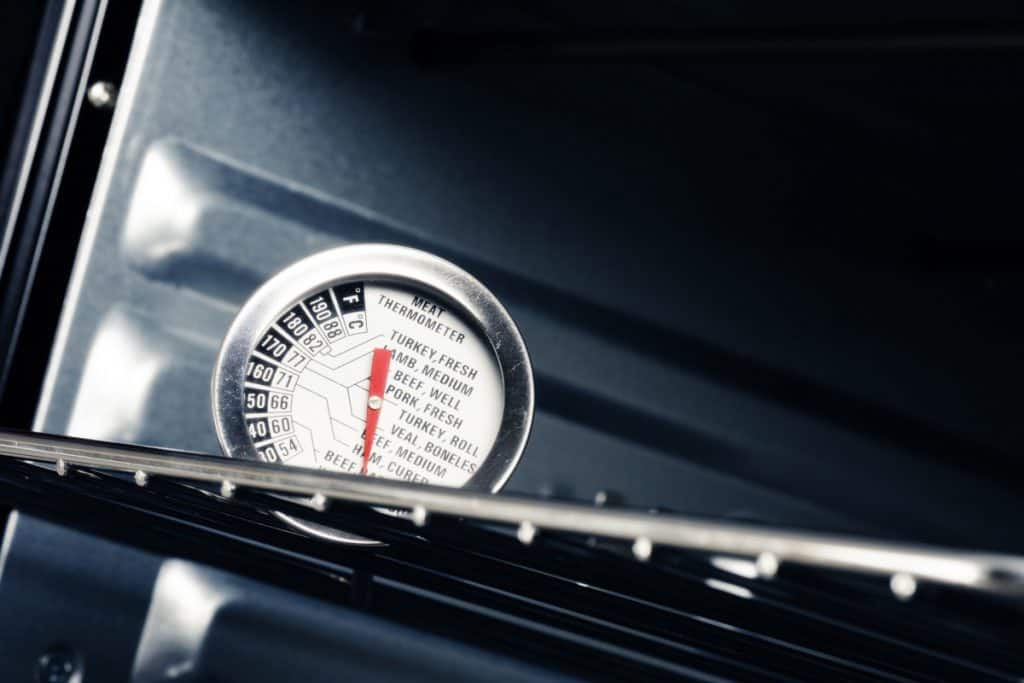
Instead of tile or stone, some people have been known to use fire brick which will work as well. No matter what material you choose, you’ll want an oven thermometer to make sure your oven setting matches the temperature your oven is actually at. A thermometer will also take the guesswork out of preheating and make up for a problem with your oven’s temperature sensor calibration.
No products found.
Tips For Cooking With An RV Oven
Your RV oven may seem like this daunting and complicated beast you have yet to tame, but the good news is that there are many little things you can try to get that lasagna right every time.
Preheat For Success
To start, you want to be absolutely positive that your oven is preheated. This is much easier if you have a thermometer to go off of, but otherwise giving the oven a few extra minutes to heat up or even preheating to a higher temperature then lowering it will help you get off on the right foot.
A fun fact about RV ovens – the weather can actually affect your baking times. This is because they are against an exterior wall with less insulation than a house wall, and if you’re trying to use it in the dead of winter you’re going to have slightly longer preheat and cook times than when it’s 90 degrees out.
Size Your Cookware Correctly
Most ovens are smaller in RVs, so getting a baking pan that fits is a must. You don’t want to be wrestling with your pan to get it out when it’s 350+ degrees. And as I mentioned, glass tends to cook better than dark pans.
Practice Makes Perfect
Using baking stones for RV ovens is a great way to redistribute the heat, but any of the other methods will work as well. If nothing else, raising the racks will help improve the cooking quality, but one of the best things you can do is just practice using it until you get comfortable with what works and what doesn’t.
Closing Thoughts
Cooking with your RV oven doesn’t have to be a headache with the right tools and tricks, and when things go wrong hopefully you now have the ability to troubleshoot your oven and get back to baking.
If you are curious about what motorhomes and trailers actually have ovens check out our article with 56 examples of RVs with ovens.
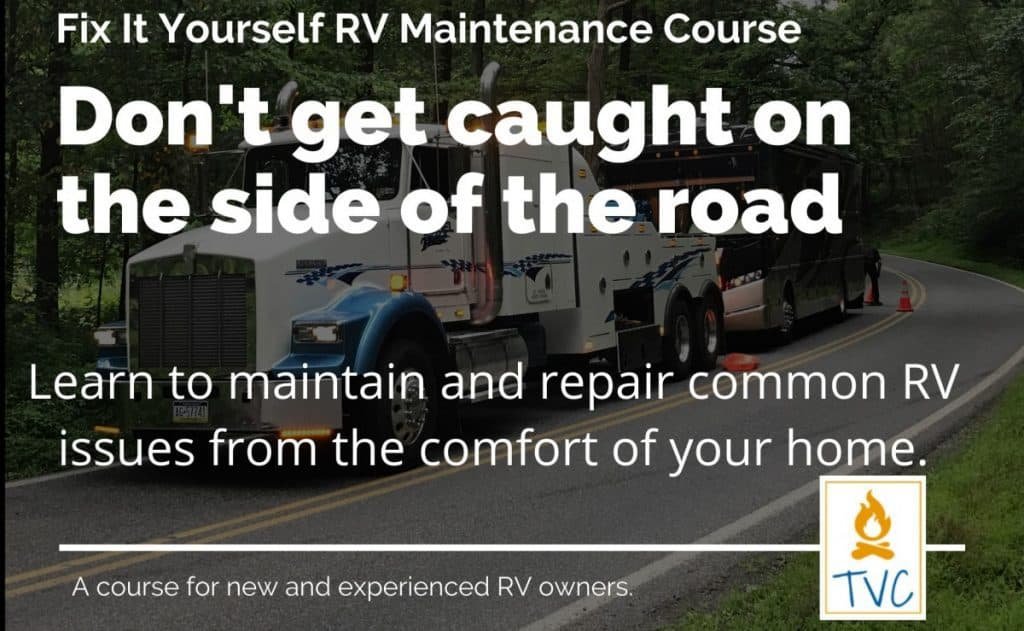
Fix It Yourself RV Maintenance Course
The most costly parts of RV ownership are repairs and maintenance. That’s why I recommend learning to do your own RV repair and maintenance.
The Fix It Yourself RV Maintenance Course is the perfect way to learn how to do the most common repairs and maintenance on your RV. A Certified RV Technician wrote and filmed the course so you know the information is actually correct.
Plus it’s downloadable so you can access it from anywhere, even when boondocking in the middle of nowhere with no service.
Find out more about the best RV Maintenance and Repair Course available!
")