This post contains affiliate links.
Whether you’re replacing the LED light strip on your RV awning or installing a brand new one, I’ll take you step-by-step through the process. DIY projects like this can seem daunting – it sure did for me – but don’t worry, with the right tools and know-how it’s really not that hard.
To install LEDs on your RV awning you’ll start by choosing the right LED strip lights, then measure and cut to size, and install the strips under the awning or on the awning roller. Once that’s done, you just have to wire them into existing power.
There’s definitely a few things I wish I’d known before trying to install LEDs. My husband and I decided to surprise his parents with new LED strip lights on their motorhome last year, and first and foremost it would have helped to know what tools we needed ahead of time. I hope to save you some of the headaches that we went through with this guide.
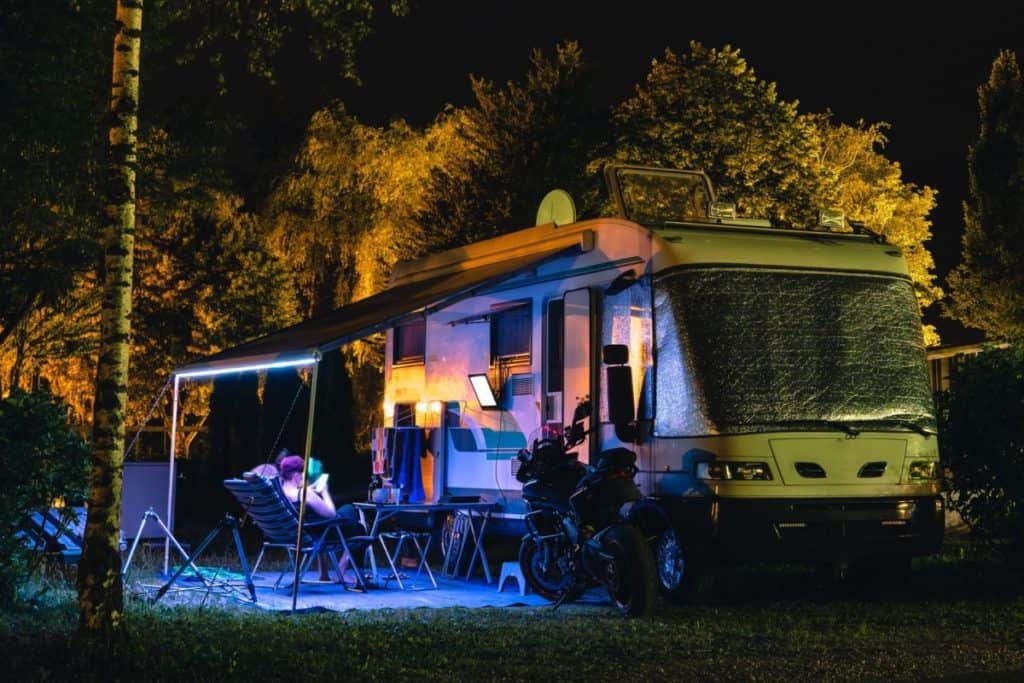
Table of Contents
Selecting LED Strip Lights for an RV Awning
When deciding on what lights to go with, most people initially look at cost. I did, and I found that when it comes to value you get what you pay for with most of these lights.
The $15 strip may be much more appealing to your wallet than the $55 strip, but the $55 strip is more likely to be outdoor rated, have higher lumens, and come with helpful accessories like an adhesive back or a protective channel.
Some companies will even pre-cut the strips before shipping them to you to meet your specific RV’s dimensions. These are all important things to consider when you’re looking at lights, and you’ll thank yourself later for getting a quality product now.
There are also many bonus features you can browse and consider when looking at lights. For example, I went with multicolor lights that can be controlled through a remote because I liked the ambiance they created and the convenience of the remote.
You can find single-color light strips with remotes as well, and even ones that connect to apps over Bluetooth or WiFi. You can get lights that are sound-sensitive and will pulse and dance when music is playing, and no matter you’re style and preference you can probably find a product to match your needs. These LED strip lights from Amazon have more features than you can imagine!

- Adjustable Lighting: Download the 'illumi home' app to adjust brightness, change colors, and control the LED strip lights
- Easy Installation: Comes with upgraded double-sided tape for easy mounting without tools
- Safe and Reliable: UL listed power adapter and cords meet strict safety standards and automatically shut down if overloaded
Installing LED Strip Lights
It doesn’t matter if you’re installing your strip lights under the RV’s awning or along the roller, you’re going to need to clean the surface first. You can use a household cleaner, alcohol, or even just water, but any dirt and grime on the awning will prevent your lights from sticking and affect their lifespan.
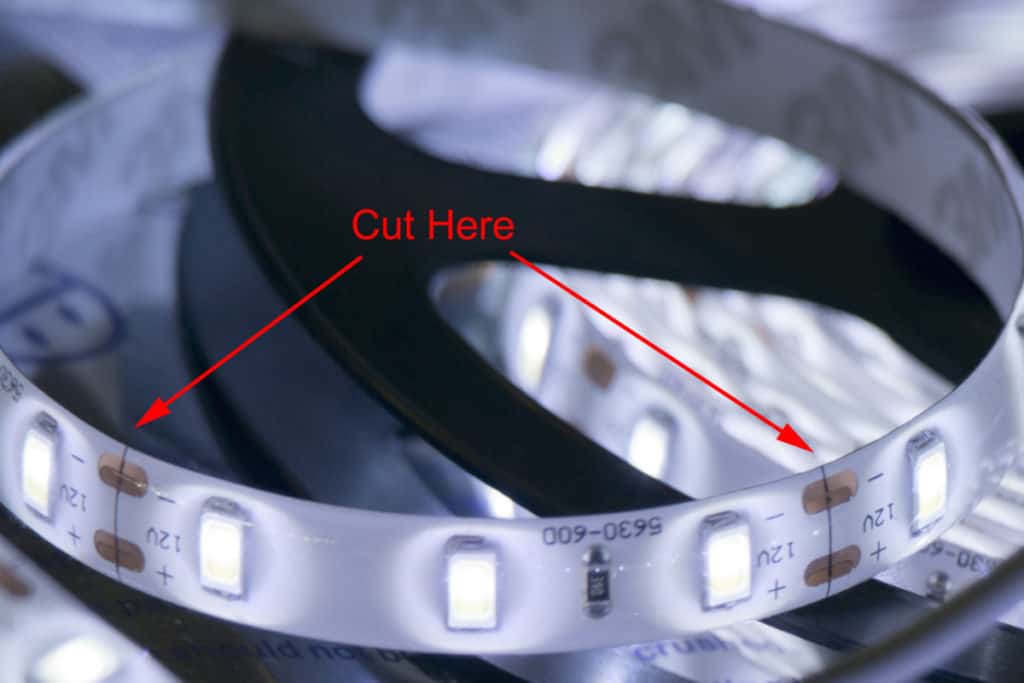
Once the surface is clean, then you have to measure and cut the lights to size. When cutting LED light strips make sure you only cut in the designated areas on the strip – otherwise you risk damaging lights.
These areas are typically marked by copper pads aligned in rows, though your user manual for your lights will be able to tell you for sure. You shouldn’t need more than a ladder, a tape measure, and a sharp pair of household scissors to get the lights measured and cut, and then you’re ready to place them.
Most light strips will come with some form of adhesive backing for mounting, but if you want something that will last a little longer you may want to put down a strip of double-sided outdoor tape where you’re going to put the lights.
Scotch and 3M (links to Amazon) both have high-rated exterior tape that’ll get the job done, and 3M has an adhesive primer (see on Amazon) that helps your tape stick better. Most LED strips are half-inch wide, so if you end up getting one-inch tape just plan to cut it in half.
If you’re replacing an existing LED light strip on your RV’s awning, you’ll want to cut the wires going to the old strip as close to the LEDs as possible. This leaves plenty of wire to attach to the new lights. Make sure power to the LEDs is OFF before you start snipping wires.
Next, carefully remove the old strip from the RV or awning, making sure you get as much of the old adhesive off as you can. Using a product like Goo-Gone (Amazon Link) will help remove any leftover tape residue, just clean the surface well afterward so your new tape sticks properly.
Things you’ll need:
- Ladder
- Scissors
- Wire cutters (if replacing)
- Double-sided tape (optional)
- LED lights
Installing Under the RV Awning (Along the Body of the RV)
For this approach, you’ll want to install the LED strip below the awning reel along the body of the RV. The advantage of placing the lights here compared to the edge of the roller is you can still use them even when the awning is closed.
You’ll need your ladder but this part is usually pretty easy. When measuring, you probably want to stop an inch or so from the edge of the awning. So cut your light strip and adhesive tape about 2 inches shorter than the total length of your awning.
To get your strip lights evening placed measure down your desired amount from the bottom of the awning. Do this with the awning closed. Make a mark at either end then draw a line between these two marks. A chalk line will make this easy but it’s not necessary.
If you are using adhesive tape place the tape on the camper’s body following the line you just marked. Then you can remove the backing from the light strip and carefully mount the lights onto the tape.
Installing on the RV Awning Roller (End of the Awning)
If you install your RV awning lights along the awning roller, i.e. the end of the awning, you will only be able to use the lights when the awning is fully extended. This is because the lights will be covered by the unrolled awning fabric if it’s not fully extended.
The advantage is you have more options of where you can direct the light based upon where you place the stript on the awning roller. Again you’ll want to leave about an inch of space from either end of the awning roller when you install your light strip.
Obviously, you’ll need your awning fulling extended for this install but depending on your awning, you may not need a ladder to easily access the roller tube.
Once you’ve decided where you want your LEDs placed you can install your double-sided tape along the awning roller. Again to ensure the LEDs are installed evenly it’s helpful to mark a line along the roller you can follow with your tape. Once you have your tape set, peel the backing off the LED strip and mount it to the line of tape.
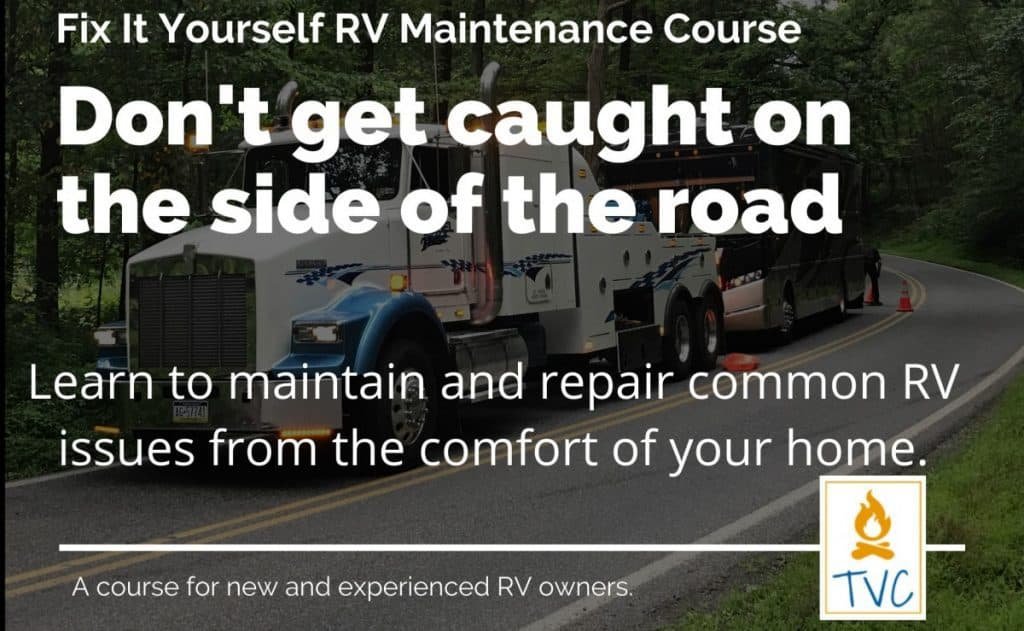
Fix It Yourself RV Maintenance Course
The most costly parts of RV ownership are repairs and maintenance. That’s why I recommend learning to do your own RV repair and maintenance.
The Fix It Yourself RV Maintenance Course is the perfect way to learn how to do the most common repairs and maintenance on your RV. A Certified RV Technician wrote and filmed the course so you know the information is actually correct.
Plus it’s downloadable so you can access it from anywhere, even when boondocking in the middle of nowhere with no service.
Find out more about the best RV Maintenance and Repair Course available!
Wiring and Powering LED Strip Lights Under an RV Awning
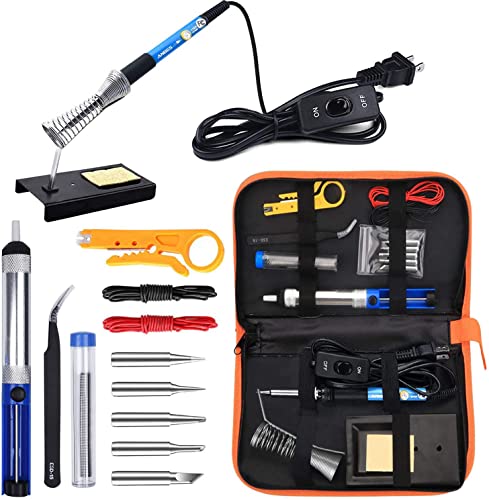
There are many ways you can go about powering your newly-installed LED strip lights. If you are replacing old LEDs you have it easy – you just have to strip the wires where you cut them by the old strip to expose the metal ends, then you can use a soldering iron to attach them directly to the copper pads of the new LED strip or you can use a connector.
If you need some help soldering your wires onto the light check out our video below where we changed one of our lights over the LEDs. You can follow the same steps for soldering the wires onto your new strips lights.
The connector you need will depend on the LED lights you bought, check the user manual and the product listing for what type of connectors your can use. The only exception is if you’re putting in a module for a remote-controlled or color-changing strip when you didn’t have one previously, then you’ll have to run a wire to the electrical control panel.
If you are installing an LED light strip on your awning or awning roller for the first time, you’ll have to decide what power source you want to use for your LEDs. If you have a porch light you may be able to wire the strip to the existing porch light wires but this means the porch light will need to be on in order for your LEDs to work.
If you want to run a longer wire you could possibly thread it through the same hole the porch light wires come through and attach it directly to the battery or another 12V power feed.
If that won’t work or you don’t have a porch light, you may need to drill a hole into the compartment with your battery for the wires to run through. If you do have to drill a hole make sure you weatherproof it when you’re done with silicone sealant, and make sure all wire connections are insulated with heat-shrink sleeves.
Keep in mind your LED strip lights may come with a power adapter but will function normally if wired to a 12V source. This means you will not need that chunky power block that came with your lights.
For those who are looking to install LEDs on the awning roller, your best bet is to run an insulated wire down the extension arm of the awning and back to where you can hardwire it in. You would have to take care to ensure the wire isn’t pinched by the arm when you roll the awning in, but otherwise you should be good.
Things you’ll potentially need:
- Ladder
- Soldering iron (Amazon Link) – this is a simple kit with everything you need
- Wire connectors
- Flexible conduit for exposed external wires
- Heat-shrinking wire tubing
- Silicone sealant
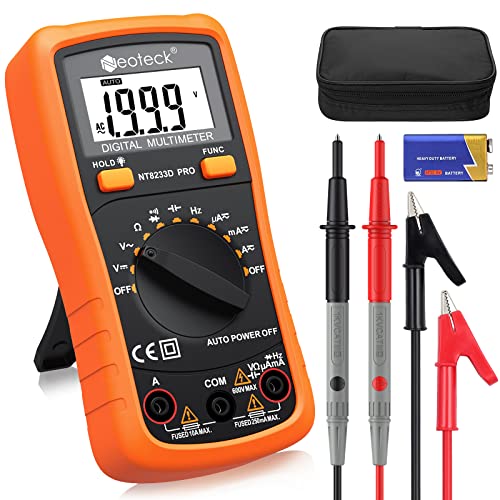
- Voltmeter (Amazon Link) – my favorite tool for check if there is power or not
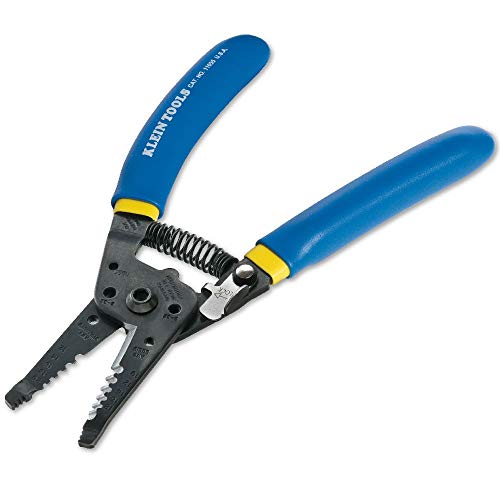
- Wire strippers
- Terminal connectors
- Patience, if you’re as far from an electrician as I am
Alternatives to Installing LED Strip Lights
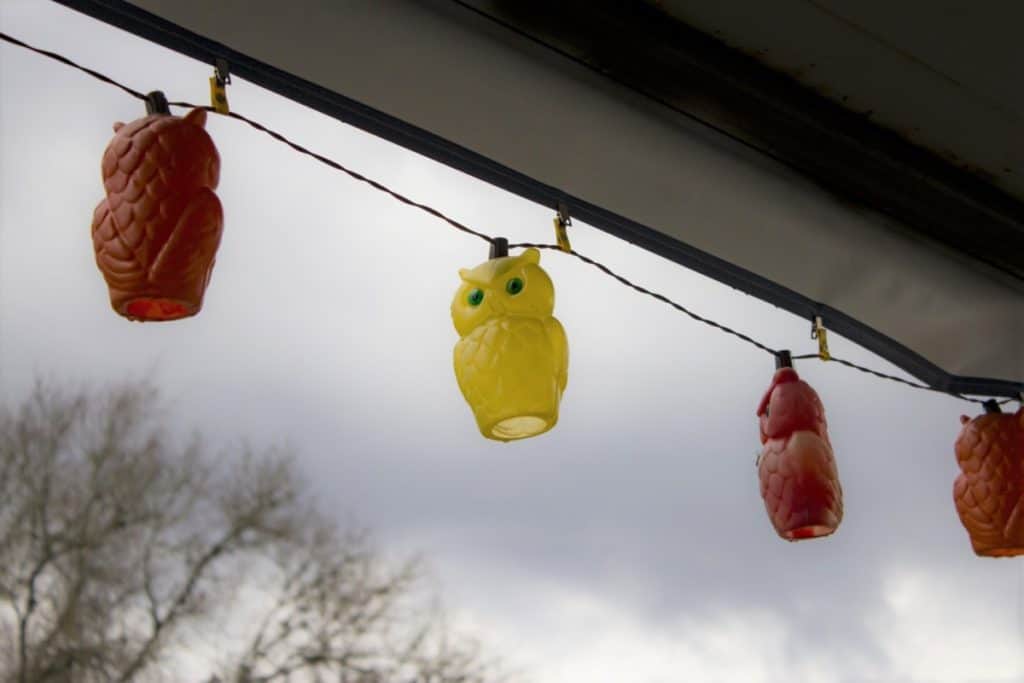
If you’re looking for outdoor lighting that is a little less permanent, you can also consider string lights, rope light or patio lanterns. These would plug into your exterior outlet and hang on the awning. They would be easily removable if you need to quickly bring your awning in for conditions like wind or other bad weather.
Camco makes awning hanger clips (Amazon Link) that you attach directly to the awning roller. They slide into the awning channel and you add hooks on to hang your lights. You can quickly remove the hooks and retract your awning with the hanger clips still installed. But I wouldn’t recommend leaving the hangers rolled up for long periods of time since they could leave indents in your awning fabric.
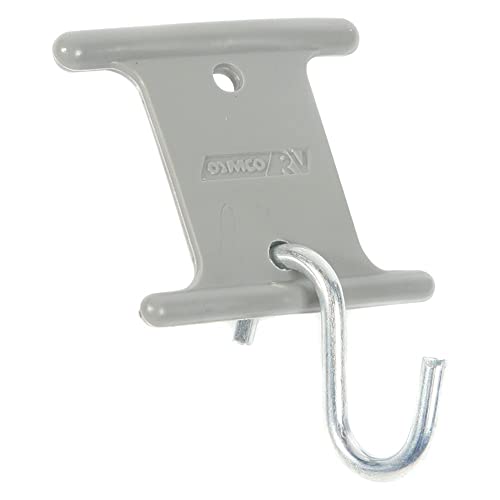
- Hang party lights, signs, plants and more from your RV awning roller bar.Fit Type: Universal Fit
- Slide easily into roller bar channel
- Supports up to 15 lbs.
While string lights and rope lights are a great way to spruce up your exterior, if you’re looking for a long-term solution to your outdoor lighting needs you’re probably better off installing LED strip lights on your RV awning. Otherwise, you have to worry about setup, breakdown, and storage while you travel.
Closing Thoughts
Installing LED strip lights under your awning or on your awning roller is a great DIY project that’s not too hard with the right tools. Just measure your awning, cut and mount your lights, wire them in, and you can start enjoying your newly-lit outdoor living space. A much harder project is shortening your RV awning, which is still very doable.
If you are looking for more info on how your RV awnings work then check out my guide about how mechanical and electrical awnings function. Or if you want more ideas on great DIY RV projects read our list of 21 upgrades to make to your RV.
Fix It Yourself is a self-guided online course where certified RV tech Ed Wilcox walks you through all the steps you need to know to properly maintain your rig and fix problems when they come up. Check it out HERE!