This post contains affiliate links.
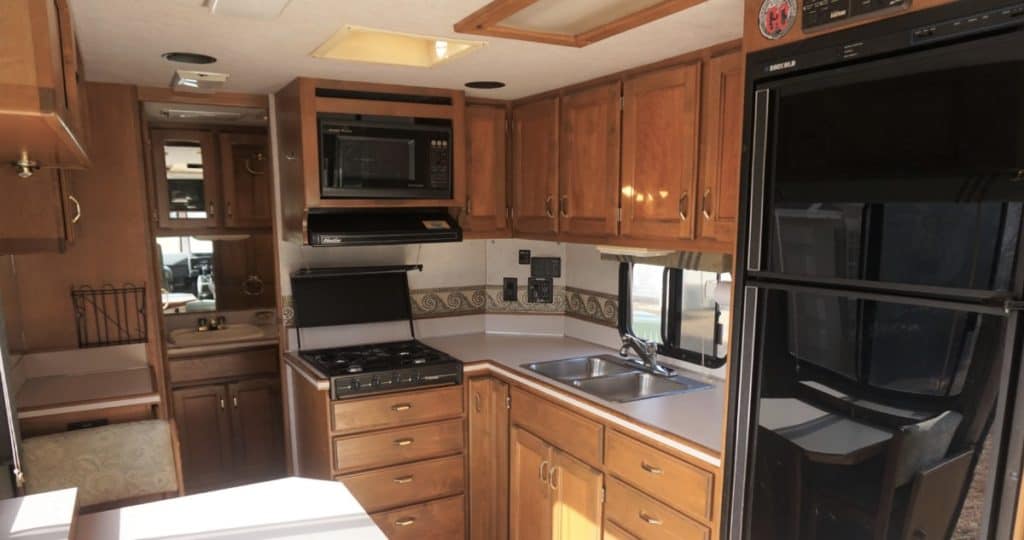
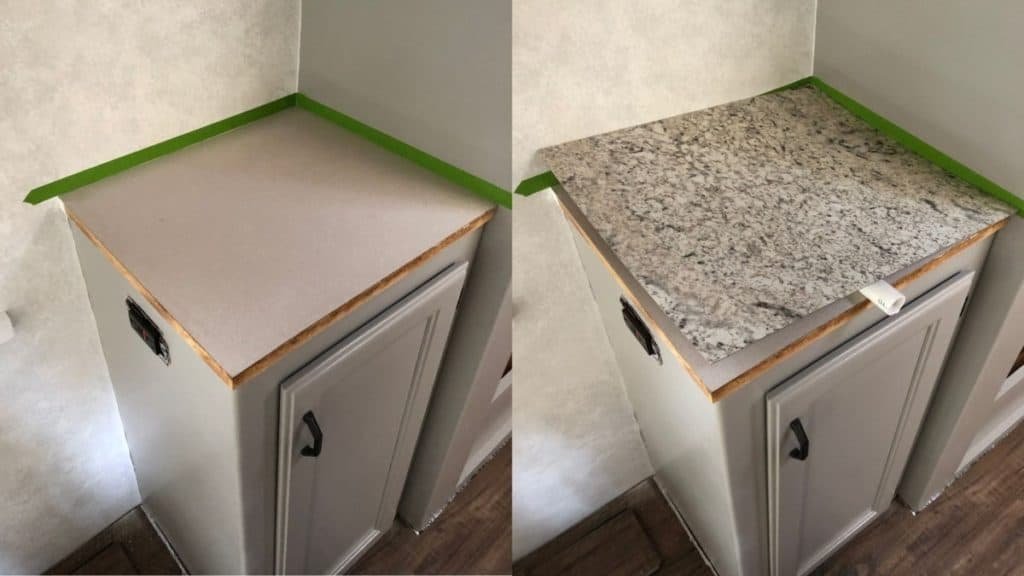
We invested in a used RV that was straight out of 1994, the year it was built. Like many, we couldn’t stomach the high cost of a new rig but needed to bring our RV into the present with a much needed rehab. This was especially true for our counters.
When replacing an RV counter, selecting material and looking at the major factors that will affect your countertop is important to a successful upgrade. We chose to install a new Formica sheet on top of our existing counter and add trim to the edges. The basic installation steps for our project were as follows:
- Remove the old counter, unscrew any mounting bolts, remove the sink and the stove, then carefully remove the counter from the RV.
- Surface prep, clean, and sand the subsurface to allow good adhesion for the glue.
- Cut the Formica sheet to the approximate size and strategically place seams in areas of low use.
- Glue the sheet to the subsurface
- Reinstall the counter
- Install trim along edges
- Reinstall Sink and Stove
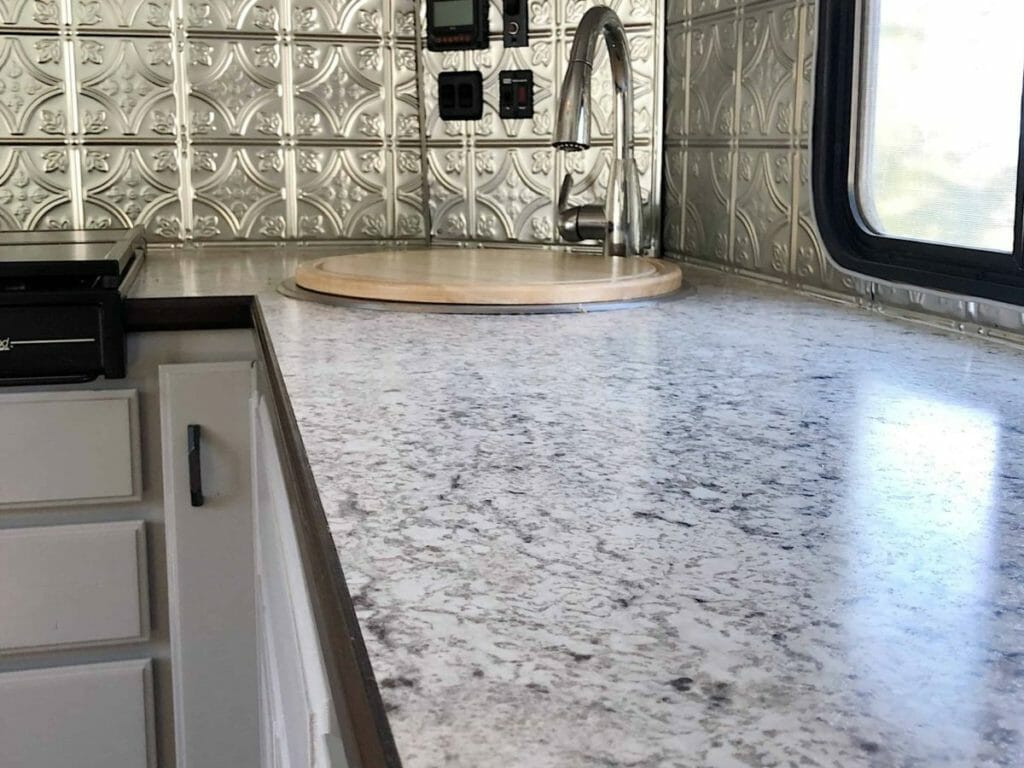

Table of Contents
Selecting Our RV Countertop
Everyone’s wants and needs are different when it comes to selecting a countertop for their RV. The material you select will depend on weight, unique cuts required, current countertop condition, budget, and mess factor.
For us, we want something lightweight, low maintenance, that looked modern and bright. We also had to take into account some narrow sections around the stove.
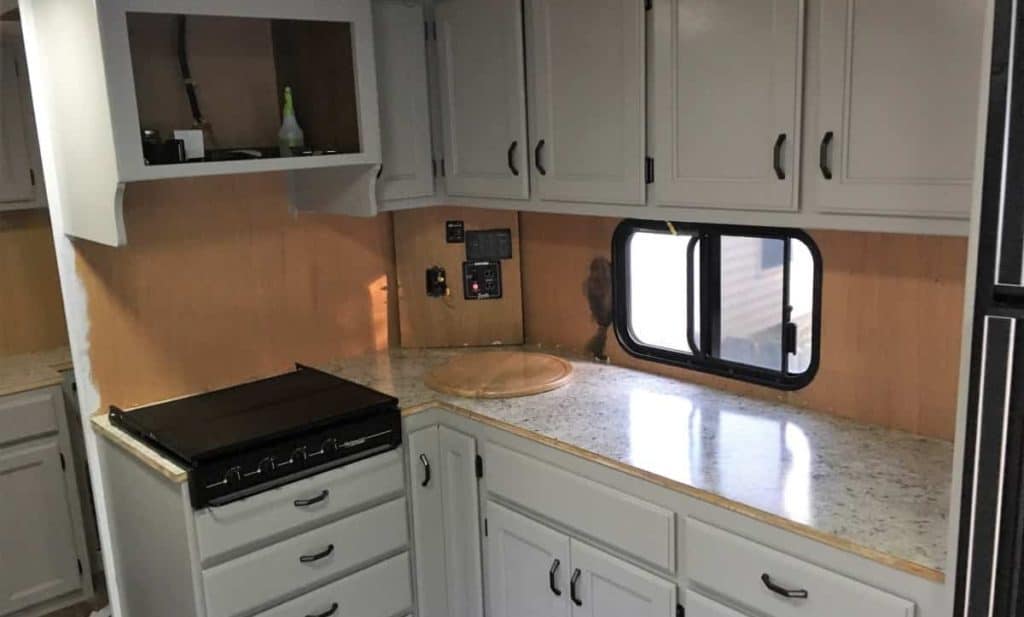
Our old counter was overall in good shape but we weren’t happy with the size and location of the sink. If we wanted to move the sink we would need to patch the old sink hole.
We ran through a few different scenarios of how to upgrade our counter.
- Paint – with moving the sink it would be very difficult to get an even subsurface due to the patched area.
- Granite/Corian/Quartz – with such a small area it seemed like a great time to invest in one of the premium countertop materials. But it was still expensive and was difficult to find someone that would install it in such a small space. I also worried that it wouldn’t stand up to the bumps and rattles of the road.
- Prefabricated Laminate – this one was quickly ousted as the RV counter is much shallower than a standard kitchen
- Epoxy/Resin – we saw a super cool YouTube video on making tables with an epoxy or resin top but the mess it created gave me a few grey hairs just thinking about it. Also, we would need the RV to be very level in order for it to turn out.
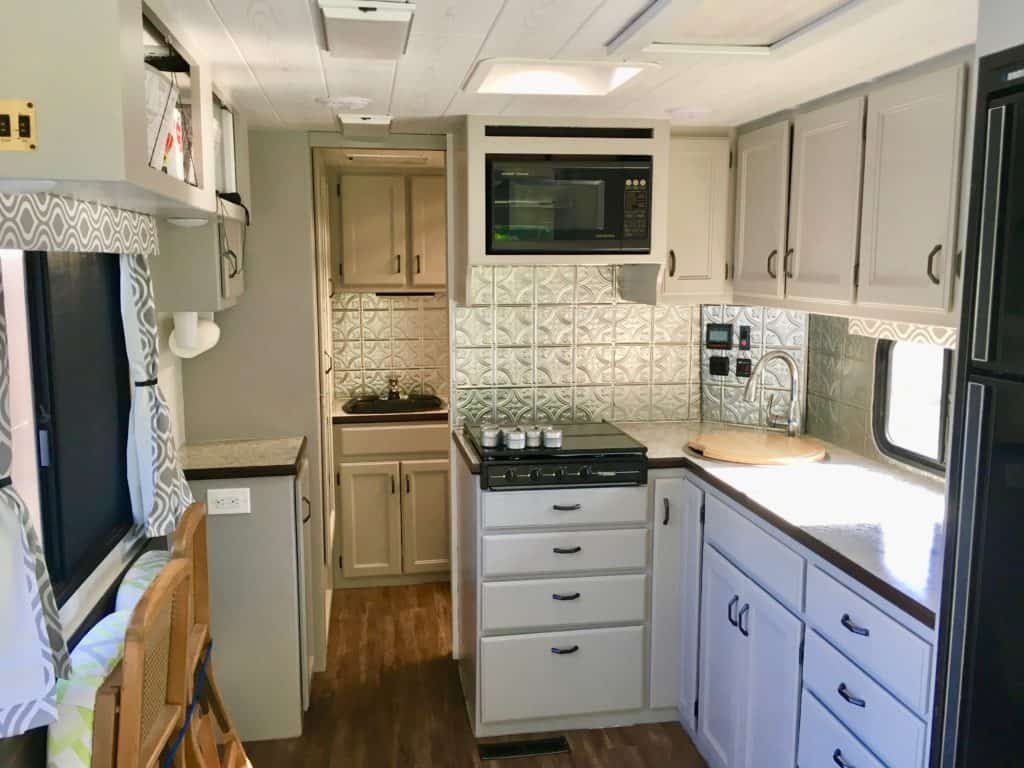
- Laminate Sheet – this is the option we went with, we could reuse the old counter as a subsurface, it is easy to cut to size, durable, inexpensive, and found at your local hardware store. We added wood trim to the edges to finish it off.
Remove The Old Counter
The first step was to remove the old counter. This included disconnecting the plumbing, removing the sink, and removing the stove.
Before disconnecting the plumbing we needed to turn off the water. In an RV this is pretty simple, disconnect from your city water connection or turn off your water pump, then open the faucet to drain the lines. Ideally, you’ll want to open a faucet that’s at a lower level than the kitchen, this may include flushing the toilet.
Our RV did not have any shutoff valves at the sink like you would see in a brick and mortar home. But that’s no big deal if you follow the steps above.
There will still be some water in the lines so placing a bucket and some towels beneath the sink while disconnecting the water lines is a good idea to keep water from going everywhere.
Depending on how your sink was originally plumbed will depend on how you disconnect the water lines. We had cut our lines but that wasn’t a big deal since we wanted to relocate the sink. Oh and don’t forget to disconnect the drain line!


Once the faucet and drain were disconnected we needed to unhook the sink. Most sinks are installed using specific screw down clamps. You will need to loosen all the screws and unhook the clamps from the sink.
You will probably need to run a putty knife or some other think flat blade around the rim of the sink to loosen any caulking or glue.
Now you can pull the sink out of the counter and you’ll have a beautiful gaping hole.
Onto the stove. Now with a stove, you need to remember you are dealing with propane. Safety First!
TURN OFF THE PROPANE TANK BEFORE YOU DISCONNECT THE STOVE!
Also, it’s a good idea to have on hand a plug for that propane line. You should be able to pick up one at your local hardware store, just make sure you have checked what size you need before going or else you’ll end up with repeat trips like we did.
So now the propane is off you can disconnect the line from the stove and plug it with your little cap. Our stove had four screws keeping it in place so we unscrewed those and then carefully removed the stove being mindful of the propane line.
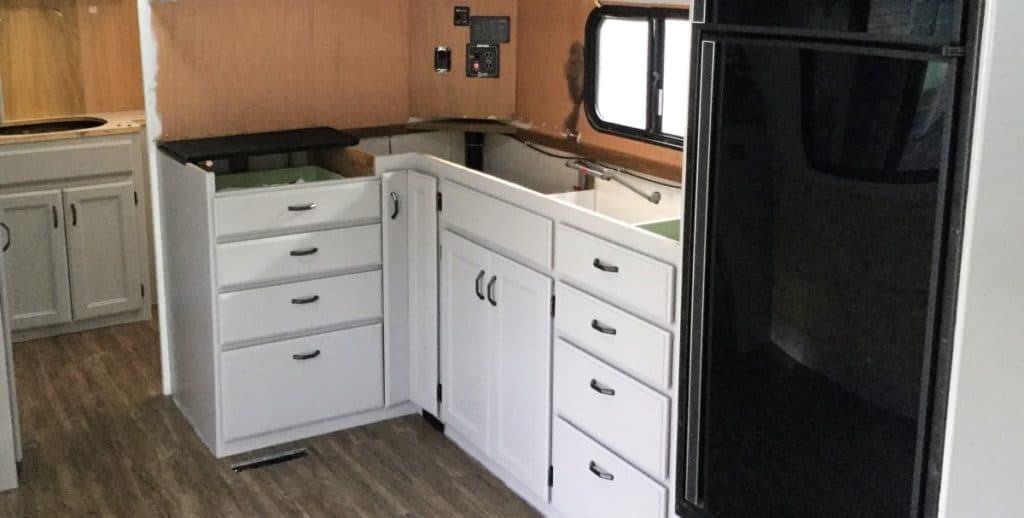
With the stove and sink removed all that was left was to unscrew the counter.
In each of the corners and a few other places, our counter had been screwed into the cabinets. Have a look in your cupboards to see where these attachment points are. We already had all the drawers and cabinet doors removed for painting which made finding and accessing the screws easier.
Once you find the screws, remove them. Then, hopefully, your counter will lift off the cabinets easily. If any glue was used you might need a little force. If your counter still doesn’t want to budge have another look for any hidden screws.
Finally! Your counter is disconnected and can be removed from your RV to your work space.
Note: In the bathroom, we actually had to do our counter replacement with the counter still installed since that counter would not budge. It’s doable but a bit more of a pain.
Moving The Kitchen Sink
I was not happy with the kitchen sink that came standard with our RV. While it was a double bowl sink, it was extremely shallow!
I couldn’t imagine trying to wash a pot or pan of any size in that sink plus it took up a ton of prime counter space.
We chose to move the sink from in front of the window into the corner. This posed a few issues for us but nothing we couldn’t work around.
After a lot of searching, we settled on a round bar sink complete with a cutting board.
No products found.
Since we were moving the sink to a new cupboard we had limited space for the drain depth due to a shelf. This was something we didn’t originally account for when we bought the sink but got lucky that it JUST fit.
We also had to reroute the water lines but this was the cupboard the drain and water lines originated from so it made it a lot easier.
Another issue we had was the size of the drain pipe. It was an odd size and we found it next to impossible to find fittings that would work with it. Our solution was to use a similarly sized but slightly larger pipe. The old pipe fit inside the new pipe and a rubber flexible connector with adjustable clamps sealed them together.
Since we were already working on the plumbing, we decided to install shut off valves for the water supply lines. It was easiest to use Shark Bite valves since they popped onto the existing line with no soldering or crimping required.
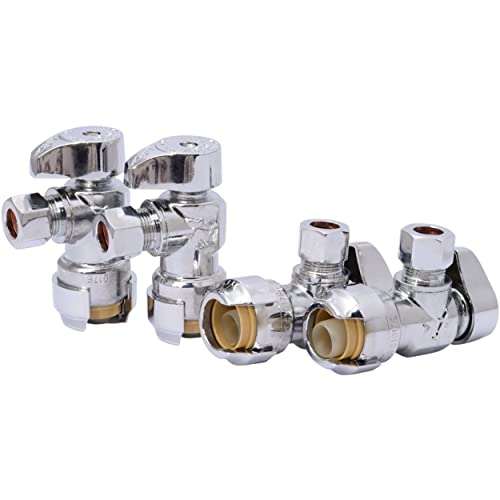
- SHARKBITE BRASS PUSH ANGLE STOP: Brass push angle stop valves are used to control and shut off water flow to fixtures or appliances for...
- VERSATILE: Brass push angle stop fittings work well with PEX, CPVC, PE-RT, SDR-9 HDPE, and copper pipes
- EASY TO INSTALL: This innovative stop valve features a 1/2-inch push-to-connect inlet and a quarter-turn full-port brass ball valve for...
We added some support to the cabinet where the sink was being moved to make sure it was going to be nice and secure.
Then we had to fill the gaping hole left by our old sink. We added some bracing underneath the hole and cut a piece of plywood that was approximately the right thickness. Unfortunately, we weren’t able to get something that was exactly right so we had to do some planning once installed.
We then took some epoxy to fill any gaps between the plywood and the counter as well as any major dents in the subsurface.
Prepping, Cutting and Gluing the Counter
We scrubbed down the old counter using an abrasive sponge and some TSP. We usually use TSP when reading a surface since it’s a great degreaser.
Then we busted out the dust masks and palm sander. While an electric sander isn’t necessary it sure makes the job of sanding quicker! We ran the sander all over the surface to rough it up and to even out any spots left by our epoxy filler.
Once that was done everything got a quick wipe down again to remove any dust particles, leaving our surface clean and ready.
We had previously measured our counters and found we could fit them all on a 4′ by 8′ sheet of laminate counter.
However, due to the shape of the counter, we knew we needed a seam on the main kitchen counter. Fortunately, the seam was able to be tucked behind the stove where it would see almost zero wear and tear. We definitely did not want the seam anywhere near the sink.
We marked out our counter shape on the laminate but left them a little bigger than needed. To mark them, we used a non-permanent marker, we didn’t want to use a permanent marker for obvious reasons and dry erase markers just are a little too easy to wipe away.
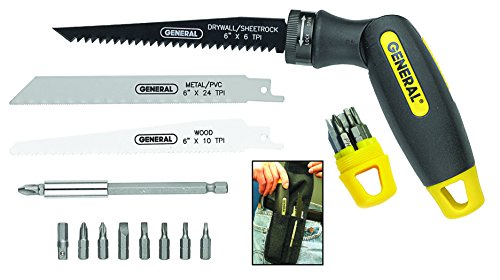
Now that the shapes were laid out we cut them by hand using a Utility knife with straight edge and pistol grip handle (Amazon Link) for a reciprocating saw blade. We initially tried using a jigsaw but found it difficult to keep the counter steady and also had issues with chipping.

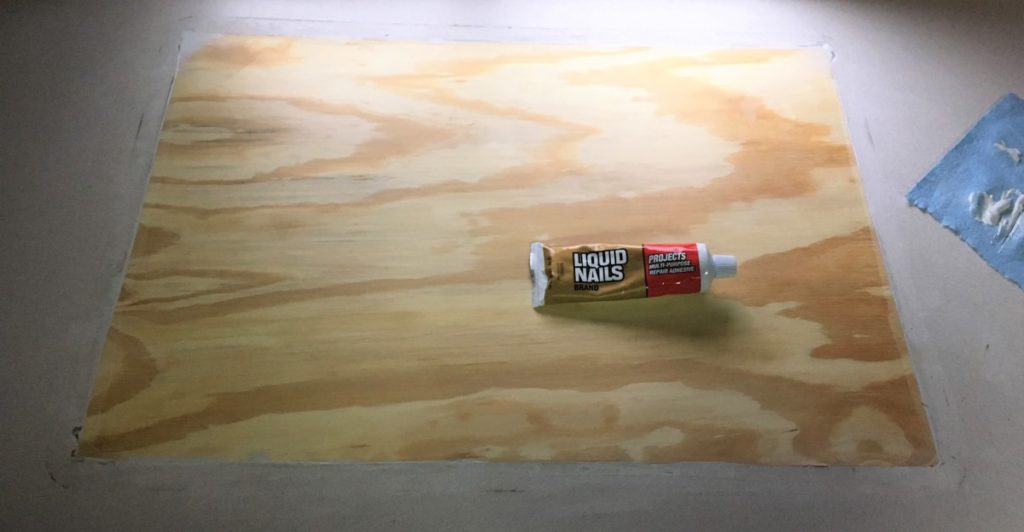
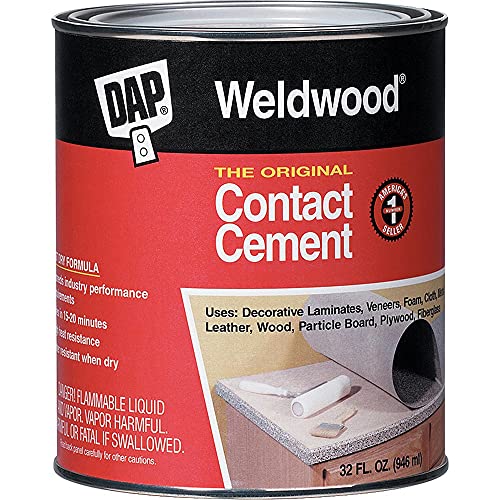
With our counter now cut up into pieces roughly the right size it was time to start gluing. Contact cement (Amazon Link) is the best glue to use but it’s a little bit tricky. We used a foam roller to roll the glue onto both the counter subsurface and the backside of the laminate then we had to let it dry till tacky.
- Tips for a good project:
- (1) Think ahead
- (2) Permits are important
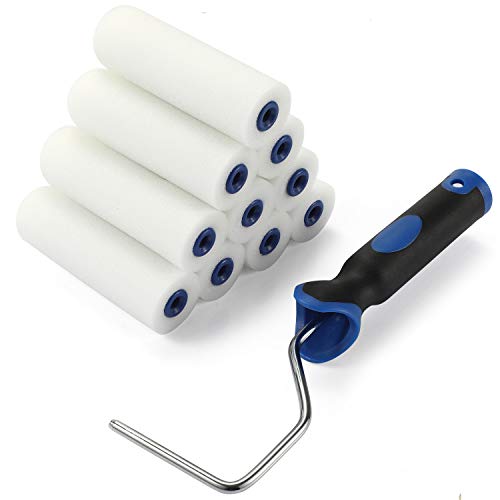
- Mini Foam Paint Roller Set - These mini paint roller covers measure 4" in width, Perfect choice for easy painting cabinets, doors, metal,...
- Replacement Covers-For ease of use these paint roller covers,it can be swapped out in just a few seconds.Paint-filled foam cover for a fresh...
- Ergonomically Paint Roller Frame-Comfortable And Lightweight While Durable And High-Impact Rubber Handle, Treaded To Fit Any Extension...
Now the tricky part, we needed to stick the laminate to the counter subsurface in basically one go. There is NO wiggle room with contact cement.
To help us out we used some skinny PVC pipe we had lying around from an abandoned garden project. We put the pipe between the subsurface and the laminate then, starting in the center, pressed the laminate to the subsurface while rolling the pipes away.
We used a piece of scrap wood to apply pressure while pulling the pipes out from under the laminate. You can also use a rubber roller and get a better guaranteed result.

- HARD RUBBER BRAYER – This synthetic rubber (80 durometer) brayer comes in handy for light carving and gluing applications. It’s also...
- COMFORTABLE HANDLE – The plastic handle on the rubber brayer is super comfortable and feels great in your hand.
- QUICK, EASY CLEAN – Clean the roller off with soap and warm water. Wipe clean with a paper towel or washcloth.
We did a pretty decent job of lining everything up but this is where cutting the size slightly bigger is a real lifesaver. Once it was all glued together we put some weights on it and left it to cure as per the glue’s instructions.
After the glue had finished drying it was time to finish trimming the counter to size. This can be accomplished in one of two ways, using a router or using the hand saw.
Fortunately for us, we own a router (and almost every other power tool on the planet). We ran the router all along the edges of the counter and ended up with a perfectly cut countertop.
If you need to use a hand saw just take your time and use the edges as your guide. Or see if you have a friend willing to lend you a router. Just practice a bit first!
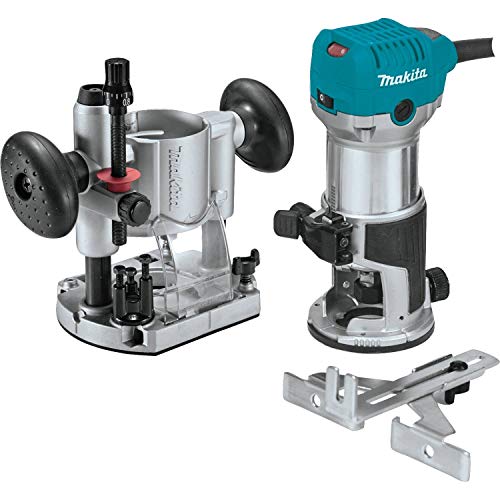
- Variable speed control dial (10,000 - 30,000 RPM) enables user to match the speed to the application
- Smooth rack-and-pinion fine depth adjustment system for more precise settings
- Slim and ergonomically designed body for increased comfort and control
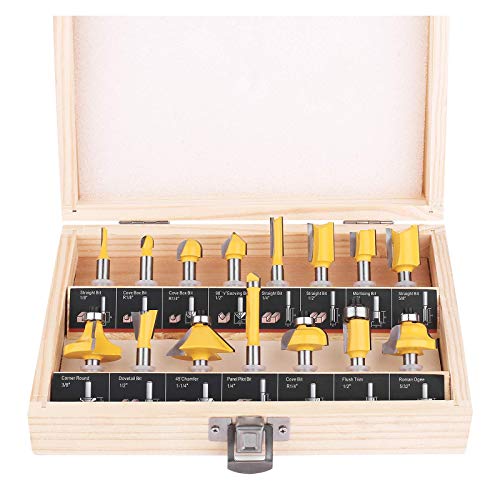
- ▲ DURABLE STEEL BODY - Boasting alloy blade, balanced craftsmanship and a solid hardened steel board these woodworking tools can withstand...
- ▲ USE OF SAFE - The 1/4 inch shank bits provide greater stability and less vibration during use
- ▲ WIDELY APPLICATIONS - These tongue and groove router bit set is truly versatile for your extra convenience. Works great with woods, MDF,...
Installing the Updated Counter
Now that the new pretty laminate was glued down and trimmed up it’s time to bring that bad boy back into the RV. We carefully maneuvered it into position and slide it into place.
You’ll want to take your time with this so you don’t run into anything while bringing it back into the RV and not gouge the walls next to the counter.
Once it was back in place we screwed it back down to the cabinets below. Since we had moved the sink we added some bracing where the sink used to be to firm up the cabinet.
After admiring our handy work it was time to make the final decision on the location of the new sink.
Like most sinks, ours came with a cutting template. We placed the template the area we wanted it, moved it around a bit to find the sweet spot then checked we weren’t going to run into anything below.

With the template in position, we taped off the area to prevent the saw from scratching the countertop. We pre-drilled a hole to let the jigsaw blade enter the counter and also drilled a few relief holes around the edge. To prevent chipping, we used a jigsaw blade (Amazon Link) that cut on the down stroke.
- The product is 5 Pack, 4" 10T Down cutting/Laminate HCS U-Shank Woodcutting Jig Saw Blade
- Easy to use
- The product is manufactured in United States

- Keyless, lever-action blade clamp for quick and easy blade changes
- 5.5 amp motor deliver powerful cuts in the hardest materials
- Variable speed delivers 0 - 3,100 strokes per minute for optimal cutting speed
Cutting a curved line just takes a bit of patience. The relief holes help to prevent binding and taking your time ensures you end up with the right shape.
We popped the sink in the hole to make sure it fit and then marked where we wanted our faucet to be and drilled the hole for that too.
Installing the sink didn’t quite go as expected since it didn’t have mounting clips that are standard with other sinks. We ended up putting some glue under the lip and adding some weight on top while it set. Not an ideal situation but we have to work with what we’ve got.
Next, we installed the faucet and connected the waterlines, then hooked up the drain. We were almost done with our countertop upgrade!
Adding Trim To The Counter
With the counter installed and the sink looking great we had the ugly unfinished edge staring back at us.
We bought some 1-inch pine trim to cover the edge of the counter. A similar style trim had previously been install on the lip but it had a laminate inlay that was just tacky.
After testing out some stains we already had hanging around we picked a dark walnut. All the pieces were stained after they were cut to size then we applied several coats of clear poly to seal them.
The actual installation of the trim pieces was a breeze since they had all been exactly cut to size already. We used glue and brad nails to install them then went back over the nail holes with a properly matched wax filler pen.
As the last step, to prevent crumbs from getting into any gaps between the trim and the counter, we used some clear silicone all along the top edges of the trim.
So there you have it! The steps we took to update and install a countertop in our RV.
We’ve extensively renovated our entire RV check out our full kitchen reno and our awesome budget bathroom reno. If you want more ideas on how to upgrade your current camper our article covers 21 Upgrades for your RV.
What If You Can’t Remove Your Counter?
I mentioned earlier we ran into the issue of not being able to remove the counter in the bathroom and the side kitchen piece.
We basically followed the same steps as the main kitchen counter but had to do everything in place.
The bathroom counter was especially tricky since it was sandwiched between two walls. We test fit the new laminate pieces before gluing them down but still used the same PVC roller method to line everything up.
When cutting the edges of the counter, we used the router until we couldn’t then finished off with the hand saw. We had to be very careful at the edges to not mark up the wall. We still had a few nicks but nothing major.
We didn’t cut the hole for the bathroom sink until the laminate was installed since we wanted to make sure it was exactly right. This was probably the trickiest part since the laminate is a bit flexible on its own.
Related Questions:
Do I need an RV specific kitchen faucet? Most standard faucets will work in your RV. You may need to use an adapter to connect to your waterlines.
Fix It Yourself RV Maintenance Course
The most costly parts of RV ownership are repairs and maintenance. That’s why I recommend learning to do your own RV repair and maintenance.
The Fix It Yourself RV Maintenance Course is the perfect way to learn how to do the most common repairs and maintenance on your RV. A Certified RV Technician wrote and filmed the course so you know the information is actually correct.
Plus it’s downloadable so you can access it from anywhere, even when boondocking in the middle of nowhere with no service.
Find out more about the best RV Maintenance and Repair Course available!