This post contains affiliate links.
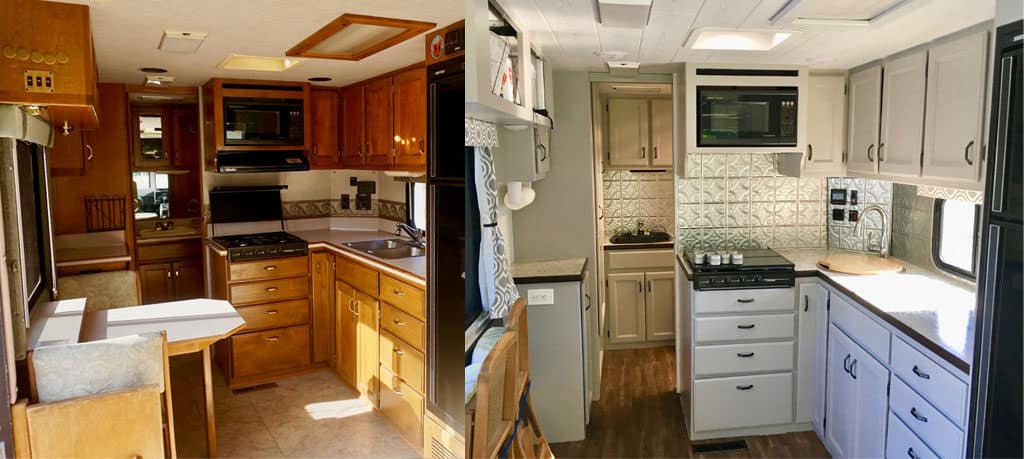
Our RV kitchen was in need of a serious renovation. We needed to take our kitchen from drab to fab without breaking the bank. A lot of elbow grease and product research went into this renovation and it was well worth the effort.
The basic steps for making over our RV Kitchen were:
- Demo – remove everything out of your space before starting
- Paint – prep, prime then paint
- Ceiling – install your chosen ceiling update
- Flooring – install your chosen flooring
- Light Fixtures – repair or replace your light fixtures
- Counters – install new or refurbished counters
- Backsplash – install your chosen backsplash
- Hardware – paint or replace hardware and reinstall doors
- Appliances – repair/replace/reinstall appliances
- Table Upgrade – install a replacement table
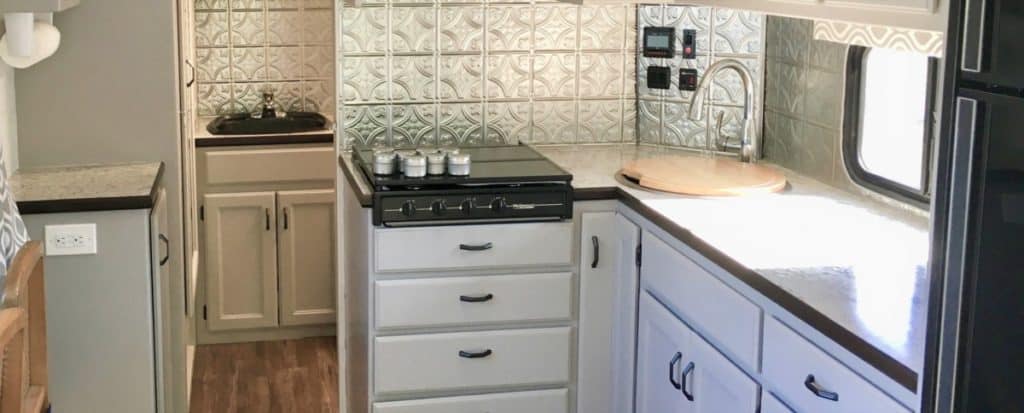
The kitchen in our RV accounts for a third of the living space, although, that doesn’t make it large by any means. Not surprisingly, it is mostly consumed with cabinets and storage bookended by the fridge and the stove.
The main pinch point to our space was the sink being located in the center of the countertop. Here it consumed too much of the limited real estate and was way too shallow to wash anything in.
Another disastrous design flaw was the table layout, it not only encompassed the majority of the floor space in the condensed area but it also disturbed the flow of traffic through the center of our home and made it nearly impossible for two people to work together in the space.
Aside from these two main issues, the bones of the kitchen area were in good working order and the appliances were fully functional. Our biggest savings, both financially and environmentally, were found in salvaging and upcycling the existing pieces.
So our plan was to clean, paint and be creative in replacing the necessary evils in a budget-friendly fashion. Read on for our step-by-step guide to our kitchen reno and how much it all cost us.
Table of Contents
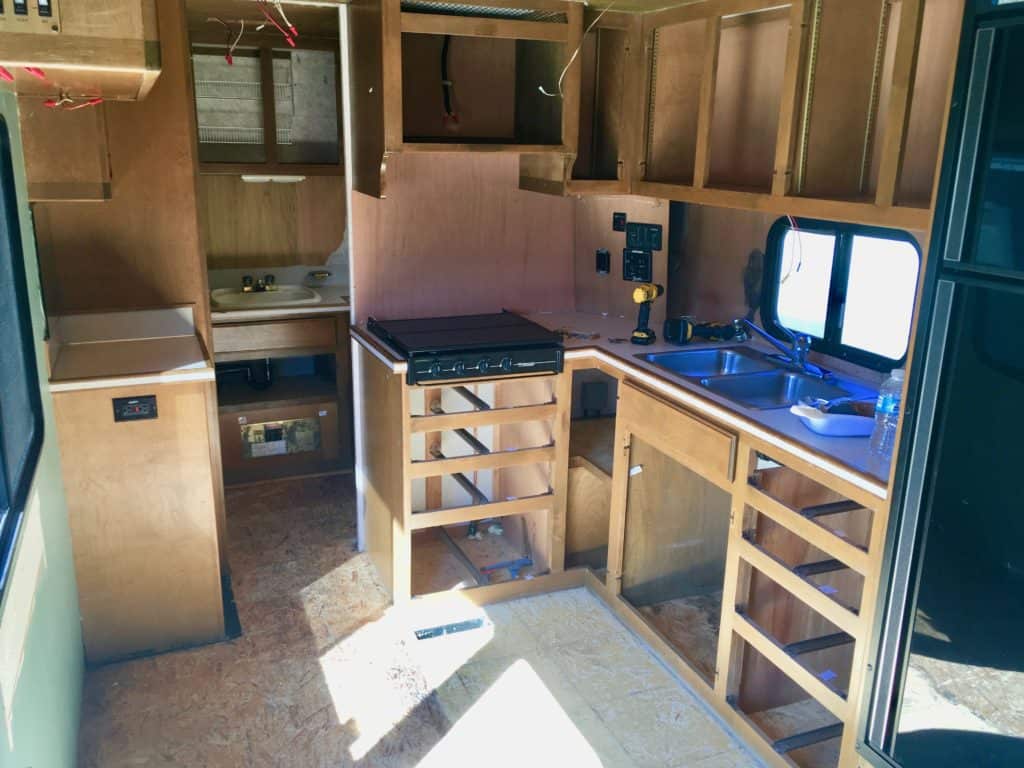
Demo Time
Like any good renovation of a hated space, we started removing the good pieces before going loco on the junk. The cabinet doors, stovetop, convection oven, and drawers were removed and set aside for reconditioning.
As we removed the cabinet doors and drawers we numbered all of them and their cabinets so we knew where they came from. We also set aside in ziplocks the old hinges and hardware until we decided what to do with them.
All the light fixtures, the ceiling vent trim, speakers, outlet covers and faceplates on the command center were removed and set aside. We later decided to fully replace the ceiling vent fan and ideally should have it done it during the deconstruction.
It worked out fine to replace it later on but it did mean having to clean up our brand new floor and be careful of our finished ceiling.
Now that all the keepers were out of the kitchen the fun could really begin!
We ripped out the kitchen table, unscrewing it from the wall and actually reused it in the garage as a handy spot for bits and pieces.
Next was the ceiling carpet, I still shudder every time I say ceiling carpet. The off pink color a serious eyesore and it had some questionable looking stains.
We made some strategic cuts in the carpet then once we got some purchase we yanked it down. Safety glasses and a mask were a must for this part of the demo due to all the debris and dust.
With the ceiling down we turned our attention to the floors. There was cheap, peel-n-stick tile on most of the floor of the RV which wasn’t all that sticky anymore.
Unfortunately, it left a gross, sticky residue behind that stole my flip flop on occasion. We didn’t bother trying to remove the residue as we planned to lay new flooring and insulation right on top.
The wallpaper backsplash actually came off fairly easily, unlike the bathroom wallpaper. To see our amazing bathroom reno head over to the article Our RV Bathroom Reno: Big Makeover On A Little Budget.
We disconnected and unscrewed the vent hood and set it aside. We made sure the electrical from the vent hood was properly capped and stowed so it wouldn’t be a danger during the rest of the reno. We weren’t sure if we would be using the vent hood or not since it didn’t exhaust outside the RV.
We also yanked out the sink and took it to be recycled. We KNEW we weren’t reusing that waste of space.
With the demo complete it was time to sweep, vacuum, bag all the garbage and clear the area for starting the upgrade to fab.

Fix It Yourself is a self-guided online course where certified RV tech Ed Wilcox walks you through all the steps you need to know to properly maintain your rig and fix problems when they come up. Check it out HERE!
Rolling On A Modern Coat – Cabinet Paint
Cutting costs with elbow grease was the name of the cabinet game as we sanded, primed and painted the cabinet doors, drawers, boxes and hardware to bring it up to modern day on a modest dime.
All the cabinets were first cleaned and degreased with TSP then after repairing any blemishes we gave them a quick sand and they were ready to start the painting process.
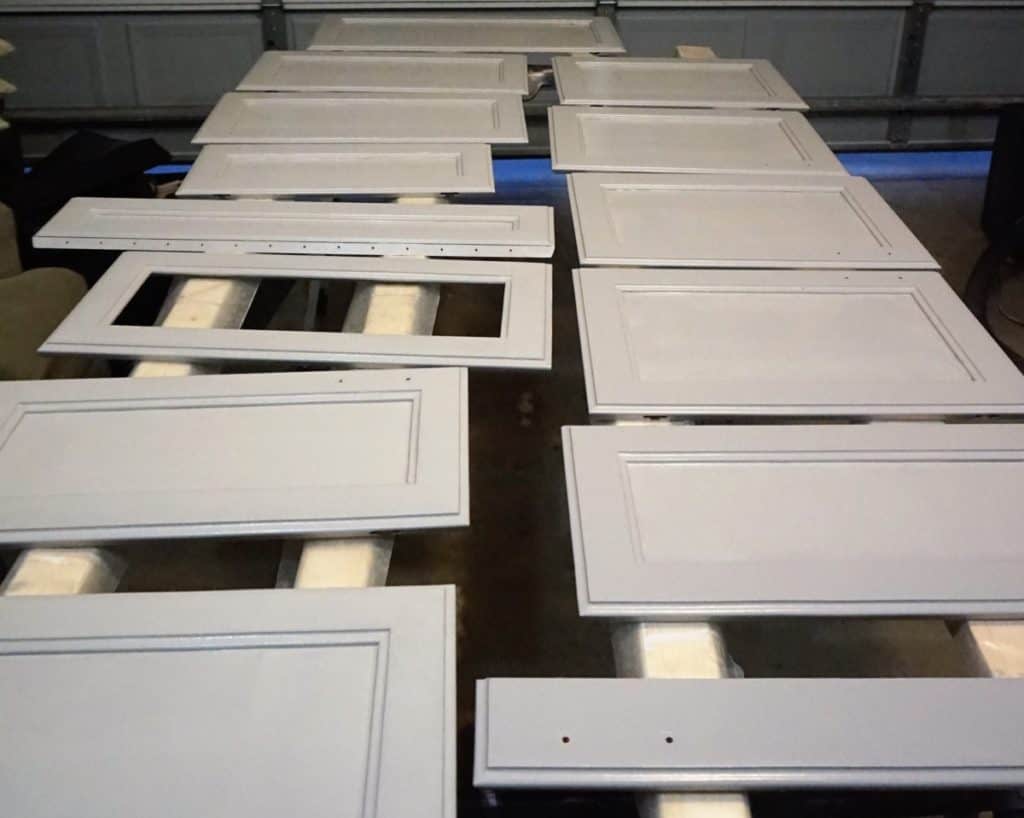
We used a stain blocking primer on all the surfaces first, including the walls. Even though there were a lot of cabinets to cover we did it all on a single gallon of top quality paint.
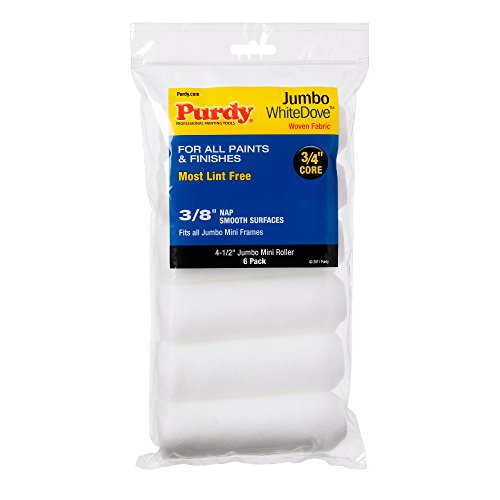
We used 2 coats of BEHR Marquee semi-gloss in a medium grey and decided against a topcoat. The coats rolled on nicely using high quality, low nap rollers and concentrating hard on preventing drips in the details. For details on how we painted our RV cabinets see my step by step guide How to Paint RV Cabinets: A Step by Step Guide with Tips.


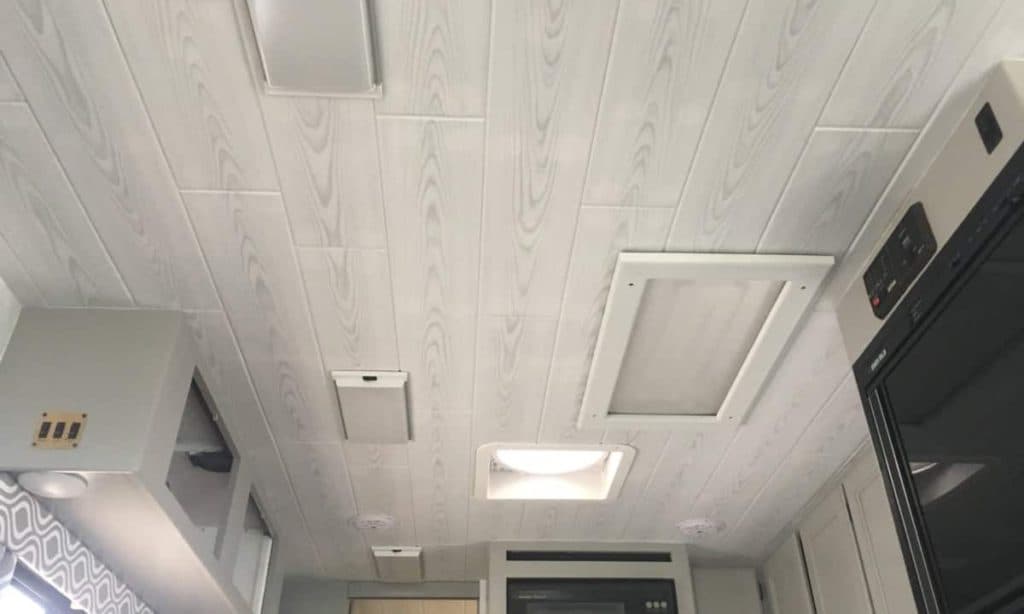
Looking Up – Ceiling Upgrade
Our ceiling carpet left us with an equally ugly surface to deal with that was covered with glue and leftover fibers. We ran through many different ideas to cover up the mess before stumbling upon a wood-look foam ceiling plank.
Lightweight and easy to install were high on our priority list when picking materials for the RV. The foam tile ticked all the boxes!
The overhead surface was riddled with lights, vents, speakers and any other possible reason to create an area to cut around so the ease of the foam in trimming and gluing was a life saver.
The planks were installed using a ceramic tile adhesive that was applied in 1-inch diameter blobs. I actually just used a plastic spoon to apply it.
Head over to my Easy, Lightweight RV Ceiling Update post to see exactly how I installed our foam plank ceiling. I really love how it turned out!
But there is a minor drawback; the ceiling is fairly fragile. The foam planks remind me of styrofoam plates so just be careful when squishing bugs.
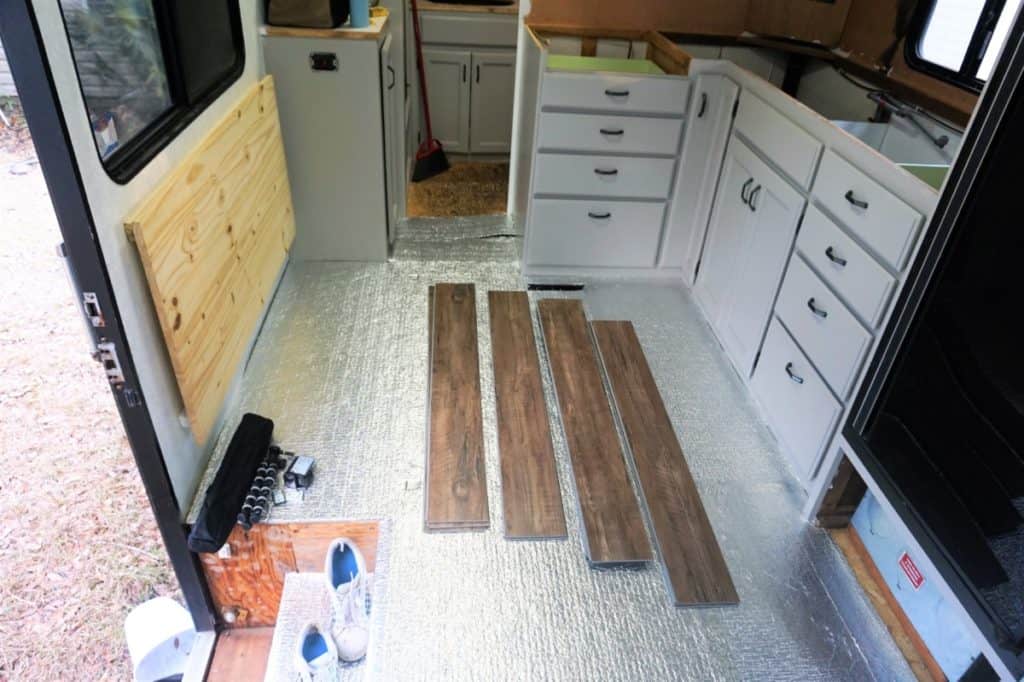
Going Down – Flooring Upgrade
I don’t know about you but I love shopping for flooring! Beau reined me in a bit to keep me on budget but we found a beautiful click, vinyl floor.
Vinyl plank floor ticked all our boxes, it’s durable, moisture resistant, inexpensive and easy to install. I did convince Beau to up our budget a hair so we could get a fabulous rustic, grey wood look floor.
We decided to insulate the entire floor of the RV with sturdy automotive insulation (link to Amazon) that also doubled as a vapor barrier. The insulation was glued to our already sticky floor with spray adhesive, you can read about How to Insulate the Floor of Your RV in our blog post.
The insulation was an easy install that gave us a great base for our vinyl floor. Click flooring is overall an easy product to install. Depending on the vinyl plank it can be a little bit finicky.
Our planks installed with relative ease and once we worked out a nice layout for the different board patterns it was smooth sailing. Aside from the millions of cuts we had to do with the jigsaw.
The vinyl planks were easy to keep clean, simple to install and brought warmth and texture to the neutral interior design of the RV.
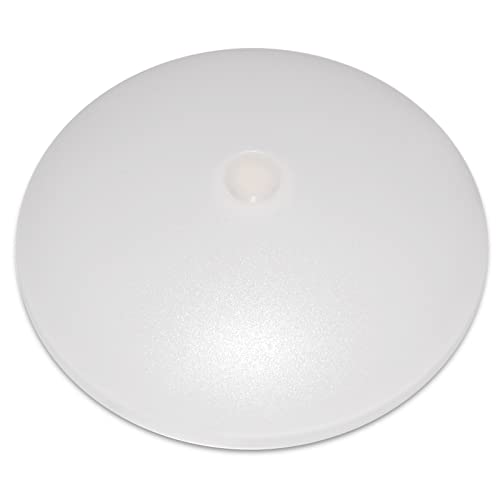
Shedding Some Light On The Situation – Light Fixtures
The lighting in the kitchen was a sad affair with one pathetic under counter light now uselessly placed above a sink that no longer existed, and a large overhead florescent that didn’t always work.
For the ceiling fixtures, we spray painted all the aged, yellow plastic and wooden trim piece white. I then scrubbed down the translucent covers washing away years of grime.
Next, Beau removed the fluorescent guts and replaced them with LED tape lights (link to Amazon) and then soldering them to the existing switch. This added so much more lumens for fewer amps than before.
For the full tutorial on how he gutted our lights and changed them to LEDs see this article, How to Change RV Lights to LEDs. You can also watch the full YouTube video below.
For the under counter lighting, we took a similar approach. We stuck LED tape lights to the underside of the upper cabinets and bought special connectors to make any turns that were needed.
There was a little bit of jury-rigging needed but we got it connected to a light switch on the backsplash. We also have a remote for these ones that let us change the color so we can have a kitchen disco party now!

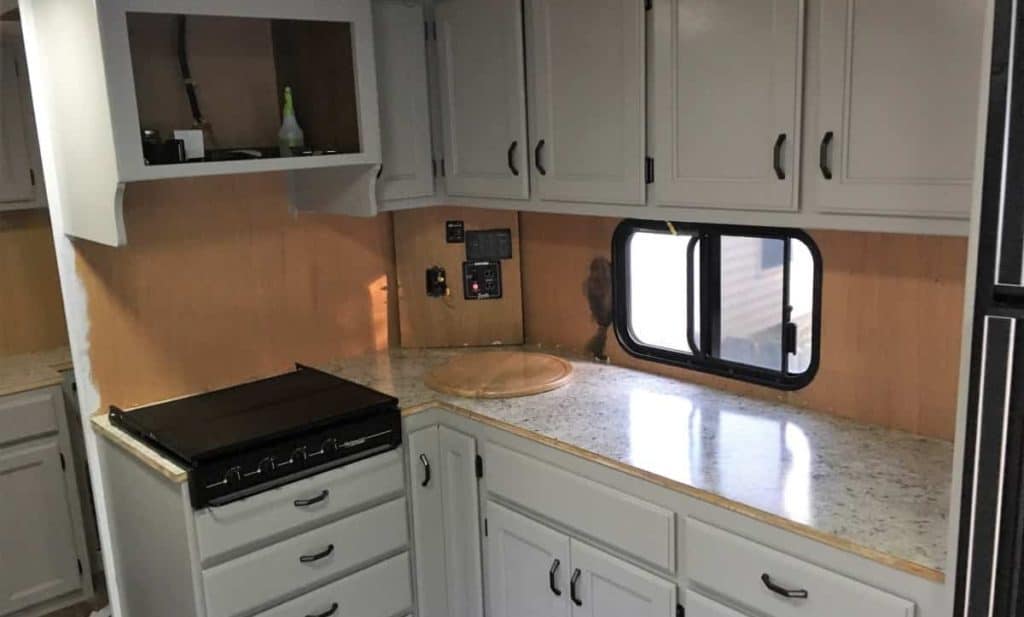
Counter Party
Once the sink was removed we could see the potential for premium prep space. We cut a piece of plywood to size, added some bracing, filled in the gaping sinkhole in the center of the counter and sanded it flush.
After researching how to update the counter we opted to use a laminate sheet and finish it off with some pine trim. We also decided it would be much easier if we removed the counter completely from the RV.
A few screws later the counter was out of the RV and in the garage. We started by scuffing up the old counter with our palm sander to give the new laminate a good surface to adhere to.
A single 4’x8′ sheet of laminate from the hardware store was more than enough to cover our kitchen and bathroom counters. Contact cement was the recommended glue and it was a little interesting to use but once we digested enough YouTube videos we were ready to get at it.
Once the laminate was glued down we used our router to trim it exactly to size then reinstalled it in the RV. We finished the edges off with some 1-inch pine trim.
The trim we stained a very dark brown with a stain we already had on hand, then used 3 coats of poly to seal it up and give it a little shine.
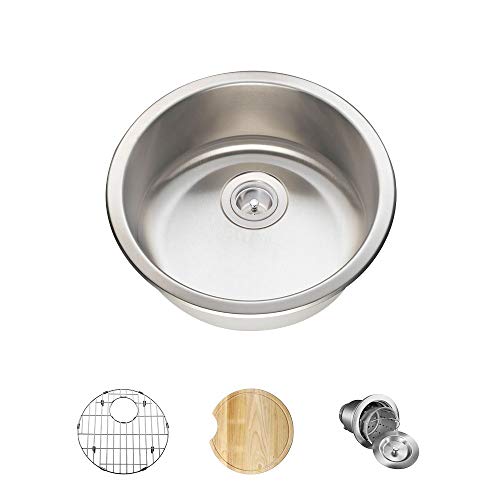
We splurged a bit on the purchase of a new bar sink (link to Amazon) to replace the useless shallow one we had kicked to the curb. The perfect way to situate the sink was to utilize the corner of the counter, a relatively wasted space otherwise.
There was some minor plumbing work to rearrange and we installed some shutoffs on the supply lines using SharkBite push on fittings. Of course, being an RV we had to Macgyver a few spots to get the odd pipe sizes to work.
With the plumbing rerouted and a new sink installed all that was left was a fancy new faucet. Turns out you don’t need an RV specific faucet! We picked out a fancy new single action faucet with pull down sprayer (link to Amazon) to match the rest of our new kitchens duds.
For a full, detailed description of how we updated the laminate on our countertop, hop over to my post on The Cheap Durable Way to Update Your RV Counter.

Back Splashing It Up
I have long had a love of antique tin tiles and the backsplash in the RV seemed the perfect spot to use them. I did some shopping around for prices and options available for both real and faux tin tiles.
The best option I found was unfinished 24″x24″ tin tiles and was able to easily order them online. We did have to apply a clear coat to them but that was a small price to pay for a sweet looking style.
I measure the sizes and shapes I needed then used a wet erase marker to mark where I needed to cut. Gloves and tin snipes were my weapons of choice for cutting the backsplash to size.
After cutting I sealed the tiles with a spray on clear coat then used No More Nails glue to install them. We had some leftover grey rubber trim from another project that works perfectly to finish around the kitchen window.
There was a lot of cutting and a few scraped knuckles but in the end, it was well worth the man-hours. The natural tin finish went perfectly with the grey cabinets and updated counter.
Coming Unhinged – Hardware Updates
Our cabinet hinges were a unique design making it difficult to replace them. We also didn’t want to mess around finding new cabinet pulls that had the right span between screws.
Following the KISS principle (Keep it Simple Silly) we decided to spray paint both the hinges and pulls.
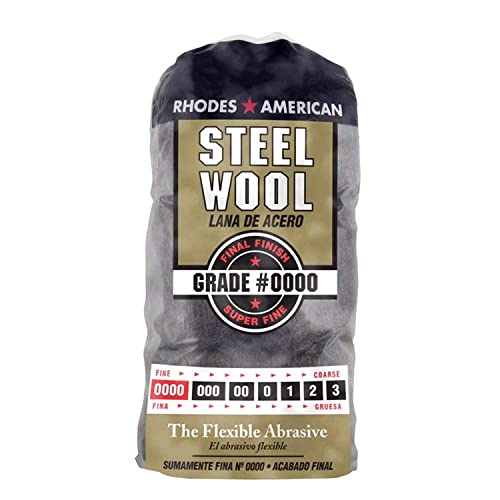
It took a bit of work to get the hinges and pulls ready for paint. We scrubbed them down with the steel wool to give the paint a good surface to stick to. We chose a dark, metallic grey known as Black Stainless.
With the hardware all prepped we set them all up on cardboard and then sprayed on multiple thin coats of paint. It’s amazing what a couple of cans of spray paint can do for dated brass hardware.

Repairing Appliances
Having the appliances come standard was a major decision maker in the renovate vs create a home on wheels debate. All black pieces made them easy to match to any color scheme and since we weren’t changing their locations minimal work had to be done to get them back into ship shape.
The four burner propane stove only required cleaning before it was ready to be fired up. The convection oven was missing a foot so it wobbled around until we located the runaway shoe and screwed it back into place.
The main focus was on the fridge which required a more thorough cleansing to remove the years of drips and splatters coating the interior. The interior metal shelving showed some rusty years of wear but with some intensive scrubbing, we were able to clean them up and apply the same spray paint we used on the cabinet hardware to renew their appearance in no time.
Mechanically, the fridge needed some rehabbing as well. It’s a two-way fridge meaning it theoretically worked on both ac power and propane however the propane functionality was not cooperating.
We managed to narrow the problem down to the igniter probe, a cheap and easy fix. If your interested in how an RV fridge works, check out my post How an RV Fridge Works.
Table Talk
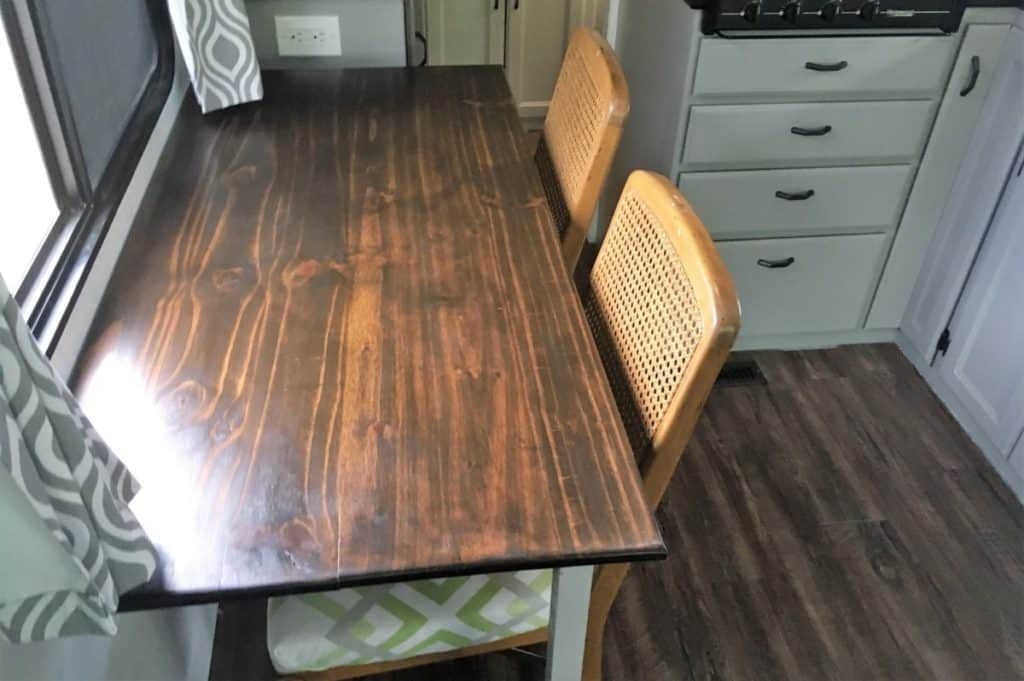
Having ditched the dining table, we redesigned the area with a flip-up table. This gave us a store and go space saving feature with ample chow down space for future family growth.
We picked up a pine project panel and two square spindles to get this project started. The spindles were cut to size and a 1″x2″ board was installed on the wall to secure the tabletop.
We used our trusty router to finish the edges of our tabletop then stain and sealed it using the same dark, brown as the counter trim. This really helped tie things together.
We used some large gate hinges on to attach the tabletop to the 1″x2″ board and some smaller hinges to attach the legs to the table.
While folded down we use a small velcro strap that is screwed to the underside of the table to keep the legs from flopping around. The table itself is secured with a large bungie across the front to prevent rattling as we drive down the road.
We rescued the original solid wood fold up chairs by adding some leftover foam to the seat and recovering with leftover couch fabric to tie it all together. Maybe one day I’ll get around to painting the wood white but for now, they still look pretty sharp.
Cost of Our Kitchen Reno
With the reassembly complete, our kitchen went from drab to fab on a measly pittance, spending our hard working hours while saving our hard earned dollars. The transformation was phenomenal and stayed true to the overall interior design of our rig.
Adding up all the paint and pieces this ultimate kitchen overhaul dug $719 dinero from our paltry pocketbook, a meaningful sum but a major makeover.

